
 Save
Save
I switched from regular cinnamon rolls to this braided version last winter and it totally changed my baking approach! These twisty treats look fancy enough for special gatherings but aren't much tougher than standard rolls once you figure out how to braid them properly.
After bringing these to a family breakfast, my sister-in-law begged me to show her the technique, and we've turned it into our tradition to bake them together every Christmas Eve.
Essential Ingredients
- Enriched dough: The backbone of any good cinnamon roll starts with milk, eggs and butter mixed into a soft, tender base.
- Sweet spice mixture: When butter meets brown sugar and cinnamon, you get that gooey, fragrant filling everyone loves.
- Time: Those rising periods might seem like a pain, but they're key to getting the texture just right.
- Flat surface: Having enough room to spread out makes braiding so much easier.
 Save
Save
My Baking Process
Getting The Dough RightI've learned that using the right temperature ingredients makes all the difference. Room temp eggs and warm milk help your yeast work its magic. Your dough should feel smooth and come away from the bowl easily - if it's too sticky, I just add flour one tablespoon at a time until it feels right.
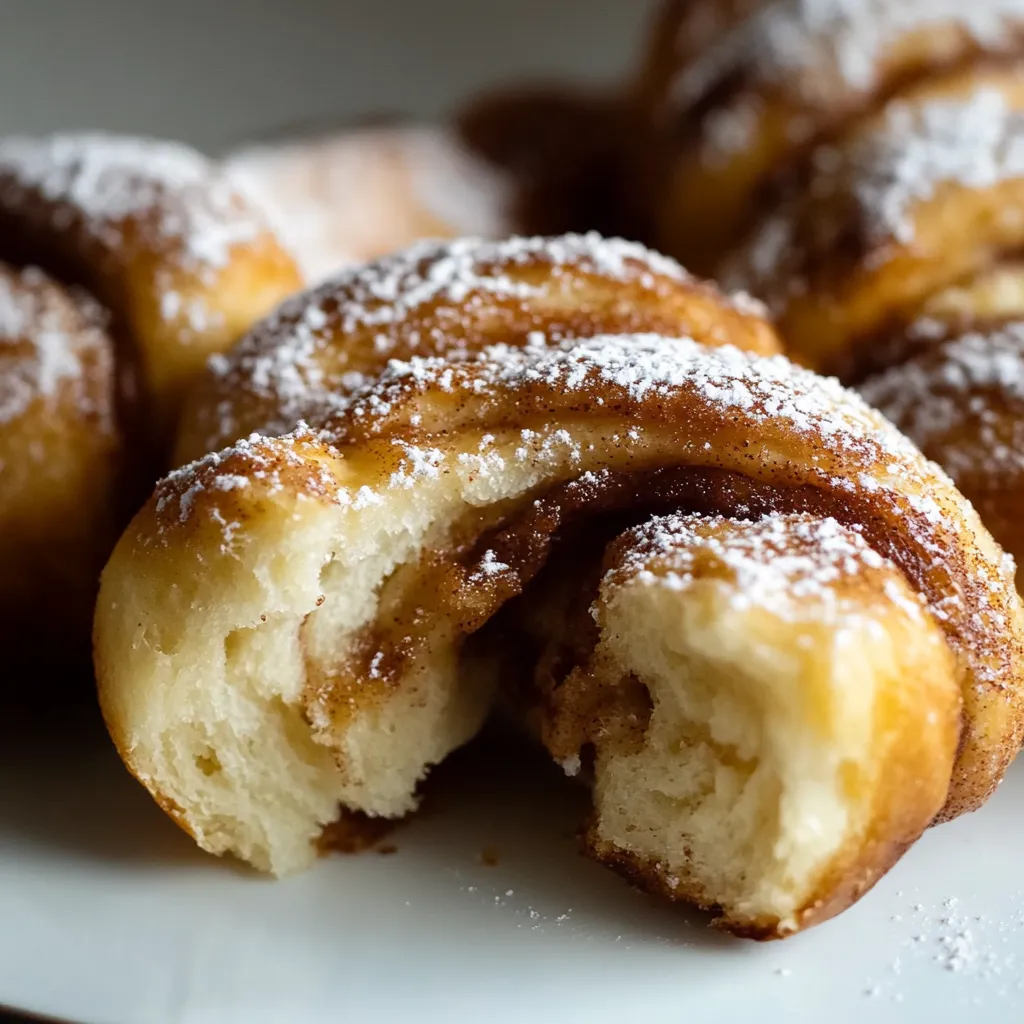
Getting The Filling RightUnlike regular rolls where you just coat one surface, the way you fold and layer creates gorgeous swirls of cinnamon throughout each bun. I always make sure to spread my filling right to the edges so nothing gets missed.
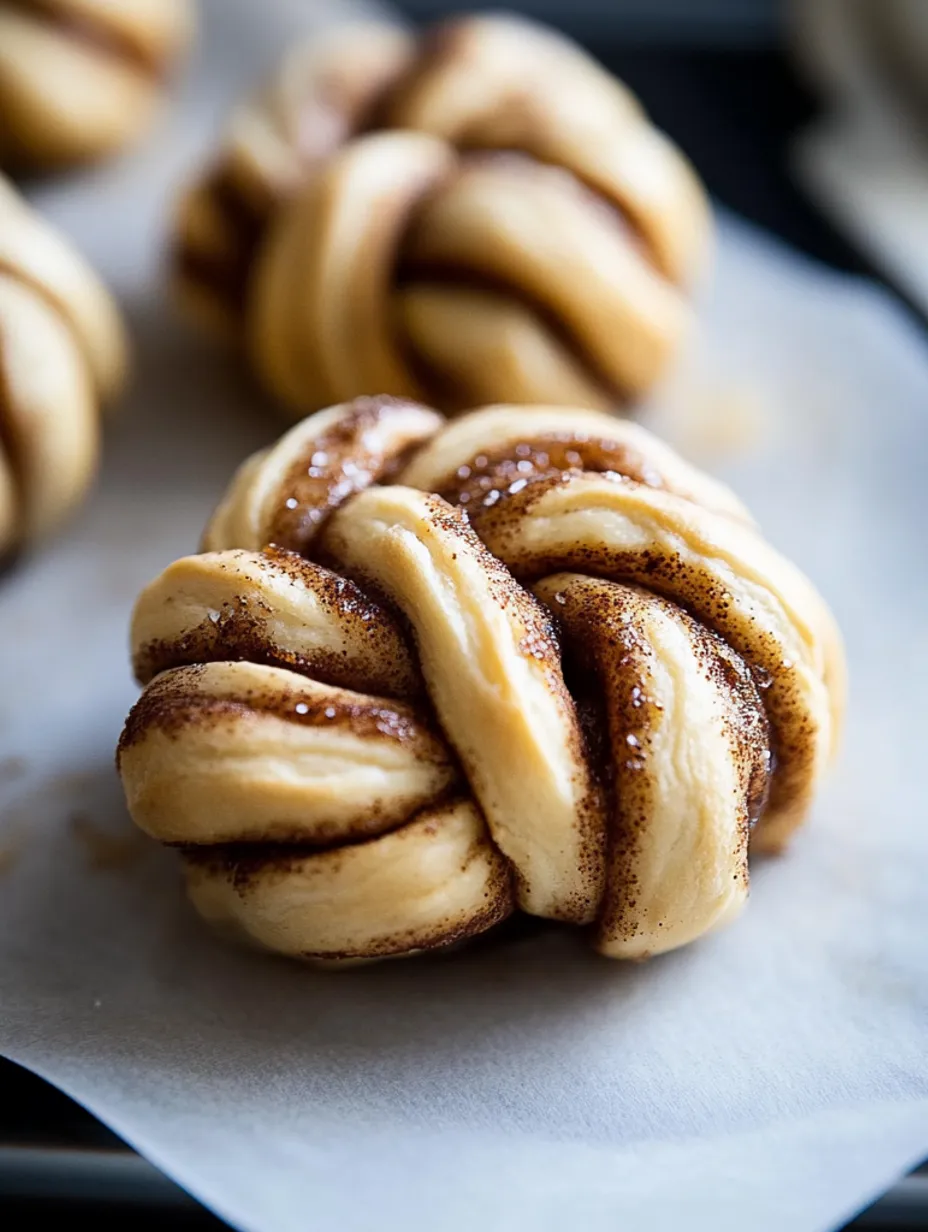
Braiding TechniqueThis seemed scary my first time, but it's actually pretty simple once you try it! Using a sharp knife instead of a pizza cutter gives you cleaner cuts. If your dough starts getting warm and sticky while you're working, just pop it in the fridge for 5 minutes to firm it up again.
The Final RiseDon't rush past the second rise, even though it's tempting. This is when your braided buns almost double in size and get super fluffy. I always cover mine with a light kitchen towel so they don't dry out while rising.
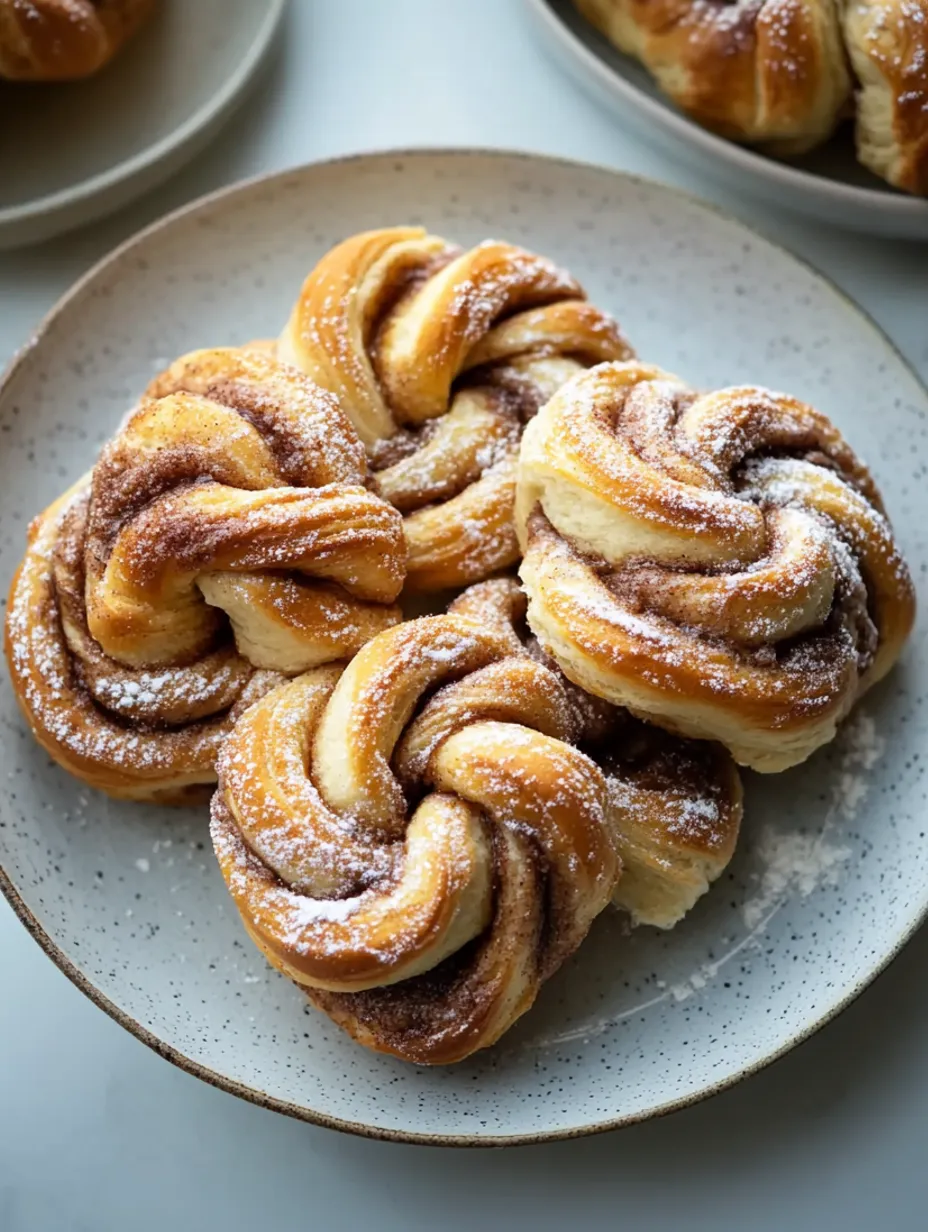
I picked up this recipe from my grandma's Swedish neighbor who called them "kanelbullar," though she shaped them a bit differently. My first attempt failed because I rolled them too tight, which stopped them from rising in the middle. Now I keep the coil looser and they puff up perfectly.
Tasty Presentation
They look amazing with just a light dusting of powdered sugar that shows off the braiding pattern. For fancy brunches, I put them on a wooden board surrounded by fresh berries. They taste amazing with coffee, especially brands with nutty flavors that go well with cinnamon.
Personal Variations
Adding orange zest to the filling gives a fantastic citrus kick. Mixing cardamom into the dough creates a Nordic flavor profile. Instead of thick frosting, try a simple sugar and cream drizzle that adds sweetness without hiding your beautiful braids. During Christmas, I sometimes throw chopped pecans into the filling for extra crunch.
Keeping Them Fresh
They taste best fresh from the oven, but will stay good for about 2 days in a sealed container. To warm them up, wrap loosely in foil and heat at 300°F for 5-7 minutes. You can also freeze them individually wrapped, then let them thaw in your fridge overnight before warming them up.
 Save
Save
Expert Advice
- Get a ruler out when cutting your strips for perfectly even-sized buns
- Let them rise completely - that's the secret to their fluffy texture
- Want them super gooey? Just double up on the filling mixture
- You can do the first rise in your fridge overnight for morning baking
There's something really rewarding about making these braided cinnamon buns - from watching the dough grow to creating those gorgeous twists. They don't just taste amazing but look seriously impressive, making them perfect for those moments when you want your baking to show how much you care.
Recipe FAQs
- → Can I prep the dough early?
- Sure, make the dough ahead and chill it overnight for the first rest. Just leave it out 30 minutes to warm up before rolling.
- → What do I do without a mixer?
- You can mix in a bowl with a wooden spoon until clumpy, then knead it on a floured surface for 8-10 minutes until smooth.
- → Can I freeze these buns?
- Definitely! Freeze unbaked ones after shaping and before the final rest. Or cool already baked buns completely before freezing.
- → Why’s my dough so sticky?
- Sticky dough happens with humidity or measuring differences. Add flour a little at a time during kneading until soft and workable.
- → Can I add nuts or raisins?
- Of course! Sprinkle about 1/2 cup of chopped nuts or raisins into the cinnamon mix for more flavor and crunch.