
 Save
Save
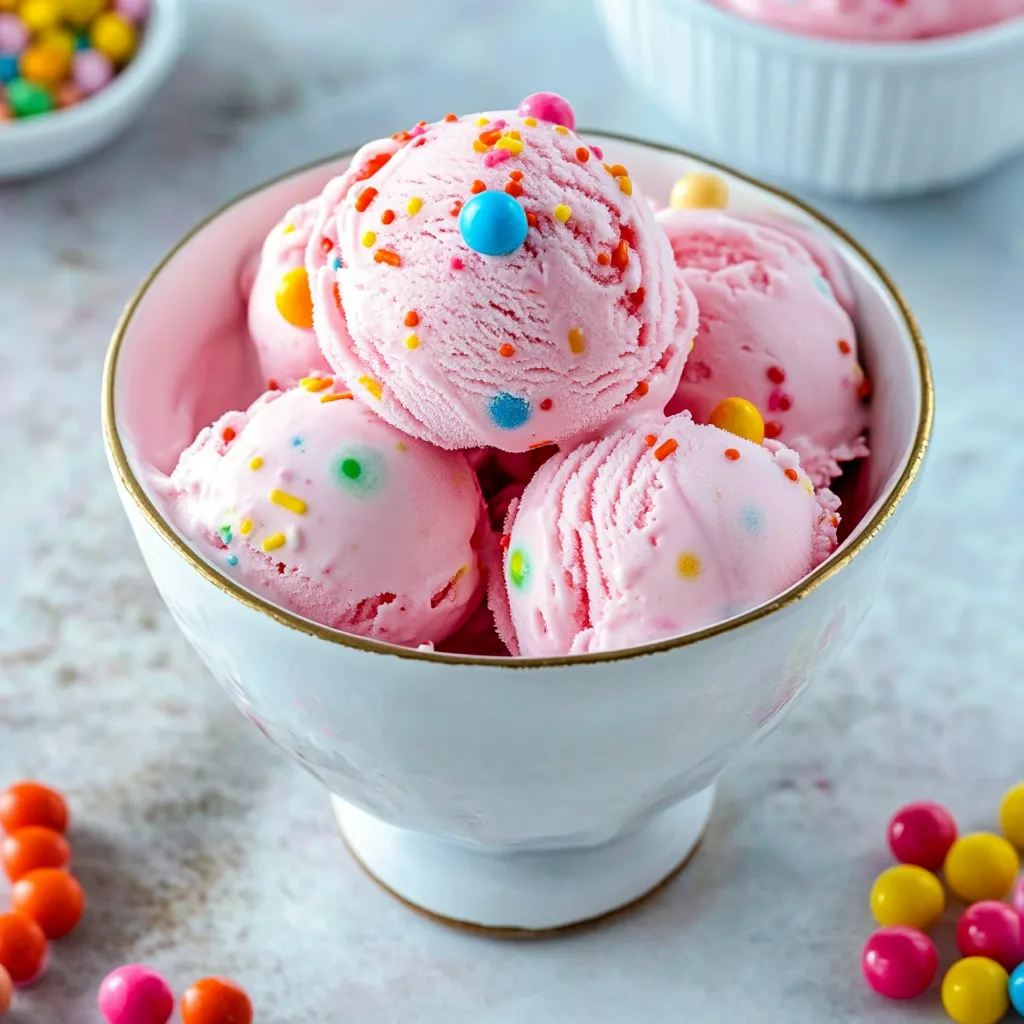
This nostalgic bubblegum ice cream brings back childhood memories with every scoop. The bright pink color and authentic bubblegum flavor create a fun, festive dessert that's perfect for celebrations. Unlike store-bought versions, this homemade recipe produces an exceptionally smooth and creamy texture.
The real magic of this recipe is how it captures that classic bubblegum taste while maintaining a perfect ice cream consistency. It's a guaranteed crowd-pleaser that brings smiles to both kids and adults alike.
Key Ingredients
- Heavy cream and whole milk - Creates the rich ice cream base
- Bubblegum flavoring - Provides authentic taste
- Rainbow sprinkles - Adds festive color and crunch
- Pink food coloring - Creates signature appearance
- Decorative gumballs - Optional garnish
 Save
Save
Preparation Method
- Bowl Preparation
- Freeze ice cream maker bowl for 24 hours minimum. This ensures proper freezing and ideal texture.
- Base Creation
- Thoroughly combine dairy ingredients and sugar until completely dissolved. This ratio provides optimal creaminess.
- Flavoring
- Add bubblegum flavoring gradually, tasting to achieve desired intensity. Include vanilla extract to enhance overall flavor profile.
- Color Addition
- Incorporate pink food coloring slowly until reaching desired shade. The color will appear lighter once frozen.
- Churning
- Process in ice cream maker according to manufacturer instructions until soft-serve consistency forms. Add sprinkles near end of churning.
- Final Freezing
- Transfer to shallow container and freeze 4+ hours until firm. Cover surface directly with plastic wrap to prevent ice crystals.
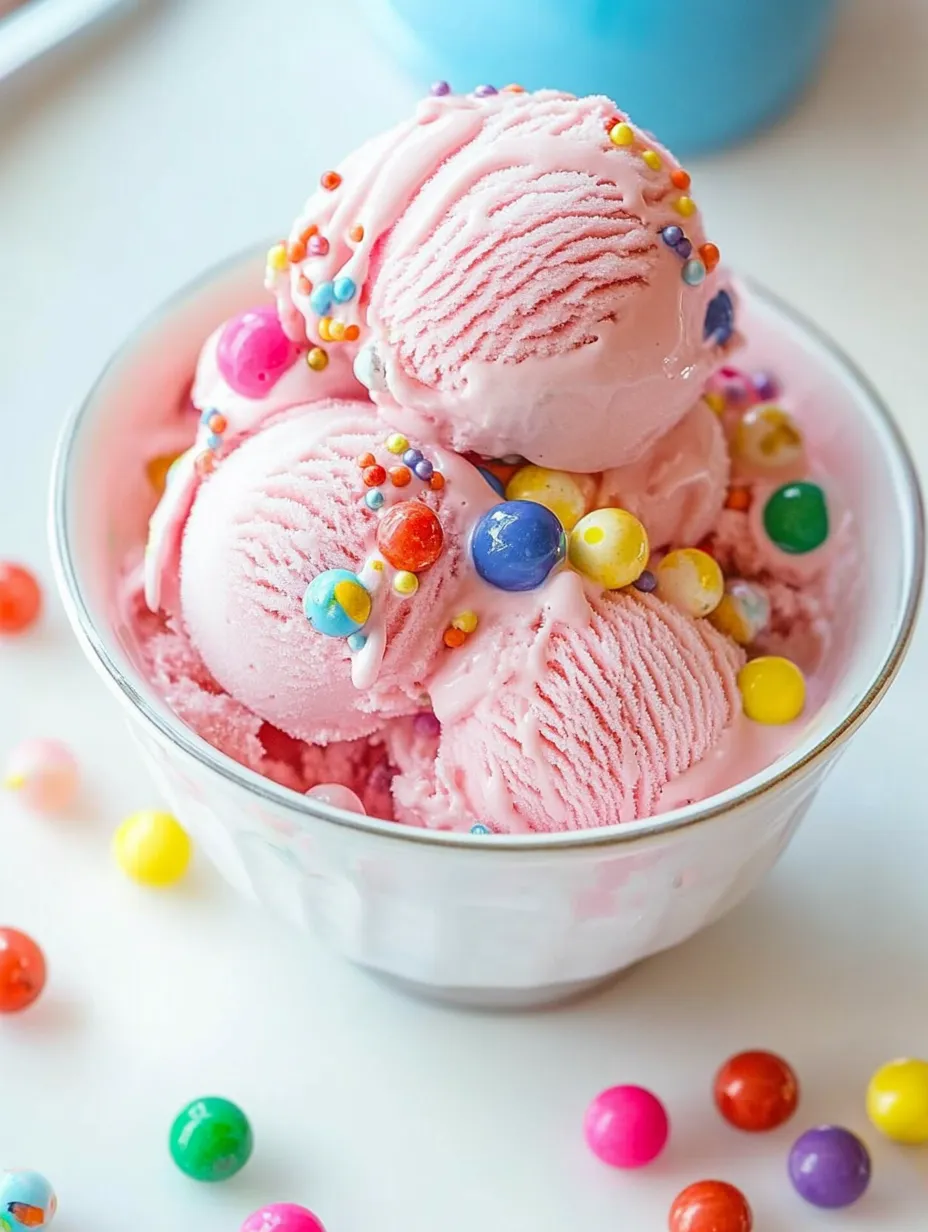
The nostalgic flavor of this ice cream never fails to impress guests. Its smooth texture and authentic taste make it a standout homemade dessert.
Serving Suggestions
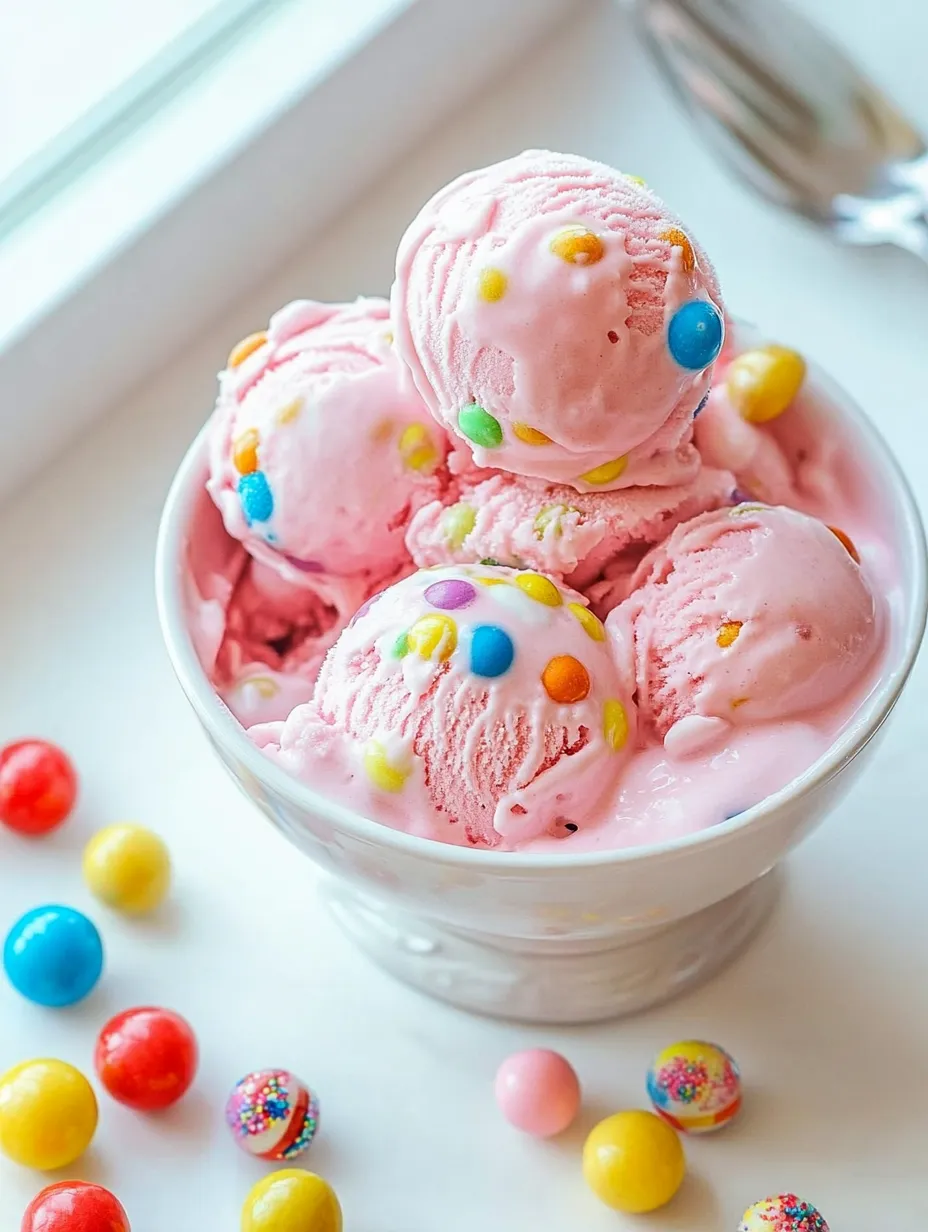
Serve alongside butter cookies or vanilla cake for special occasions. Create an ice cream sundae bar with various toppings like hot fudge, sprinkles and whipped cream. Classic sugar cones provide the perfect serving vessel.
Recipe Variations
Experiment by adding marshmallow swirl or white chocolate pieces. Create a signature version with strawberry sauce ribbons. For an elevated twist, incorporate prosecco flavoring for a sophisticated bubblegum champagne ice cream.
 Save
Save
This bubblegum ice cream recipe consistently delivers joy at parties and gatherings. Its vibrant color and nostalgic flavor create an instant celebration, making ordinary moments feel special. The recipe has become a treasured favorite for both casual treats and festive occasions.
Recipe FAQs
- → Is an ice cream maker required to make this?
- You’ll get the smoothest results with an ice cream maker, but if you need an alternative, you can skip it. Whip heavy cream until it forms stiff peaks and mix with sweetened condensed milk (to replace the milk and sugar), bubblegum flavor, and food coloring. Freeze the mix as directed.
- → How can I find bubblegum flavoring?
- You can grab bubblegum flavoring from online sellers like Amazon, or check out craft or baking supply stores. Popular options include LorAnn Oils (concentrated oils) and Frontier Co-op (alcohol-based extracts).
- → Can I substitute real bubblegum for flavoring?
- Yes! Infuse the milk by heating 2 cups of it with about 1 cup of bubblegum pieces. Don’t let it boil—keep it much cooler. Cover it after heating and let it rest for half an hour. Strain out the now-flavorless gum and carry on with the rest of the recipe steps. The taste will be milder compared to using extracts.
- → Why isn’t my ice cream freezing well?
- Your freezing troubles could be due to several reasons: 1) Make sure your ice cream maker bowl is frozen solid before use (freeze for over 24 hours), 2) If your ingredients are warm, chill them beforehand, 3) Excess alcohol or sugar lowers the freezing point, or 4) Overloading the ice cream maker stops proper freezing.
- → Is there a natural way to color the ice cream pink?
- You can swap artificial coloring for natural choices like beet powder, freeze-dried strawberry or raspberry powder, or cranberry juice. Add a little at a time until you like the color. It won’t be as vivid as artificial dyes but offers a healthier option.