
 Save
Save
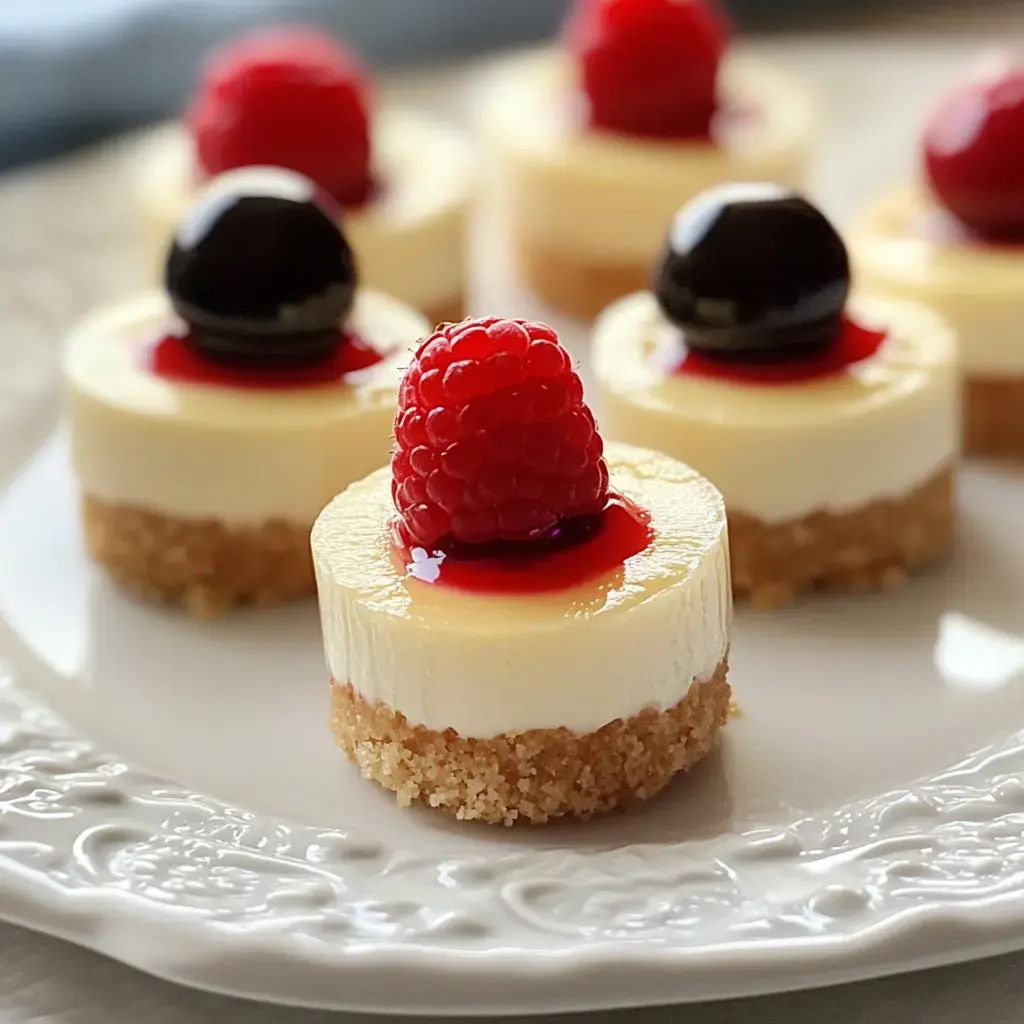
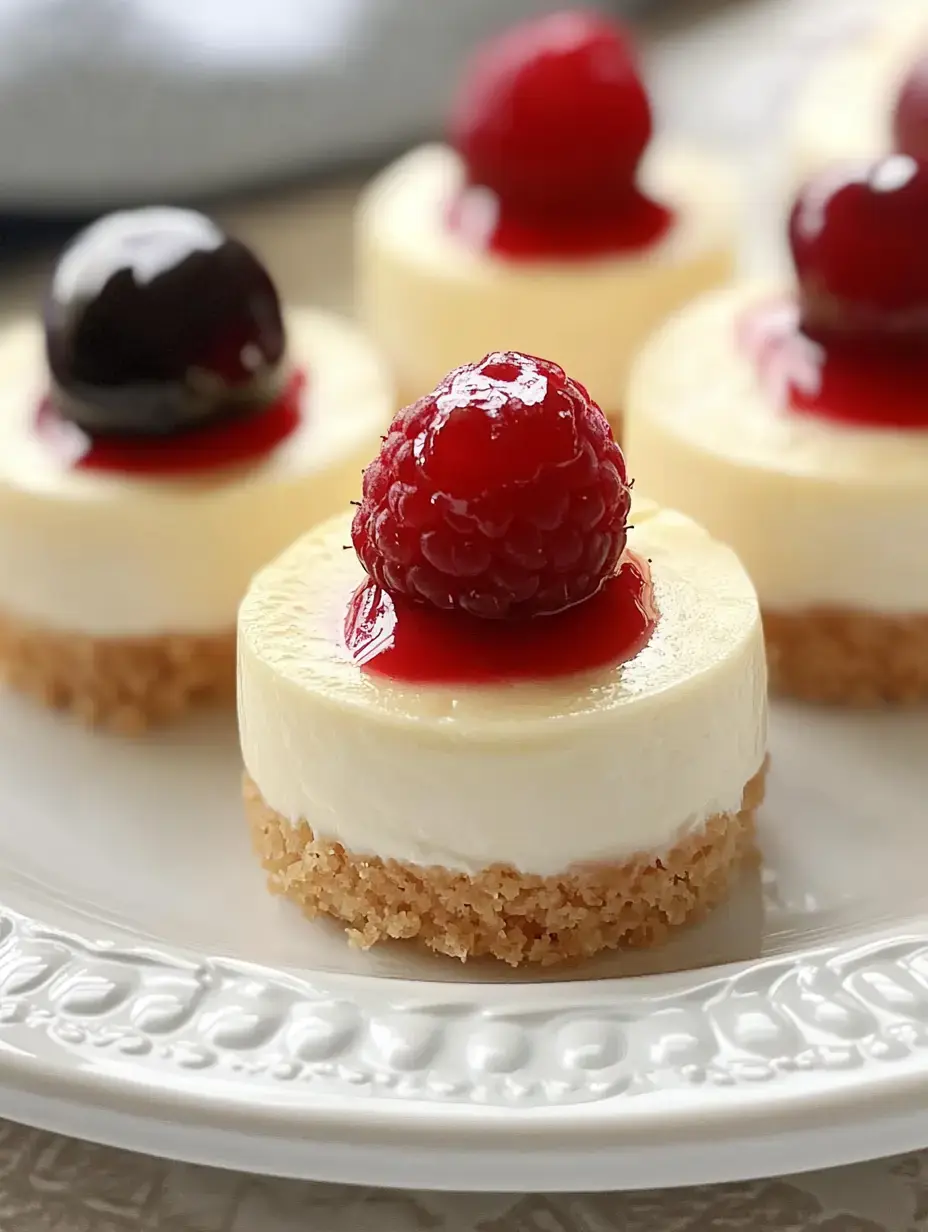
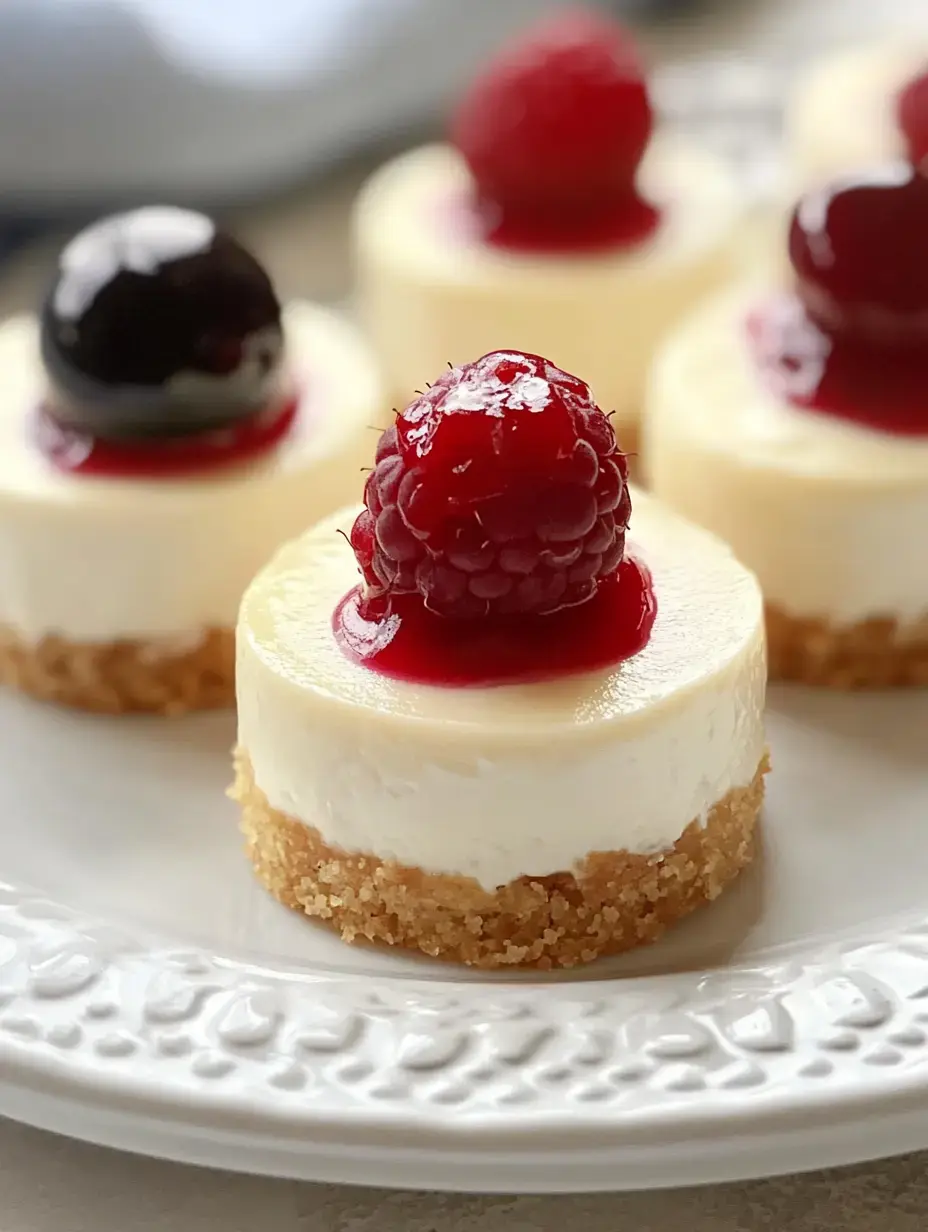
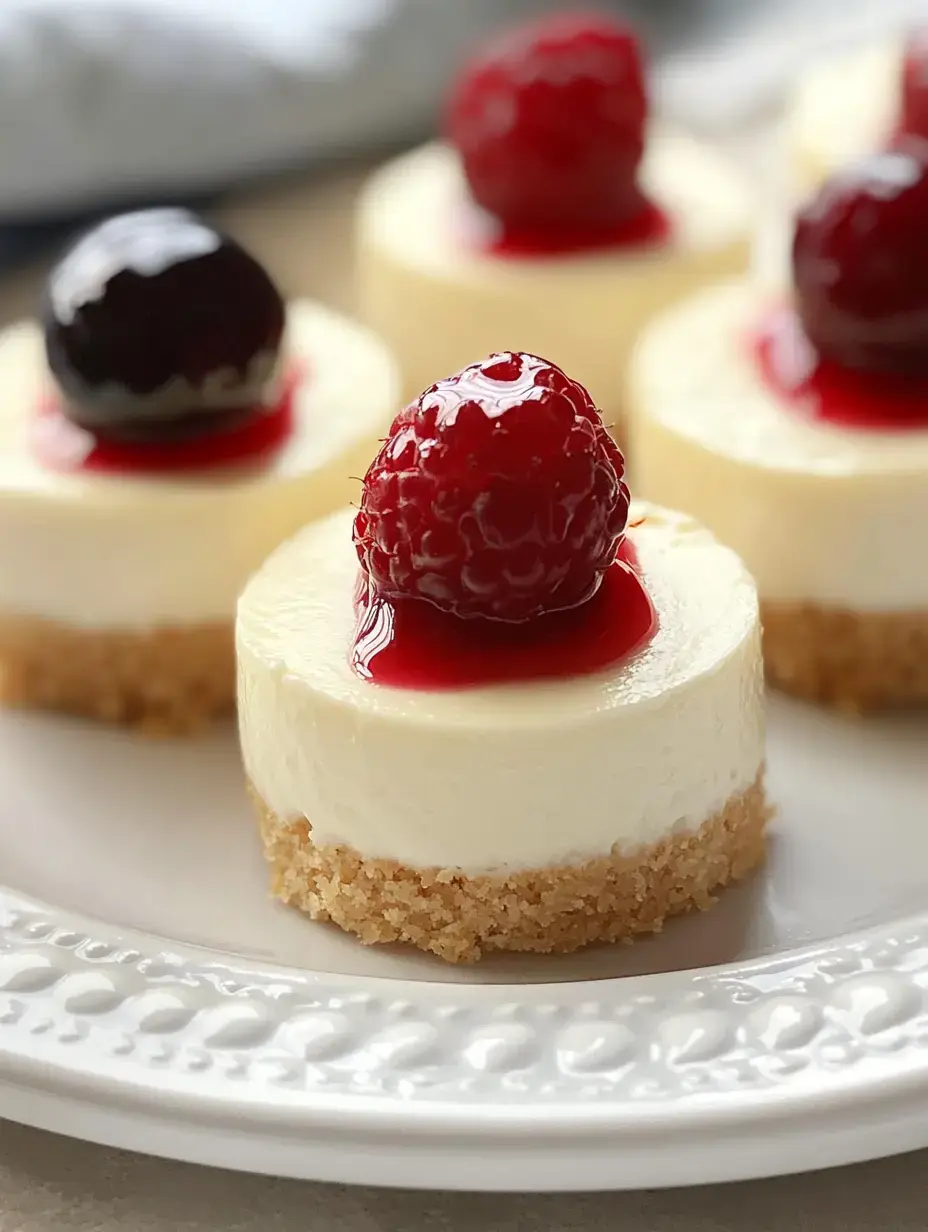
These cute little cheesecakes have totally won me over in my kitchen. I can't count how many times these tiny bites of goodness have come to my rescue for dessert. Each one has a buttery base that breaks apart perfectly then blends into the smoothest cheesecake mixture you'll ever taste. They're ideal when you want something nice but don't feel like making a whole cheesecake.
Tiny Treats Massive Flavor
What's great about these small wonders is how fast they're ready. You won't have to worry about water baths or watching for cracks. And they come in perfect single servings so you don't need to cut messy pieces when friends drop by.
What You'll Need
- Butter: Always go for the real stuff, it really makes these taste amazing.
- Cream Cheese: Get the full-fat kind for that rich, velvety feel we all crave.
- Sugar: Just enough to cut the sharpness without being too sweet.
- Eggs: Good, fresh eggs give these minis their wonderful texture.
- Vanilla Extract: A little dash of nice vanilla improves everything.
- Graham Crackers: They're always in my cupboard for the best crust, but sometimes I throw in gingersnaps when I want to fancy things up.
Making Your Foundation
- Press and Bake
- Using the back of a spoon makes perfect little crusts. After five minutes of baking, your house will smell wonderful.
- Mix it Up
- Blend those buttery crumbs until they look damp like sand.
- First Things First
- Heat your oven to a cozy 325°F. Put liners in your muffin tin while you wait.
The Smooth Center
- Sweet Balance
- Stir in sugar and vanilla until everything looks glossy.
- Gentle Touch
- Put those eggs in one at a time. Don't beat too much - that's the real secret.
- Start Smooth
- Make sure your cream cheese is really soft. I just leave mine out for a couple hours before I start.
 Save
Save
Filling Each Cup
Pour the mix almost all the way up each liner. I grab an ice cream scoop for this job since it keeps everything tidy. Tap your pan gently on the counter a few times to help everything settle down.
Baking Success
They need about 15 minutes in the oven. You'll spot they're done when the middle still jiggles just a bit. Don't open that oven door no matter how much you want to look.
Let Them Rest
Here's a smart tip from my grandma - keep them in the warm oven with the door slightly open. This slow cooldown stops the tops from splitting and makes them super smooth.
Patience Pays Off
Stick them in the fridge once they're just warm. I usually whip these up the night before I want them. They taste even better after sitting overnight.
Add Your Toppings
Now you can get creative. Fresh berries are what I go for most, but sometimes I add caramel or a bit of whipped cream when I'm feeling fancy.
 Save
Save
Storage Tips
These small treats stay good in the fridge for up to a week. If you want to save them longer, wrap them up tight and freeze. They thaw out great whenever you need something sweet.
Switch Up The Bottom
I often swap graham crackers for different cookies. Chocolate sandwich cookies make an incredible base and vanilla wafers add such a nice gentle sweetness.
Try New Tastes
The cheesecake part works like a clean slate. A bit of lemon zest makes everything pop or mix in some raspberry jam for a fruit twist. You can try so many things.
Chocoholic's Delight
When you mix melted chocolate into the filling, you get the richest treat ever. I love putting chocolate curls on top - they look fancy but they're actually super easy.
Eye-Catching Designs
Add a couple drops of fruit sauce and run a toothpick through for beautiful patterns. It's basically food art and so much fun to create.
 Save
Save
Great For Gatherings
These little guys are my party trick. Everyone gets their own perfect serving and they look so classy on any dessert table.
Kid-Friendly Activity
My little kitchen assistants love adding toppings to these. We always have sprinkles and tiny chocolate chips ready for when they feel artsy.
Fast Results
You'll be amazed how quickly these bake. While a regular cheesecake needs over an hour, these are done in just 15 minutes. They're perfect when you need dessert in a hurry.
Holiday Versions
I enjoy changing the decorations for different celebrations. Heart sprinkles for Valentine's Day, broken candy canes for Christmas, they always match the mood.
Just Right
After baking these mini cheesecakes for years, they still make me happy. They're what I turn to when I need something special that everyone will love. Try them once and watch how fast they get eaten up.
Wrap-Up
These small cheesecakes are a dream of creamy filling on a buttery crust. Simple yet indulgent, they're versatile for any occasion.Recipe FAQs
- → Can I store these in the freezer?
- Absolutely, wrap each one and freeze for up to 3 months. Thaw in the fridge overnight and add toppings before eating.
- → Why do cracks show up in the filling?
- This happens when you overmix or bake too long. Blend until just combined and bake until the centers are barely firm.
- → Can I prep these a few days early?
- Yep, make them up to four days in advance. For best results, wait to top them before serving.
- → What can I swap for graham crackers?
- Crush some Oreos, vanilla wafers, or gingersnaps instead. Stick with the same butter amount to hold it together.
- → When should I take them out of the oven?
- Take them out when the centers still wobble slightly when you shake the pan gently. They'll set up as they cool.