
 Save
Save
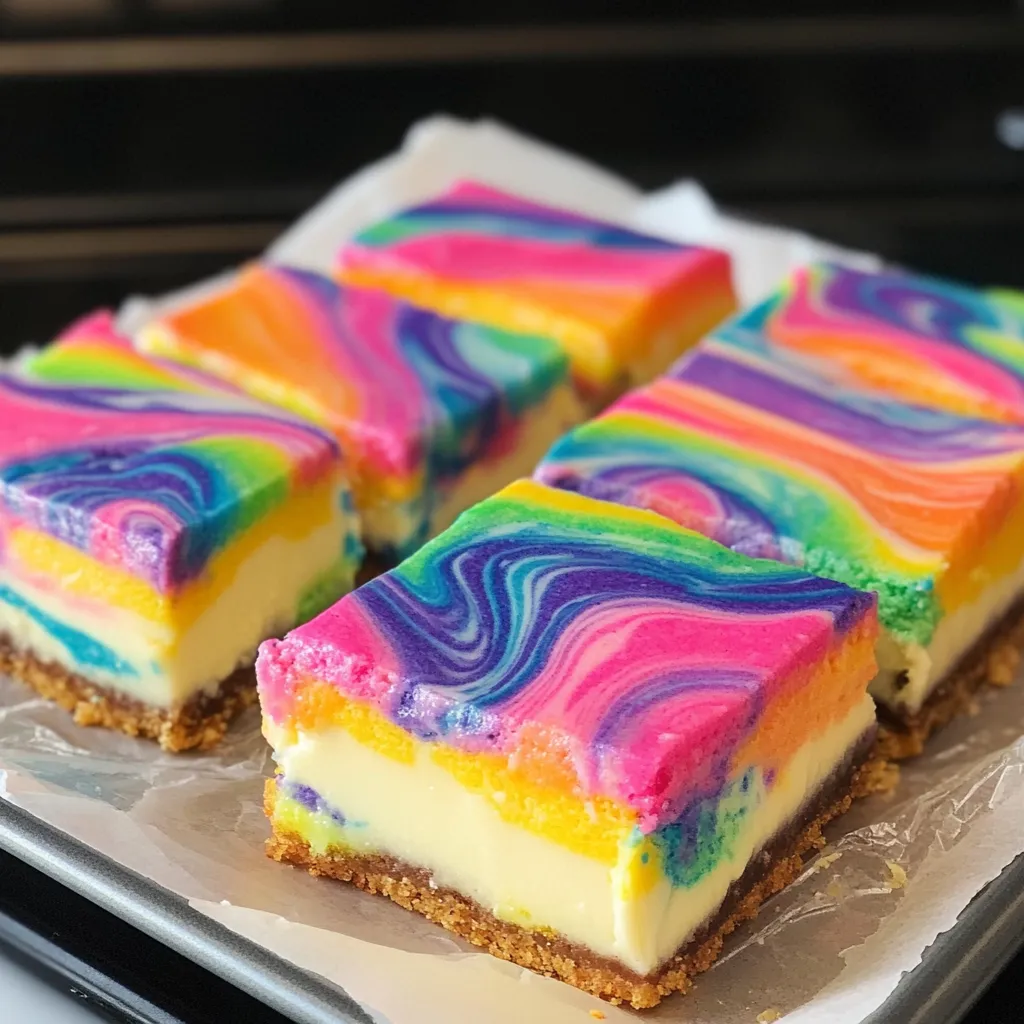
Bright rainbow patterns swirling through rich cheesecake on a soft cake bottom - these bars add fun to any sweet spread. I found this idea when planning my daughter's colorful birthday bash last year. Now, these lively treats are what everyone asks for at gatherings, sales, and family events. The best part? Pulling them out of the oven and seeing those gorgeous swirls that make every piece its own tasty artwork.
I took these to our street party last summer and they vanished right away. My quiet neighbor Tom actually followed me back asking if I had more "rainbow things" hidden somewhere. His little girl stood next to him nodding like crazy with colorful crumbs all over her face. That moment told me this was a winner.
Bright Ingredients
- White cake mix: This gives us the clean background we need. Don't go for yellow cake mix or you'll mess up those pretty colors we want.
- Butter: Stick with the real thing, not margarine. I went the cheap route once and regretted it. The bars missed that wonderful melt-in-your-mouth feel that makes everyone want seconds.
- Gel food colors: These thick colors make vivid swirls without making the batter runny. Regular liquid colors just can't match the brightness and might thin things too much. The neon shades look amazing in these bars.
- Cream cheese: Get it nice and soft or you'll get bumps in your cheesecake part. I've messed this up plenty of times and ended up zapping cream cheese in quick bursts in the microwave.
- Vanilla extract: Go for the good stuff if you can. That tiny extra flavor boost matters in the cheesecake. I've used the clear kind when I wanted the whitest background for my colors.
 Save
Save
Color Tricks
- Setting up your base:
- Getting your pan lined right makes taking out and cutting the bars so much easier. I like non-stick foil for the cleanest edges. The oven temp is important too - we go with 325°F instead of 350°F to avoid browning our pretty colors while baking.
- Making your rainbow mix:
- When splitting up the batter, I use my kitchen scale to get it just right. You want about 2/3 cup for each color. Start with tiny dabs of gel color - you can always add more but can't take it away! Saving that tablespoon from each color is key for those pretty top swirls.
- Laying down your colors:
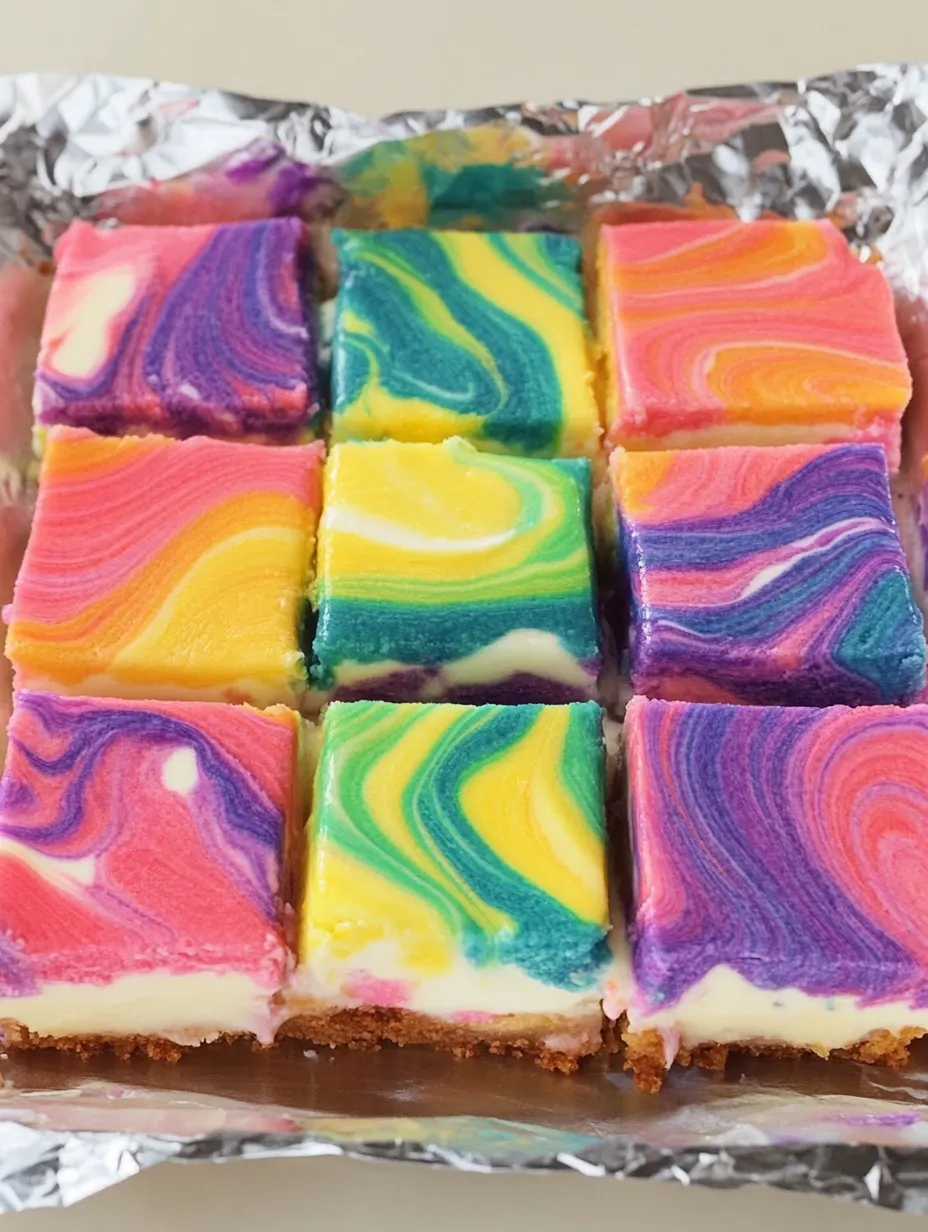
- When you drop the colored batters into the pan, move quickly but carefully. I find putting them in a checkerboard works great, but honestly, any way looks good. Just pat it down with slightly wet fingers to make an even layer without mixing colors too much.
- Getting the cheesecake just right:
- You must have soft cream cheese for a smooth layer. A few pulses in my food processor makes it super smooth, but your mixer works fine too. Pour it gently so you don't mess up your colorful base underneath.
- Making perfect swirls:
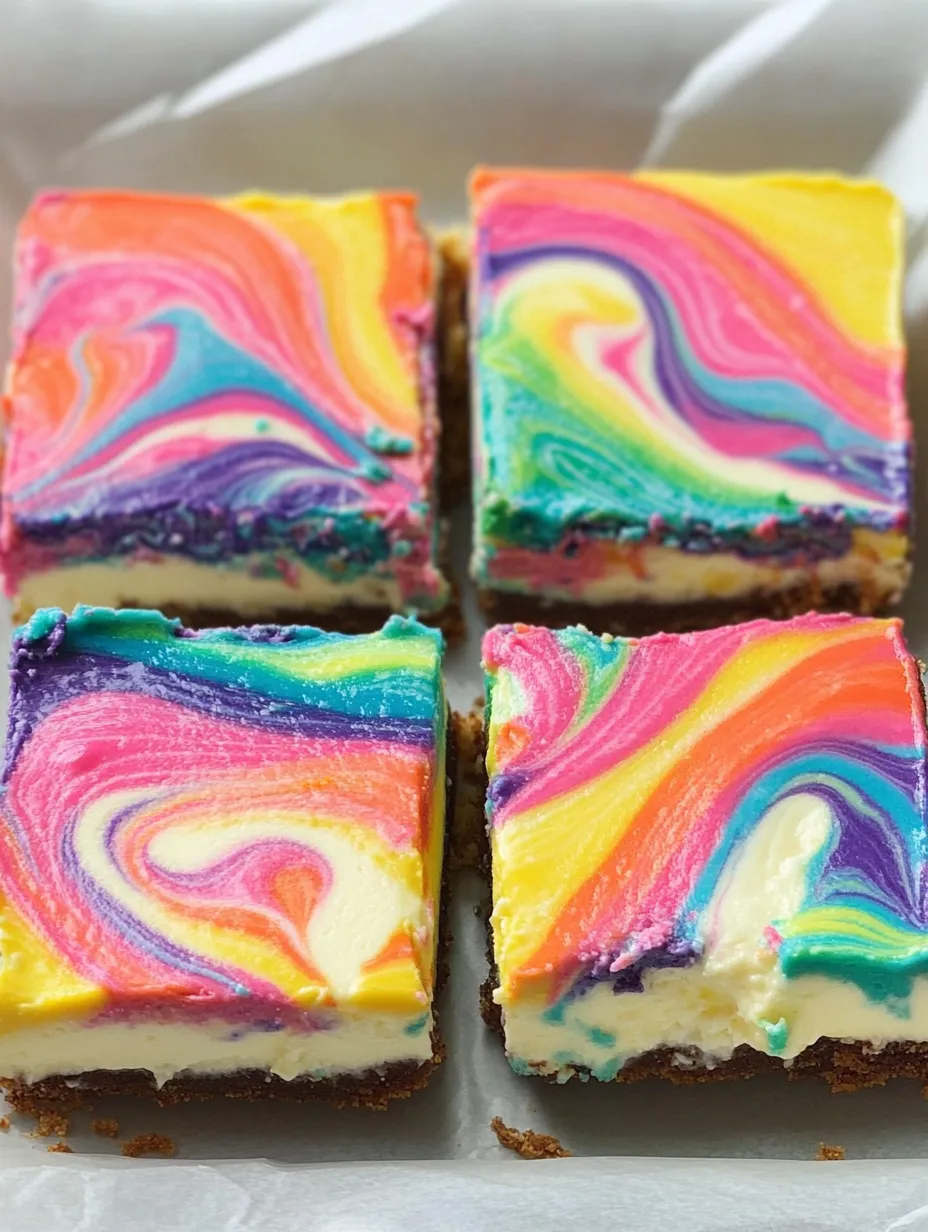
- Adding a bit of milk to your saved colored batters helps them make beautiful swirls that stay on top. Drizzle them across randomly, then use a toothpick for the actual swirling. Don't overdo it - too much swirling turns everything muddy.
- The foil secret:
- Covering with foil halfway through baking isn't optional. My first try skipped this step and I got brownish swirls that lost their pop. The foil keeps your colors bright and beautiful.
My first shot at making these was a learning moment, to put it nicely. I didn't save enough batter for the top design and tried fixing it by adding food coloring straight to the cheesecake. What I got was a messy tie-dye that tasted good but looked nothing like the pretty swirls I wanted. Now I've got the right mix of bottom layer to topping and found that waiting during cooling really changes how they look and feel.
Stunning Serving Ideas
Make your Rainbow Cheesecake Swirl Bars stand out even more by putting them on a dark black plate that makes the colors jump out. For kids' parties, I've cut them smaller and arranged them in a rainbow shape on the table. They look great with some fresh berries on the side if you want to fancy them up. When I make them for school sales, I wrap single bars in clear wrap with bright ribbons.
Fun Twists
After you get the hang of the basic method, try different color schemes for holidays. Red, white and blue make great summer holiday treats. Green and red work perfectly for Christmas time. School colors are awesome for graduation parties or game days. You might also try adding flavor to the cheesecake - a bit of lemon zest makes everything taste brighter. For chocolate fans, try swirling in some chocolate hazelnut spread with your colored batter.
Keeping Fresh
These colorful squares stay tasty for about five days when kept in a sealed container in your fridge. They actually taste better after the first day as the cake part soaks up some moisture from the cheesecake. For the neatest slices, dip your knife in hot water and dry it between cuts. If you're making them way ahead, freeze them in a single layer until hard, then stack them with parchment paper between layers. Let them thaw in the fridge overnight before serving.
 Save
Save
I've taken these Rainbow Cheesecake Swirl Bars to so many get-togethers over the years, and they always get wide eyes and big smiles before anyone takes a bite. Something about those bright swirls makes everyone feel like a kid again, while the creamy cheesecake part keeps grown-ups happy too. My neighbor's daughter now wants these instead of cake for her birthday, which feels like winning a baking award. Though they look like you need pro skills, they're actually easy enough for any baker - just don't tell your fans how simple they really were to make!
Recipe FAQs
- → Can you use liquid colors instead of gel?
- Stick to gel colors for bold shades without messing up the batter. Liquid colors will need more drops and look softer.
- → Can this be made ahead?
- For sure! They taste even better after sitting in the fridge overnight, so prep them the day before.
- → What's the trick for perfect swirls?
- Gently swirl with a toothpick or skewer. Don’t go overboard—it just takes a few swipes to get those pretty patterns.
- → Can these be frozen?
- Totally! Wrap them up individually and keep them frozen for up to 2 months. Let them thaw in the fridge when you're ready to enjoy.
- → What if I don’t have all the rainbow colors?
- No problem! Use just a few colors for a stunning effect. Mixing primary shades also works great to create others.