
 Save
Save
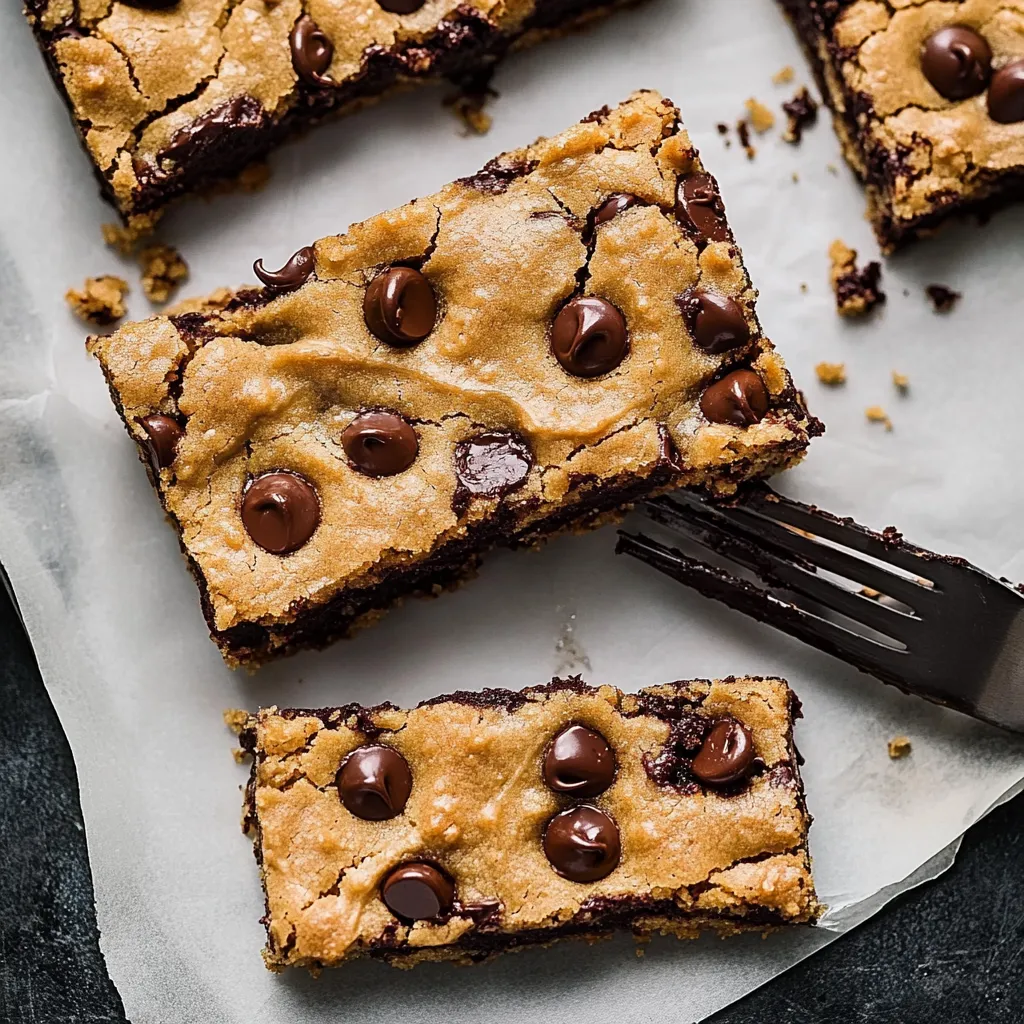
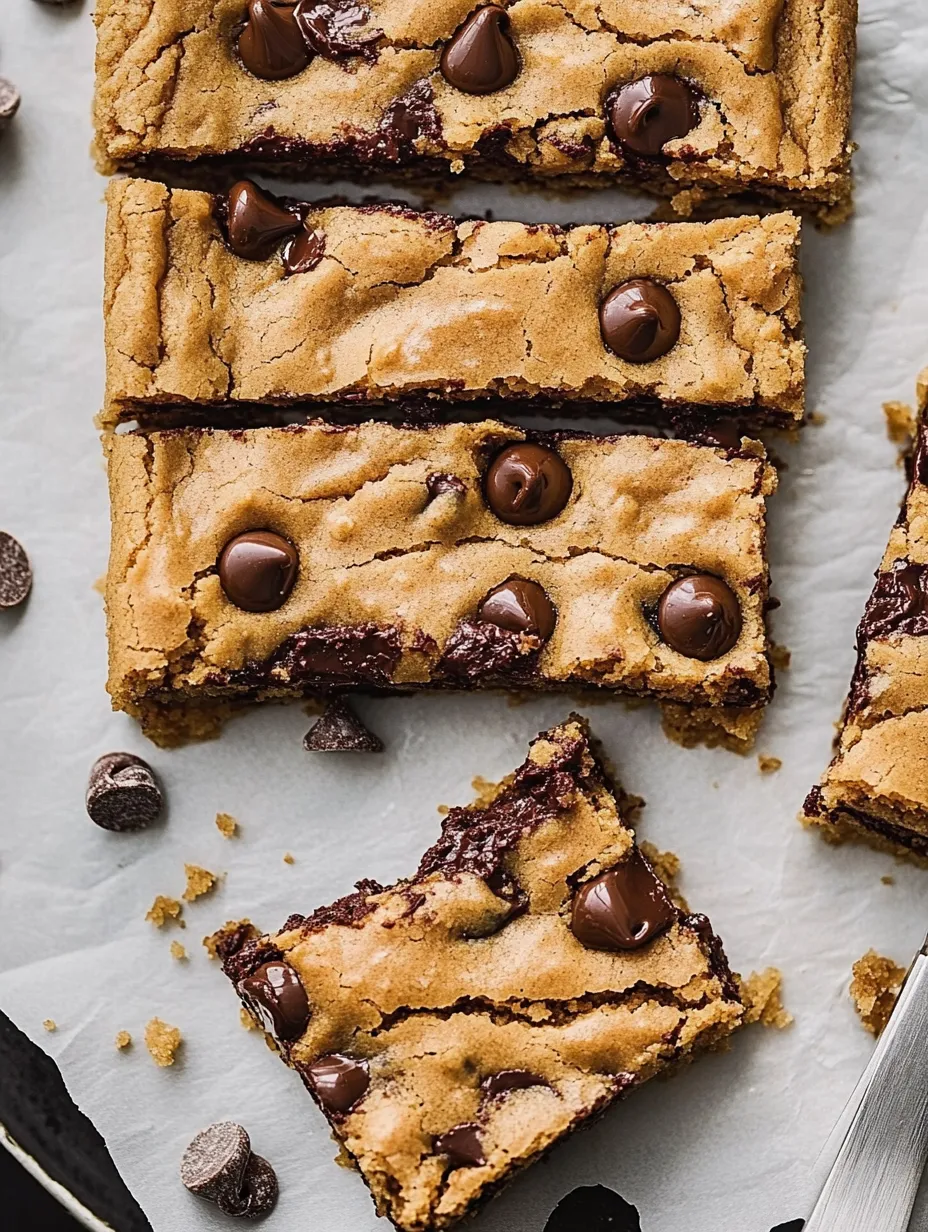
There's nothing like that smell when chocolate chip cookies are in the oven. But honestly, these cookie bars are even easier and just as tasty. I’ve made batch after batch and found bars beat cookies for big flavor and way less work. You get all those chewy corners and gooey centers with melted chocolate in every piece—just grab a pan, use trusty ingredients, and skip the messy scooping.
I brought a warm batch to my daughter’s study group last weekend. The melty chocolate inside each bite turned even the most dedicated students into happy snackers. Nobody could say no to seconds.
Irresistible Ingredients
- Sea Salt: That last sprinkle wakes up all the flavors
- Chocolate Chips: Try a combo of minis and classics, so you don’t miss out on chocolate in any bite
- Brown Sugar: Delivers that rich, chewy caramel feel everyone loves
- Butter: Melt it and let it cool enough—if it’s too warm, your bars will turn oily
My grandma used to joke, 'Hurrying the butter means sad cookies every time.'
 Save
Save
Magical Mixing Process
- Flour Finale:
- Gently fold dry ingredients in last—if you mix too much, your bars might get tough. Stop while you still spot a little flour.
- Vanilla Velvet:
- Mix in eggs and vanilla until it's all smooth and creamy. That's the trick for that dreamy, soft center.
- Sugar Symphony:
- Stir white and brown sugars into the butter till it’s kind of gritty—think wet sand. That’s where the magic caramel flavor happens.
- Buttery Beginning:
- Let your butter melt slowly, then cool off to warm—not hot—to make everything blend nicely.
Growing up, mom always stuck with cookies. Then on one crazy Sunday, I made these bars instead. They were faster and tasted just as good. Now, I make them for everything—from school bake sales to late-night sweet cravings.
Nailing the Bake
Eye those edges as they bake. You want them just barely golden while the middle’s still kind of soft and puffy. It’s all about catching it right in that fudgy-but-done zone. That’s the secret for perfect bars.
Oven Know-How
Every oven’s got its weird spots. Mine bakes hot on one side, so I twist the pan halfway through. Pay attention—once you know how your oven acts, you’ll get way better results.
Serving Ideas
These are epic warm with a cold glass of milk. Special night? Smash some over ice cream or make a cookie bar ice cream sandwich with two squares and your go-to scoop.
Fun Tweaks
Play with add-ins: try peanut butter or butterscotch chips, or toss in some nuts. Want extra flavor? Let your butter brown up first—it brings a deep, nutty smell everyone tries to guess.
Keeping Them Tasty
Keep your bars soft by storing them up to seven days in a sealed box on your counter. Put parchment between layers so they don’t stick. Chill them overnight if you want them even more gooey tomorrow.
 Save
Save
Pro Tips From Bakers
- Use parchment and let it hang over the edges so you can pull everything out easily
- After spreading the dough, toss some extra chips on top so your bars look like they’re straight from a bakery
- Run a warm blade through them for super neat slices
Making these over the years, I’ve brought them to breakups, work parties, and lots of lunches with friends. Their real magic is turning any day brighter. If you bake a little or a lot, these bars will show you good things can be simple—and super tasty too.
Recipe FAQs
- → Can I prep these bars early?
- Yup! Keep them sealed up for a week at room temp or freeze them for 3 months.
- → Why are my bars fluffy, not chewy?
- Stirring too much or adding extra flour can do this. Mix lightly and measure flour right.
- → How do I check if they’re done?
- When the edges look golden and the top puffs slightly, around 18-25 minutes, they’re good.
- → Can I use a different kind of chocolate chips?
- Of course! Milk, dark, or semi-sweet chips all work great here.
- → Is parchment paper necessary?
- Not a must, but it’s super handy for getting them out and cutting cleanly.