
 Save
Save
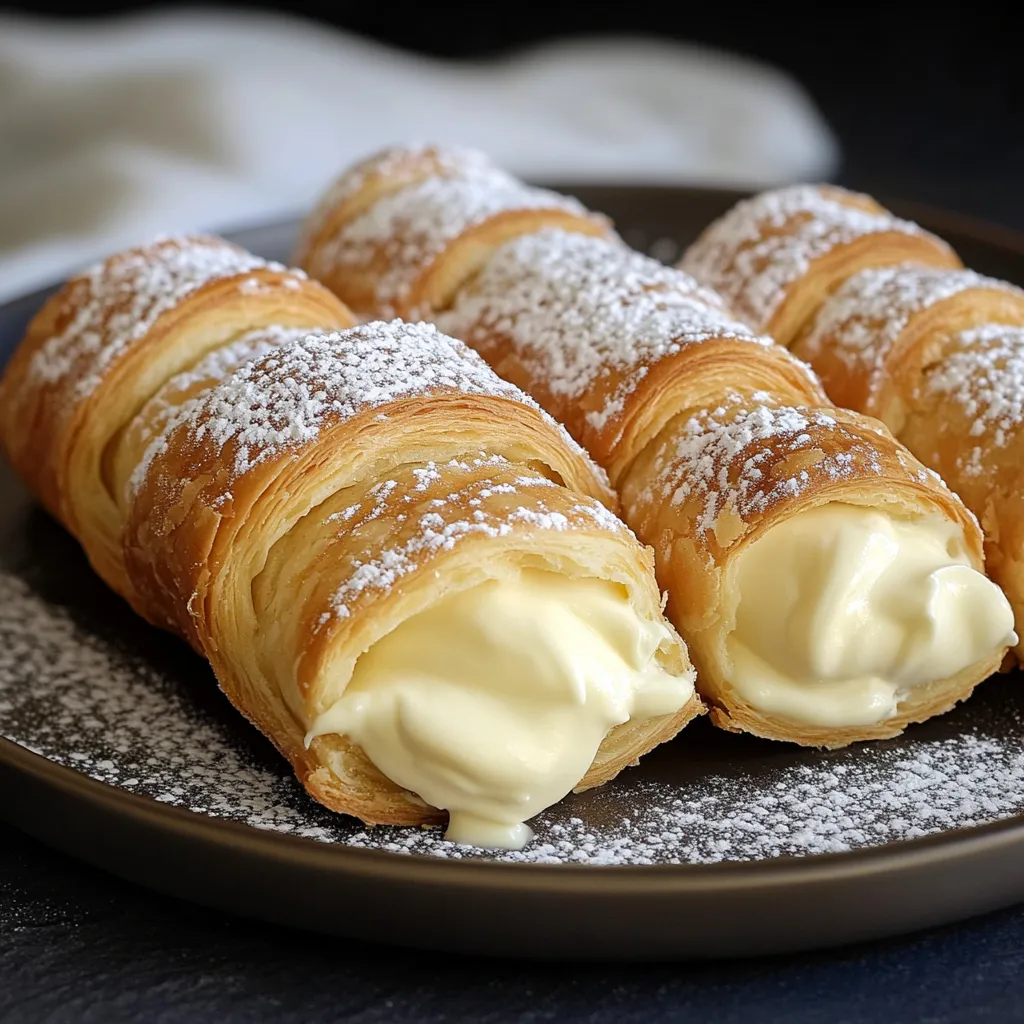
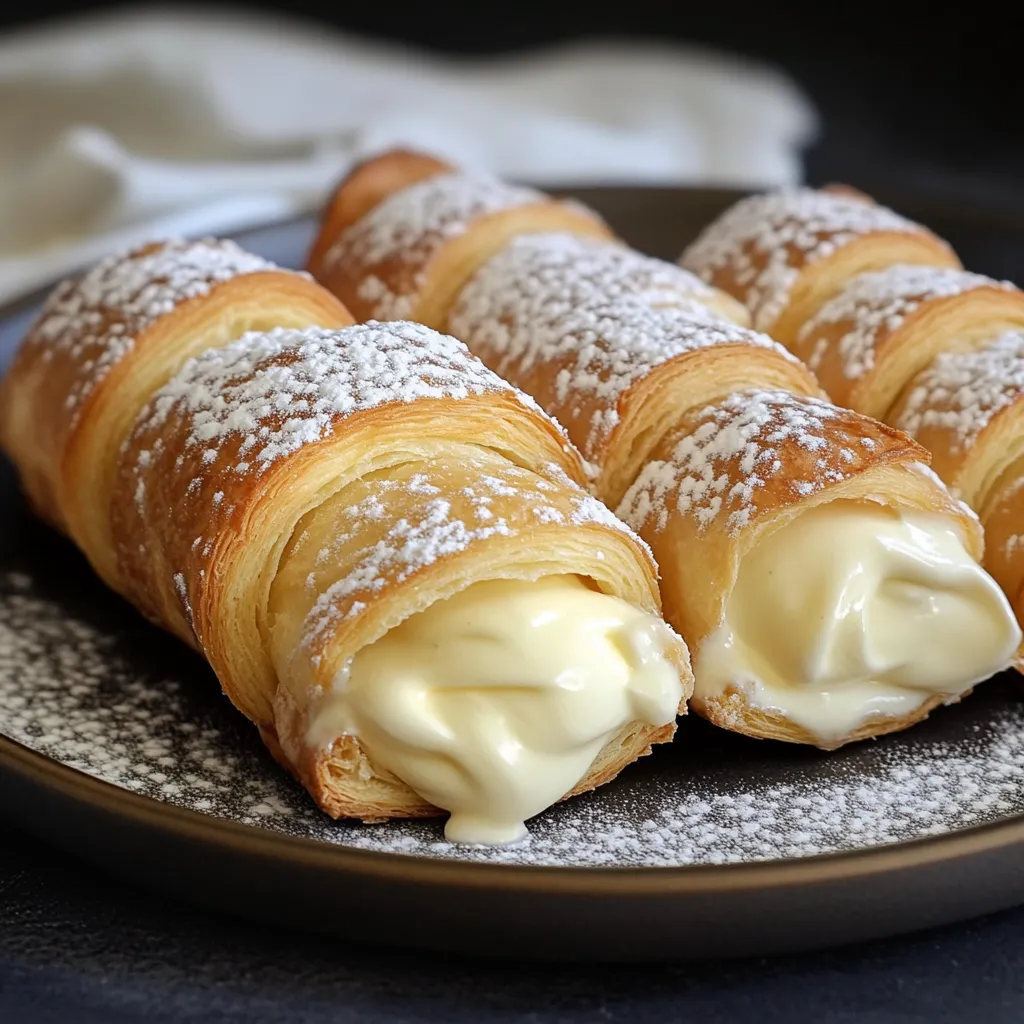
Italian-style cream-filled cannoncini bring together crispy, airy puff pastry with creamy custard for a melt-in-your-mouth treat that feels just like a little bit of Italy in your home. Their signature horn shape shows off the fun side of Italian sweets, and the combo of crunchy outside and thick, smooth filling is exactly why these are adored everywhere.
My very first bite of one of these cream-stuffed delights was in a tiny Florence bakery. I just had to figure them out once I got back—and after some flops, I finally nailed down that taste I remembered. Now my family begs for them anytime we've got a celebration coming up.
Must-Have Ingredient Rundown
- Powdered Sugar: Sprinkle this over the finished treat for a light, pretty finish and gentle sweetness. It practically melts on the warm pastry surface.
- Egg Wash: You get that shiny, golden top by brushing on a beaten egg mixed with a splash of water. Just use one egg and about a tablespoon of water—no need to overthink it.
- Puff Pastry: This is the base of your cannoncini. Look for a quality, all-butter type to get tons of flaky, light layers that taste amazing with the custard.
- Whole Milk: Whole milk gives your cream its rich, creamy texture. Don’t swap for skim, or you’ll lose all that lusciousness. Heat low and slow so you don’t burn it.
- Vanilla Extract: The simple way to build up deep flavor in your custard. Always go for real vanilla, not imitation—and those black specks mean you’re getting the real deal.
- Sugar: It’s not just for sweetness—it also helps the custard set and brings out the vanilla. Use fine sugar so it melts right in and keeps the cream smooth.
- All-Purpose Flour: Just a bit thickens up your custard and keeps it silky. Sift before using to keep lumps away—a must for a cream that’s smooth all the way through.
- Egg Yolks: This is what makes your custard rich and provides that velvety mouthfeel. Let them warm up before using so they blend with the rest of the mix nicely. Their natural stuff (lecithin!) keeps your cream extra smooth.
Step-By-Step Cannoncini Making
- Finishing Touch:
- Both the pastry horns and your custard should be fully cooled before moving on. Use a piping bag with a star tip to fill each horn; go from the inside so the cream shows just a bit at each end. Only sprinkle on powdered sugar when you’re ready to put them out for eating, or it’ll melt away.
- Baking Time:
- Beat up one whole egg with a splash of water, then brush it onto the pastry horns—be stingy so it doesn’t drip off the edges. Slide them into your hot oven and bake for fifteen to twenty minutes. When they’ve puffed up with clear layers and turned a deep golden color, they’re ready. Watch them at the end—they can go from perfect to too dark in a heartbeat. Let them cool a little bit, then twist the molds out gently.
- Shaping the Shells:
- Crank your oven up to 400°F (200°C). Instead of flour, toss sugar over your counter to keep things from sticking and create a sweet crispy crust. Roll your pastry out into a 9×12 inch rectangle, pushing gently into the sugar. Slice it into twelve long strips, about an inch wide. Start at the pointy end and spiral each strip around a metal horn or cream roll tube, a little overlap on each turn. Place, sugar side out, on a baking tray lined with parchment.
- Getting the Cream Ready:
- Warm up your milk until it’s just hot but not bubbling. In another bowl, whisk egg yolks, flour, vanilla, and sugar together until the mix is smooth and a bit paler. It’ll get lighter the more you whisk, which makes the custard fluffier. Drizzle in the warm milk slowly, whisking the whole time so the eggs don’t cook too soon. Pour it all back into your pot and keep stirring with a wooden spoon over medium heat. When it thickens up to the feel of pudding and coats the spoon, it’s done. Wrap it with plastic so no skin forms, and chill for at least an hour.
 Save
Save
I’ve found adding a little grated lemon skin to the custard gives just enough brightness to cut the creaminess. This tiny burst of citrus really livens up the whole horn. My grandma always said the secret is patience—if you rush the custard over the heat, you’ll lose that dreamy texture every time.
Ways To Serve Cannoncini
Cannoncini really shine served with things that set off their flavors. Stack them next to fresh, sweetened berries with a squeeze of lemon for color and a juicy vibe. Going rich? Swirl some good chocolate sauce on your plates before you pile on the pastries. Coffee and these horns are a dream—cappuccino or espresso take it to another level. If you’re throwing a party, show them off on a pretty stand with flowers and other sweets mixed in for a showstopping effect.
Fun Filling Ideas
That simple vanilla custard base opens the door for all kinds of spins. Want coffee flavor? Drop whole beans in with your milk before making the cream. For chocolate, add a couple scoops of cocoa powder to the custard mix from the start. Go a little nutty with chopped pistachios stirred through before piping. To get a zesty vibe, swap vanilla for orange blossom water and toss in some grated orange peel. You can even roll the pastry strips in cinnamon sugar for a spicy kick before forming.
Keeping Them Fresh
If you haven’t filled the pastry yet, store the horns in an airtight tin at room temp up to forty-eight hours—they’ll stay crisp. The custard will last covered in the fridge for three days as long as you put the plastic right on the surface. For the perfect bite, only put the cream in close to when you’ll eat. If they’re already filled, stash in the fridge for up to four hours but don’t wait longer or they’ll get soggy. When you’re set to serve, let them warm up for a quarter hour and finish with a fast sprinkle of powdered sugar.
The key to killer cannoncini is keeping your pastry cold and coaxing your custard to thicken slowly. That’s how you nail silky filling and big flaky layers. There’s a kind of magic in these Italian horns—simple stuff, but handled right, it turns into something way more than the sum of its parts. They might seem tricky the first time out, but once you get it, making and sharing them is pure baking joy.
 Save
Save
Recipe FAQs
- → Can I prep the custard early?
- Absolutely! You can make the custard up to two days ahead. Just chill it in a sealed container with plastic touching the surface to avoid a skin.
- → What if I’m missing cannoli molds?
- No worries! Grab some aluminum foil to make quick DIY molds. Wrap foil around a wooden spoon handle, then slide it off to create your pastry forms.
- → Can I freeze these pastries?
- It's better to freeze only the unfilled pastry shells. Once thawed, crisp them up in the oven and fill with fresh cream. Filled ones don’t handle freezing well.
- → Why didn’t my pastry puff up?
- Usually, it’s because the dough wasn’t chilled enough. Keep it cold, and if it warms up as you’re handling it, pop it back into the fridge for 15-20 minutes.
- → How long will these stay good?
- They’re best when eaten within a day after filling. Leftovers can go in the fridge, but the pastry will soften as it absorbs moisture from the cream.