
 Save
Save
I came across this hidden-treasure mini Easter bundt cake idea last year when I was looking for something cute and seasonal for our family get-together. Putting adorable mini bundt cakes with a sweet-filled middle makes for this amazing moment of surprise when people cut into them. They've now become what we do every Easter, and making them is just as fun as watching everyone's reaction.
My little niece helped me in the kitchen the first time we made these, and she couldn't believe her eyes when we started stuffing the centers with candy. She was so excited for dessert time so everyone could see what was hidden inside. It's funny how the easiest things often make the biggest splash, particularly with little ones.
Basic Components
- Cake mix - A handy shortcut that works every time
- Mini bundt pan - Makes those cute personal cakes with the perfect hollow middle
- Easter candy - The bright surprise that transforms these treats
- Basic glaze - Just right to enhance the cake flavor without going overboard
- Gel food coloring - For getting those lovely Easter pastel shades
 Save
Save
Baking Process
- Getting Your Pan Ready
- Making sure your mini bundt pan is completely buttered and floured is key for getting the cakes out easily. I've learned that butter works way better than spray oil for helping cakes slide out, so I take time to cover all the little grooves in the pan. Then a small coat of flour over the butter really helps. The first batch I ever tried stuck badly because I rushed this step. Now I spend extra time here, and the cakes pop out perfectly.
- Making The Batter
- You can go homemade or boxed for this, but I typically grab a box for speed and reliability. I've found that tossing in one more egg than the box says makes the cake a bit firmer, which works better for holding candy. I also mix it longer than suggested to get more air in there, helping the cakes rise nicely in the bundt shapes. Sometimes I throw in some vanilla, even with vanilla cake mixes, just for extra flavor.
- Watching The Oven
- These little bundts cook faster than what your cake mix box will tell you. I start peeking about 5-7 minutes early, watching for the edges to pull away and the tops to bounce back when touched. Cook them too long and they'll be dry, but take them out too soon and they might sink when filled. Letting them sit in the pan for around 10 minutes after baking is just right - they set up but don't get stuck.
- Leveling The Bottom
- Cutting that little bit off the bottom really changes how they look. I use a bread knife and just take enough off to make them sit flat. This stops them from rocking and lets people see the pretty bundt shape. I save these bits in a container - they're great for making little cake treats later!
- Picking Your Candy
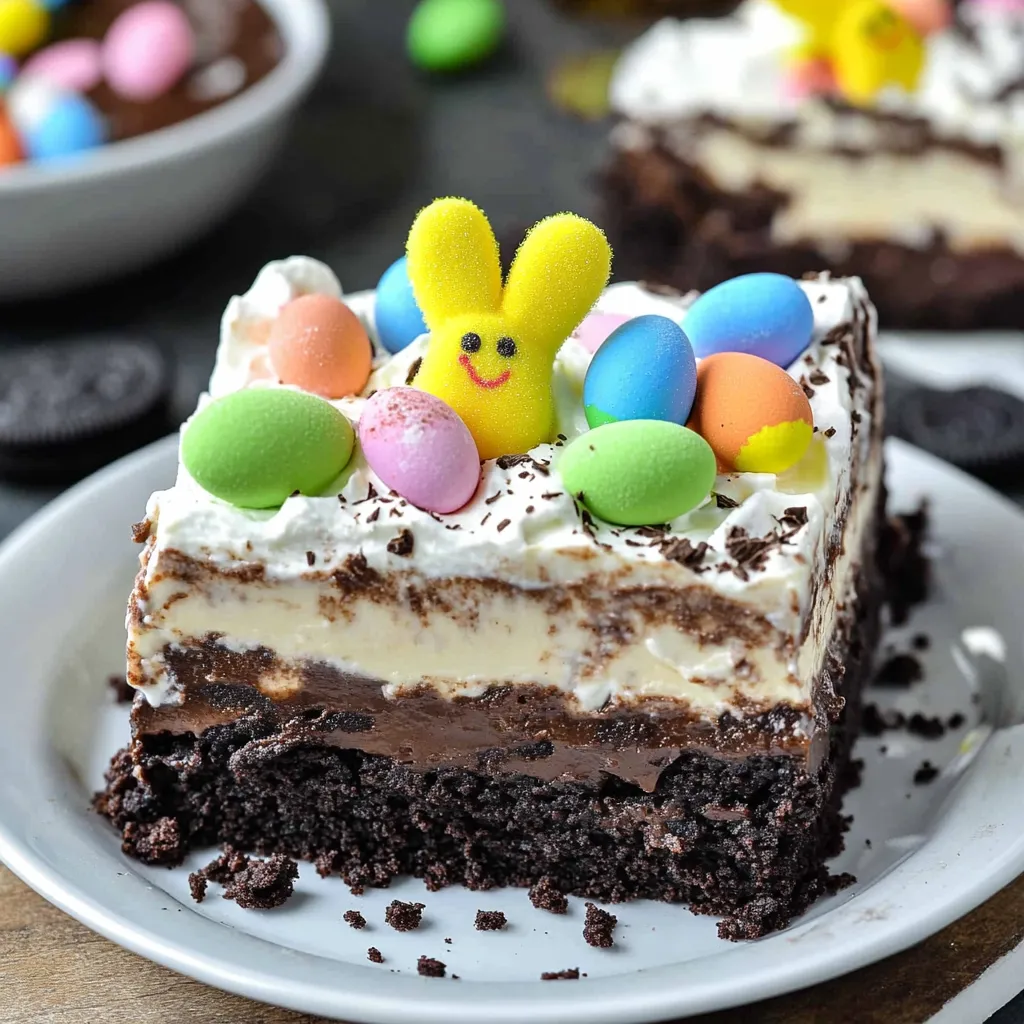
- What candy you choose affects both how it looks and how easy it is to eat. I go for colorful candy that isn't super hard or chewy - small chocolate eggs, jelly beans, colorful M&Ms, and tiny chocolate bunnies work great. I stay away from caramel stuff that's hard to eat with cake. Using different colors and sizes makes it more exciting when someone cuts the cake open. Sometimes I match candy colors with the glaze for a put-together look.
- Pouring The Glaze
- Getting the glaze just right matters - too runny and it goes everywhere, too thick and it won't flow nicely over the bundt ridges. I always start with less milk than I think I need and add tiny bits until it's thick but pourable. When I put it on, I go around the top ridge in a circle and let it run down naturally. I'm careful not to get glaze in the middle hole so the candy surprise stays hidden. For different colors, I either do patches of different shades or drizzle contrasting colors over a base for a festive look.
Even my serious father-in-law cracked a big smile when he cut his cake and candy tumbled onto his plate. When you can amaze someone who isn't easily impressed, you know you've got something good.
Tasty Companions
These fun cakes go great with coffee or tea at an Easter afternoon gathering. For brunch, they add some color to the sweet table next to fresh fruit. After a big Easter dinner, they're just light enough for dessert. My kids can't get enough of them with a little vanilla ice cream on the side, which goes really well with the sweet cake and candy mix.
Fun Twists
Switch up the cake flavors and try lemon or strawberry for something different. You can swap out the candy for other holidays too - try red and green candies at Christmas, pink hearts for Valentine's Day, or spooky treats for Halloween. You can even color the cake batter to match or contrast with your glaze. Last Easter, I tried swirling different colored batters together, which made beautiful rainbow cakes that looked even more exciting when cut open.
 Save
Save
I've brought these surprise-filled mini Easter bundt cakes to family parties, school functions, and Easter dinners, and they always get people talking. There's something truly special about cutting what looks like a normal glazed cake and seeing bright candy spill out onto your plate. My kids now help me make them every Easter, carefully choosing which candies to use and decorating each cake in their own way. Often the recipes we remember most aren't the fanciest ones, but the ones that bring a touch of magic to our celebrations, starting traditions that everyone looks forward to year after year.
Recipe FAQs
- → Can I prep this dessert early?
- Sure! It’s even better if you make it a day or two before. Just leave off the decorations until right before serving to keep them looking fresh.
- → Is Cool Whip replaceable with homemade whip?
- Yes! Beat 2 cups of heavy cream with 1/4 cup powdered sugar and a splash of vanilla until thick peaks form. Be aware, it might not keep as long as Cool Whip would.
- → How should I keep the leftovers fresh?
- Wrap tightly in plastic and refrigerate for up to 3 days. The texture is best enjoyed within 48 hours, though.
- → Can I use a smaller or bigger pan?
- Of course! Split the recipe in half for an 8x8 pan, or serve it up in cups or jars for fun single-portion treats.
- → What if I want a different pudding flavor?
- Go for it! Vanilla, white chocolate, or even fruity options work great. You can also change up the Oreo type to fit your holiday vibe.
- → Can I make the crust without a food processor?
- Absolutely! Put the Oreos in a plastic bag and crush them with a rolling pin or a heavy pan. The crumbs don’t need to be perfect—chunky bits are fine!