
 Save
Save
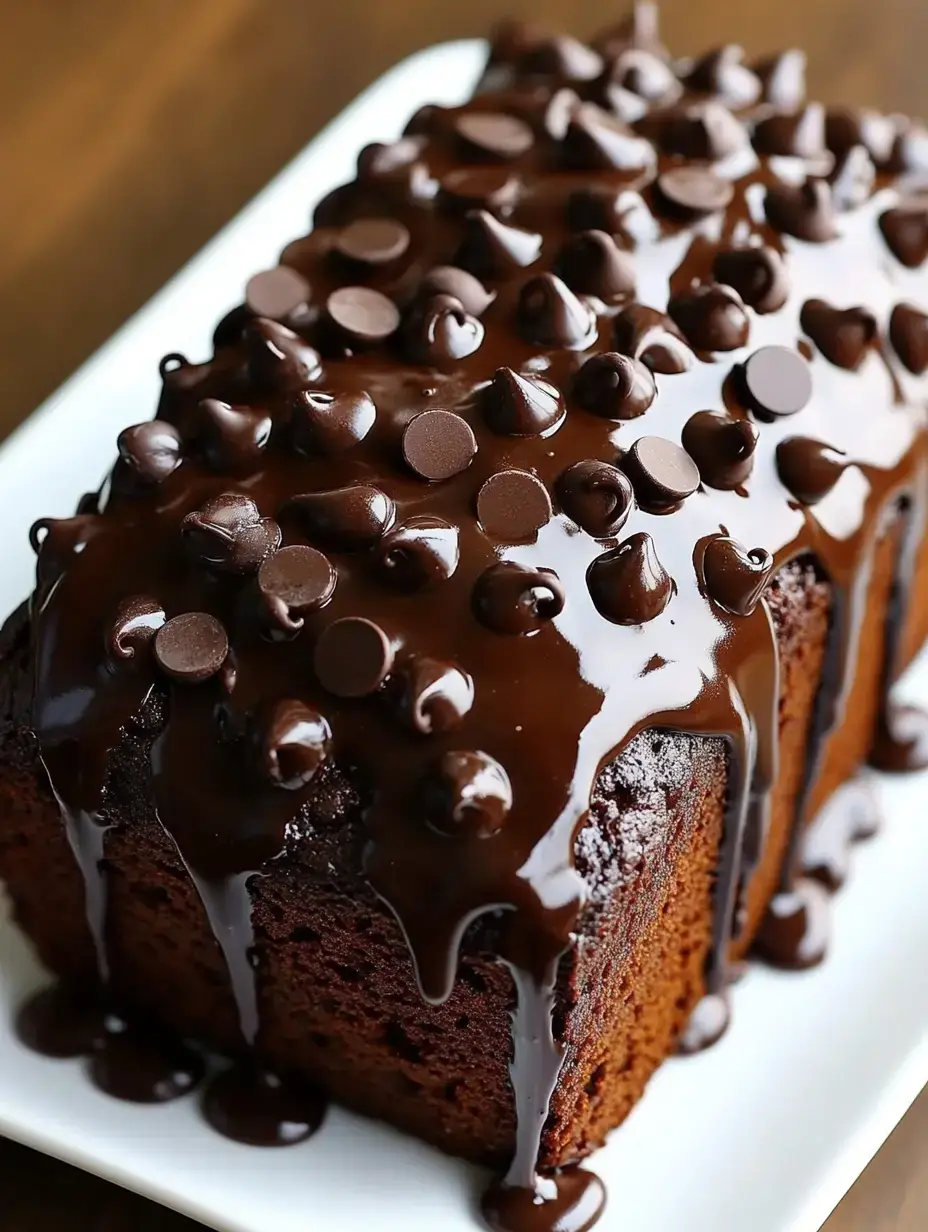
Sundays in my house always smell like melted chocolate. Once, I was craving both a gooey brownie and a chocolatey loaf, so I just tossed ideas together and made a super chocolate treat. The end result? Total happiness for anyone who can't pick just one chocolate dessert.
How This All Started
Last winter, while working on cookbook drafts, this idea just clicked. Pouring warm fudge into soft chocolate bread batter? It's next level good. My kids kept sneaking more slices, so I had to pass the idea along to you too.
What to Gather
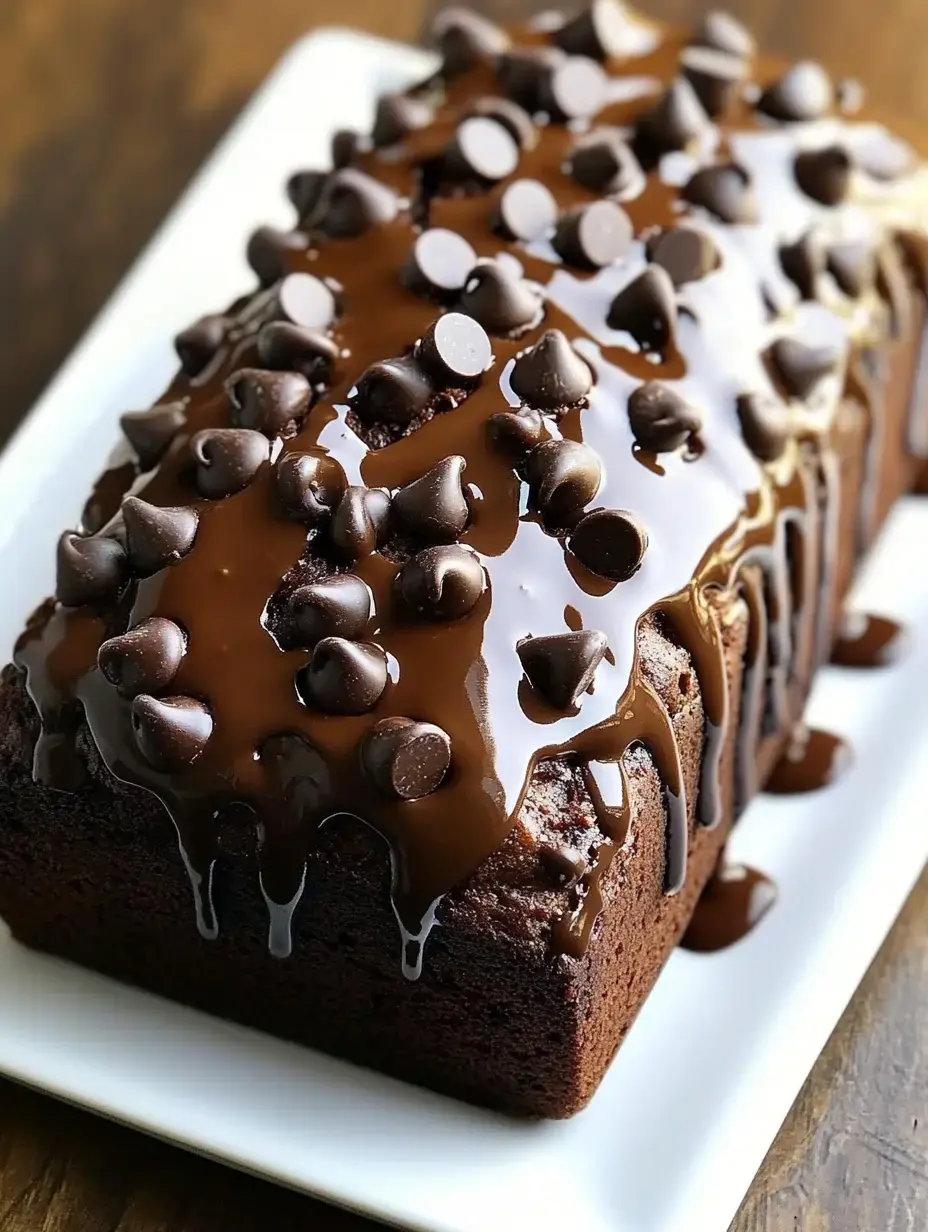
Years in the kitchen taught me that top-notch ingredients make your baked goods shine. Grab your go-to all-purpose flour, a really bold cocoa powder, thick fudge, fresh buttermilk, and toss in chocolate chips or a handful of nuts if you're into extra treats. Little upgrades like these are game changers.
Tricks I've Picked Up
Tested a ton of loaves to land on these tips. Let everything sit out until it’s at room temp, and you’ll get the best texture. Dutch cocoa is my go-to for deep flavor. And if you mix too long, forget about fluffiness—so pay attention and stop once everything’s just mixed in.
Jumping In
Crank your oven to 350°F first. My grandma’s old loaf pan does the trick for this bake. Rub it with butter, but instead of flour, dust with cocoa to keep the loaf dark and pretty. Preheating makes the whole house smell so good my kids can’t stay away.
 Save
Save
Getting the Mix Ready
Don't skip whisking your dry stuff. It makes sure all the cocoa spreads out evenly. I like using this old red ceramic bowl—maybe it's luck, maybe just habit. Don’t let the flour and cocoa clump, let them blend before you add any wet things in.
Turning Sugar and Butter Heavenly
This is the point where you make everything soft and dreamy. My stand mixer Betty has seen it all. Whip the butter with sugar until it turns light as clouds, and you’ll know you're on track when it fluffs up nicely.
Bringing It All Together
Your eggs need to be cozy—not straight from the fridge—before going in. Add them one at a time. The batter gets silkier with each one. I save the vanilla for last, and I splurge on the good stuff for comfort in every bite.
Blending Wet and Dry
This part feels like magic. Alternating buttermilk and your flour mix, it goes in three rounds each. Aunt Sarah always swore patience mattered most here. Watching the batter change is something I’ll never get tired of.
The Fudge Swirl Moment
Pouring in that warm fudge sauce is my favorite kitchen ritual. Making slow swirls through the batter turns each loaf into an edible masterpiece. No two swirls are ever the same, and that’s the beauty of it.
 Save
Save
Your Own Touch
I've learned you can make this totally yours. Sometimes I toss in dark chocolate hunks I've been saving, or toasted pecans leftover from fall. Some days, I just can’t decide, so both end up in the batter. Why not?
Pour and Settle
The batter glides right into the pan, pure velvet. My mother-in-law's tip: tap the pan gently on your counter a few times. It pops those sneaky air bubbles and settles everything down. One last smooth over the top, and you’re all set.
Waiting Out the Bake
Every oven bakes a little different. Mine takes a full sixty minutes every time. Stick a toothpick in—when it comes out clean, you’re good. Or just trust your nose. If the kitchen smells like a dream and the bread bounces back, call it done.
Let It Rest
Ten minutes feels endless while you wait for that loaf to cool. I usually make a coffee and stare at it. The bread needs this short break to finish setting up. My old wire rack has held loads of fresh bakes—failures and wins alike.
Finishing Touch
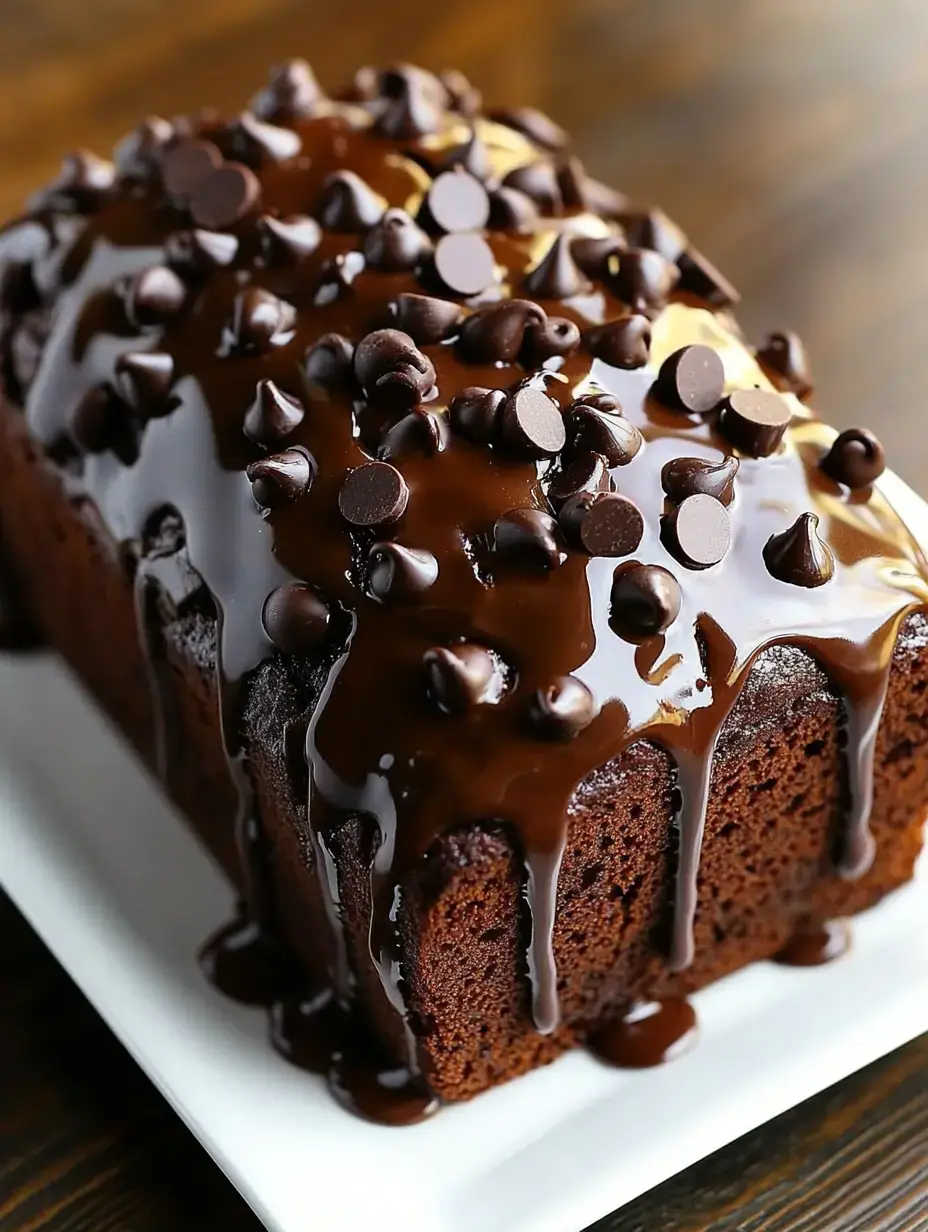
Warming up fudge sauce for a big drizzle is pure bliss. Pour so it oozes down the sides, then hand off the sticky spoon to a kid standing nearby. My daughter is always first in line to help clean that spoon, and honestly, so was I at her age.
 Save
Save
Dig In
The first cut is always the toughest to resist. When it’s chilly outside, try it with a scoop of vanilla ice cream. Lazy weekend brunch? Just sift over some powdered sugar. You can’t go wrong. I’ve never found a bad way to eat it.
How to Keep It Tasty
This bread usually disappears fast. But if you have leftovers, keep them on your cake stand with a lid. The fridge works for longer stashing, just let it come up to room temp before eating so all that chocolate hits right.
For Another Day
Living solo taught me to freeze treats for later. Wrap slices in parchment, stick them in zipper bags, and stash in the freezer. Microwave for a few seconds to have a fresh, warm slice anytime the chocolate craving hits hard.
Mixing It Up
Kitchen experiments brought plenty of happy surprises. Stirring in natural peanut butter swirls is a win. Pulling fresh mint from the garden turns it into chocolate-mint. Toss in a shot of espresso during late-night baking for deep, bold chocolate flavor.
A Little Heartfelt Message
For me, baking this loaf is about sharing smiles. Every single bake reminds me how sweet it feels to make something for others. It’s more than just mixing chocolate and flour—it’s all those memories coming together in one loaf.
Recipe FAQs
- → What if I don’t have buttermilk?
If you’re out of buttermilk, mix 1 tablespoon of lemon juice or vinegar into regular milk. Give it 5 minutes to curdle, then use it as a replacement.
- → How do I store leftover chocolate bread?
Keep it in an airtight container at room temperature for up to 4 days. To freeze, wrap it tightly and store for up to 3 months.
- → Why did my loaf feel dry?
Dry bread usually means it baked too long. Check it a few minutes before the timer ends. Measuring flour by spooning it into a cup (instead of scooping) can also help avoid dryness.
- → Can I throw in extra mix-ins?
You can add all kinds of extras like chocolate chunks, chopped walnuts, or dried cranberries. Just stay under 1/2 cup total to keep the batter balanced.
- → Why swap wet and dry ingredients when mixing?
Adding wet and dry parts in turns leads to smooth batter without overmixing. It spreads everything evenly and keeps the texture light and soft once baked.