
 Save
Save
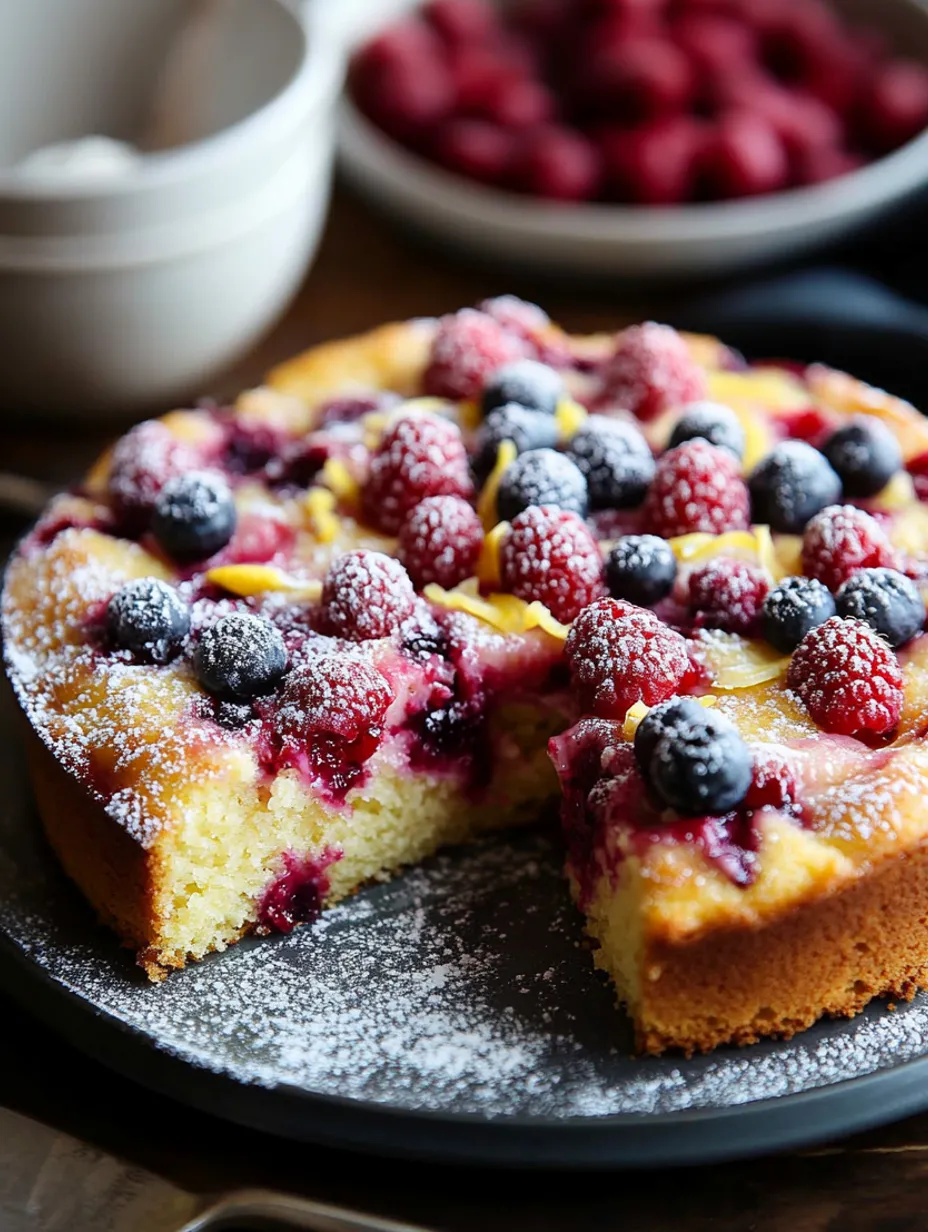
I whipped up this raspberry lemon cake for the first time when my sister showed up without warning one Sunday morning. I was rushing around trying to make something impressive with whatever was in my kitchen. I noticed some raspberries that wouldn't last another day and a couple lemons sitting in my fruit bowl, so I took a shot at this easy cake. The kitchen smelled absolutely wonderful when it came out of the oven. My sister couldn't believe how simple it was after her first taste and immediately wanted to know how to make it. That's what makes this cake so great – it looks and tastes amazing without much work, so it works for surprise visitors or planned events alike.
My friend Jane down the street always says she's terrible at baking, but she's made this cake successfully for her book club three separate times. That should tell you just how easy it really is to get right.
Smart Ingredient Advice
- Raspberries - Go for ones that look bright red, full, and aren't sitting in juice. If you see liquid pooling in the container, they're starting to go bad. Don't worry about using frozen ones in winter – they work great too.
- Lemons - The best ones feel heavy and have thin, bright yellow peels. They'll give you more juice and zest. Push them firmly across your counter before zesting to get more flavor out.
- Greek Yogurt - Stick with plain, low-fat for this recipe. Its tang balances the sweet parts while keeping everything moist. I've tried both fat-free and 2% versions, and I like the slight richness you get from 2%.
- Butter - Don't skimp here – better butter means better flavor. I actually like using salted butter because it brings out the other flavors, though unsalted is fine too.
- Flour - Just regular all-purpose flour will give you a nice soft cake. You can try cake flour for an even lighter feel, but honestly, I rarely notice enough difference to keep both types in my pantry.
- Vanilla Extract - Using real vanilla really matters in a simple cake like this. If you've splurged on the good stuff, now's the time to use it.
 Save
Save
Easy Instructions
Get Everything ReadyFirst things first, prep your pan the right way. A 9-inch springform pan works best since it makes taking the cake out so much easier. Put parchment on the bottom by tracing around the base for the right size, then grease both the paper and sides. It might seem like extra work but trust me, it's worth it to avoid a cake that sticks.
Hand Mixing Works BestGrab a big bowl and whisk together your sugar, melted butter, and eggs until you can see the mixture getting lighter and fluffier – about 1-2 minutes of good whisking. This puts air into the batter so your cake rises better. Then add your Greek yogurt and vanilla, mixing gently just until they're combined. Don't overdo it here or your cake might turn out tough.
Handle Dry Ingredients CarefullyMake sure to measure your flour correctly by fluffing it up, spooning it into your measuring cup, then leveling it off. Whisk it with baking powder in a separate bowl. Add this mixture bit by bit to your wet ingredients, folding gently just until it's mixed. Stop when you don't see dry flour anymore – a few small lumps are actually good for the texture!
Berry TrickTake about a third of your raspberries and lightly coat them with flour before carefully folding them into your batter. The flour helps keep them from all sinking to the bottom while baking. Mix in your lemon zest now too, making sure it's spread evenly throughout.
Create Pretty LayersPour your batter into the pan you prepared, then carefully place another third of your raspberries on top along with some extra lemon zest. This not only makes the cake look beautiful but also adds more flavor as it bakes.
Bake Without PeekingPut your cake in a 350°F preheated oven and try not to open the door too much. Let it bake for 45-50 minutes, until a toothpick stuck in the middle comes out clean or with just a few moist bits. The top should look golden brown and bounce back slightly when you press it gently.
Let It RestLet your cake cool in the pan for about 30 minutes before taking it out. This waiting period helps the cake set up properly. Once it's completely cool, dust it with powdered sugar and add your remaining fresh raspberries right before you serve it.
One time I accidentally dropped an extra spoonful of lemon zest into the batter because I got distracted by a phone call. It turned out so tasty that I've been making it that way on purpose ever since. Sometimes mistakes lead to the best recipe changes!
Ways To Serve It
Make this simple cake look fancy by serving slices with a spoonful of whipped cream and some warm raspberry sauce on the side. The sauce is super easy – just heat extra raspberries with a spoon of sugar until they break down. People will think you spent hours in the kitchen when you present it this way.
For a stunning brunch table, put the whole cake on a stand and surround it with mixed fresh berries and mint leaves. Set out some Greek yogurt for people who want to add creaminess. I did this for my mom's birthday brunch, and she thought I'd bought it from a bakery.
On warm summer nights, try serving warm slices with good vanilla ice cream and some toasted almond slivers on top. The mix of warm tangy cake with cold creamy ice cream is the perfect summer dessert. My kids always ask for this combo after we've had a barbecue.
Fun Twists To Try
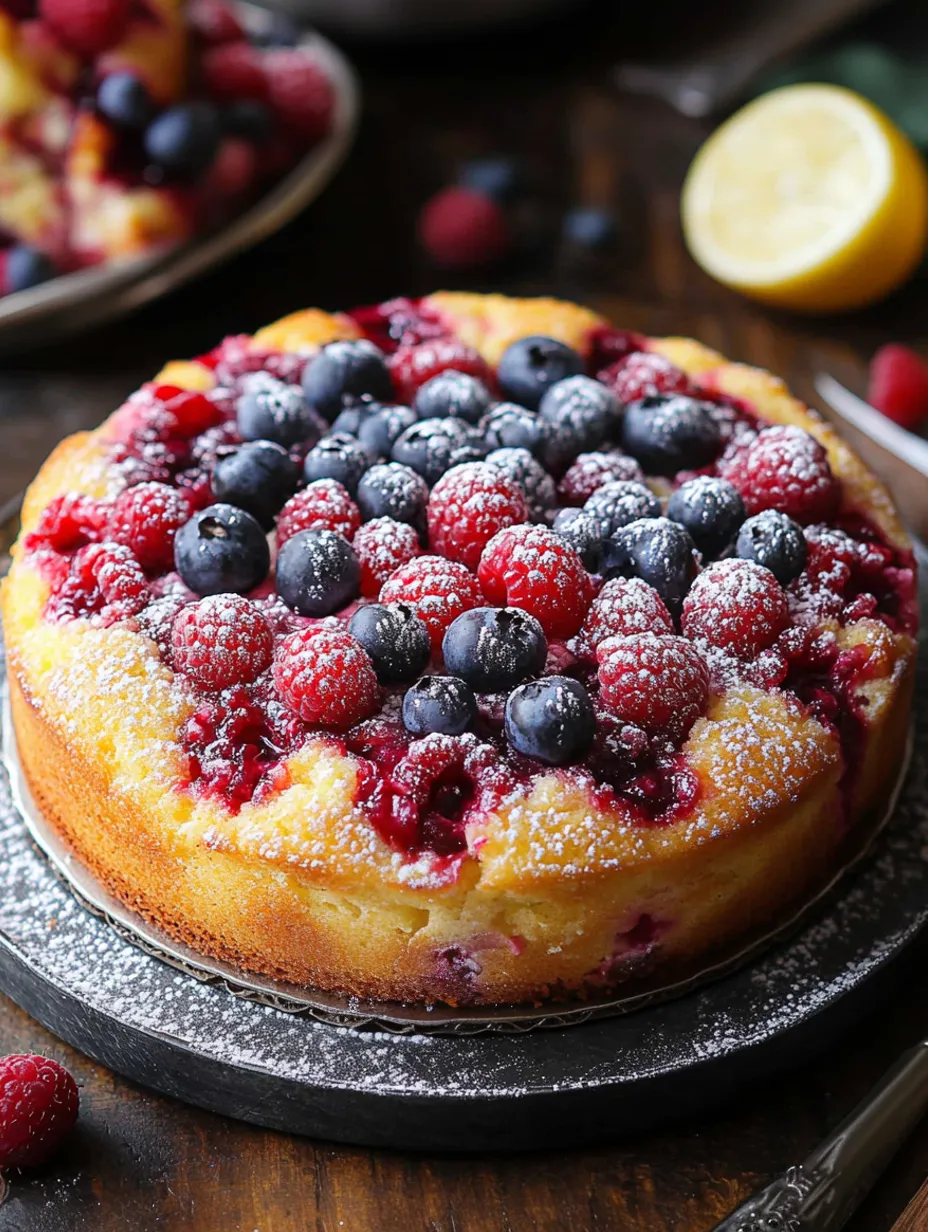
Mixed Berry VersionReplace half the raspberries with blueberries or blackberries for a colorful variation. The different berries look beautiful together, and each one brings its own special flavor to the cake.
Try Different CitrusUse orange or lime zest instead of lemon for a change. Orange works really well with raspberries and adds a sweeter, mellower citrus flavor that's perfect during winter months.
Add Some NutsMix in ½ teaspoon of almond extract with the vanilla and sprinkle sliced almonds on top before you bake. The subtle nutty flavor goes amazingly well with the berries and gives the top a nice crunch.
How To Keep It Fresh
On Your CounterThis cake stays good at room temperature for up to two days if you cover it loosely with a cake dome or bowl that doesn't touch the top. The moisture from the berries and yogurt keeps it from drying out.
When you need to save leftovers in the fridge, put slices in an airtight container with parchment paper between them so they don't stick together. Let cold slices warm up to room temperature before eating for the best taste and texture.
If you're planning ahead for a party, you can bake this cake a day early. Just wait to add the powdered sugar and fresh berries until right before serving so it looks its best.
In The FreezerSingle slices freeze really well for up to two months. Wrap each piece tightly in plastic, then put them in a freezer bag. Let them thaw in the fridge overnight, then come to room temperature before eating. I often make two cakes at once just so I can freeze half for when I need dessert in a hurry.
 Save
Save
Pro Cooking Tricks
No Greek Yogurt?If you're out of Greek yogurt, you can use the same amount of sour cream instead. Even buttermilk works in a pinch, though your batter will be a bit runnier.
Keep Berries From SinkingBesides coating berries with flour, don't mix your batter too much. Thicker batter helps keep the fruit from all dropping to the bottom.
Protect The EdgesIf you notice the edges getting too brown while the middle is still not done, just loosely cover the cake with aluminum foil for the rest of the baking time.
During a summer heat wave when my oven broke down, I tried making this cake in a cast-iron skillet on the grill. The slightly smoky taste and extra-crispy edges were so good that I sometimes still cook it this way even though my oven works fine now! Cooking is all about adjusting and enjoying the process – and this forgiving, flexible cake shows that something can be easy and delicious at the same time.
Recipe FAQs
- → Can frozen raspberries replace fresh ones?
- Absolutely! Frozen raspberries work wonderfully. Since they’re firm, they won’t get crushed easily when mixing into the batter. Just toss them in straight from the freezer, no need to defrost.
- → What’s the right way to measure flour?
- Fluff the flour first with a whisk or spoon, then scoop it into your measuring cup without packing it. Level the top with a knife. This keeps you from adding too much and making the cake dry.
- → Is this recipe gluten-free friendly?
- Yes, it works great with gluten-free flours such as Bob's Red Mill 1-to-1 blend or King Arthur’s measure-for-measure flour. If the batter seems thick, toss in 1/4 cup more Greek yogurt for a smoother mix.
- → Can I swap Greek yogurt for something else?
- You can! Use plain kefir, regular yogurt, sour cream, or buttermilk. Greek yogurt or kefir are best for that slightly tangy flavor and soft texture that match the berries well.
- → How do I store any leftovers?
- Keep it covered on the counter for up to 2 days, or pop it in the fridge for 5 days. For freezing, wrap slices tightly in plastic, then foil. They’ll keep for 3 months. Let the slices thaw at room temperature before eating.