
 Save
Save
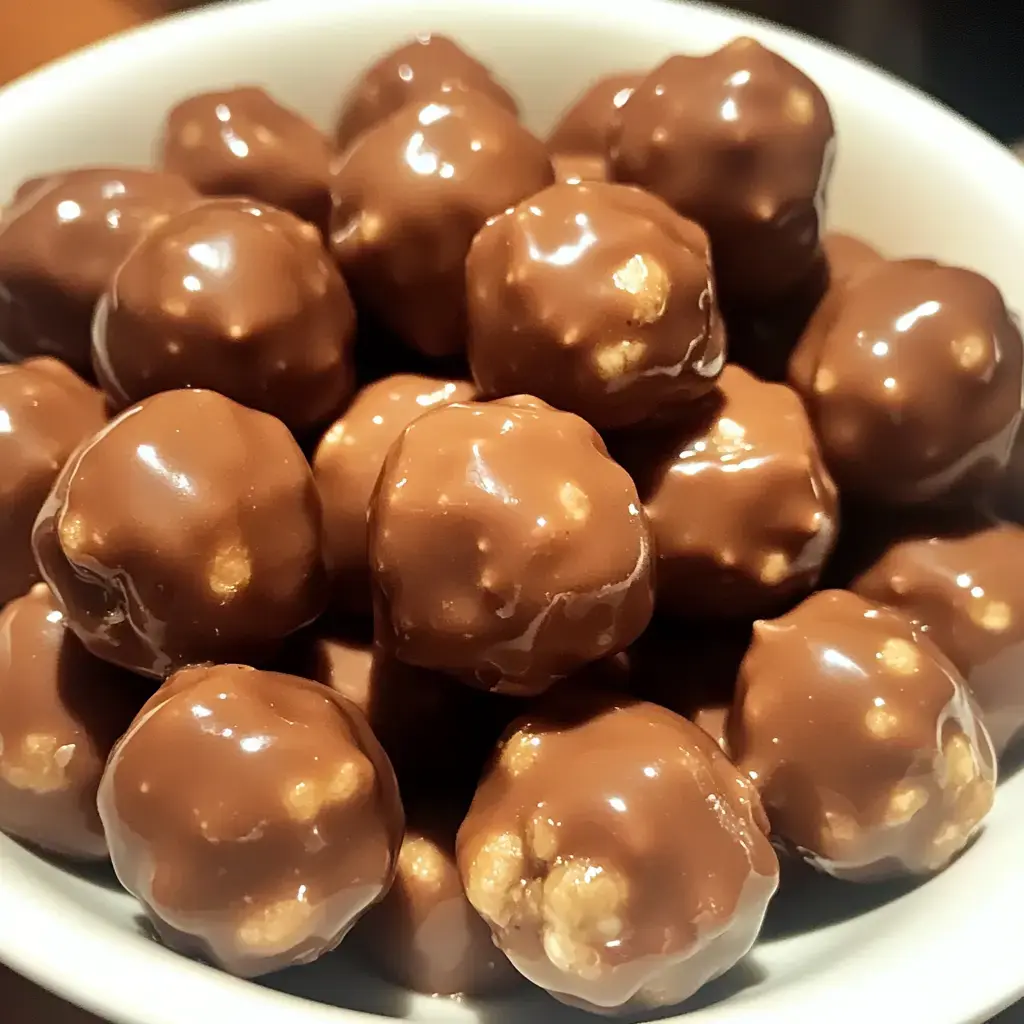
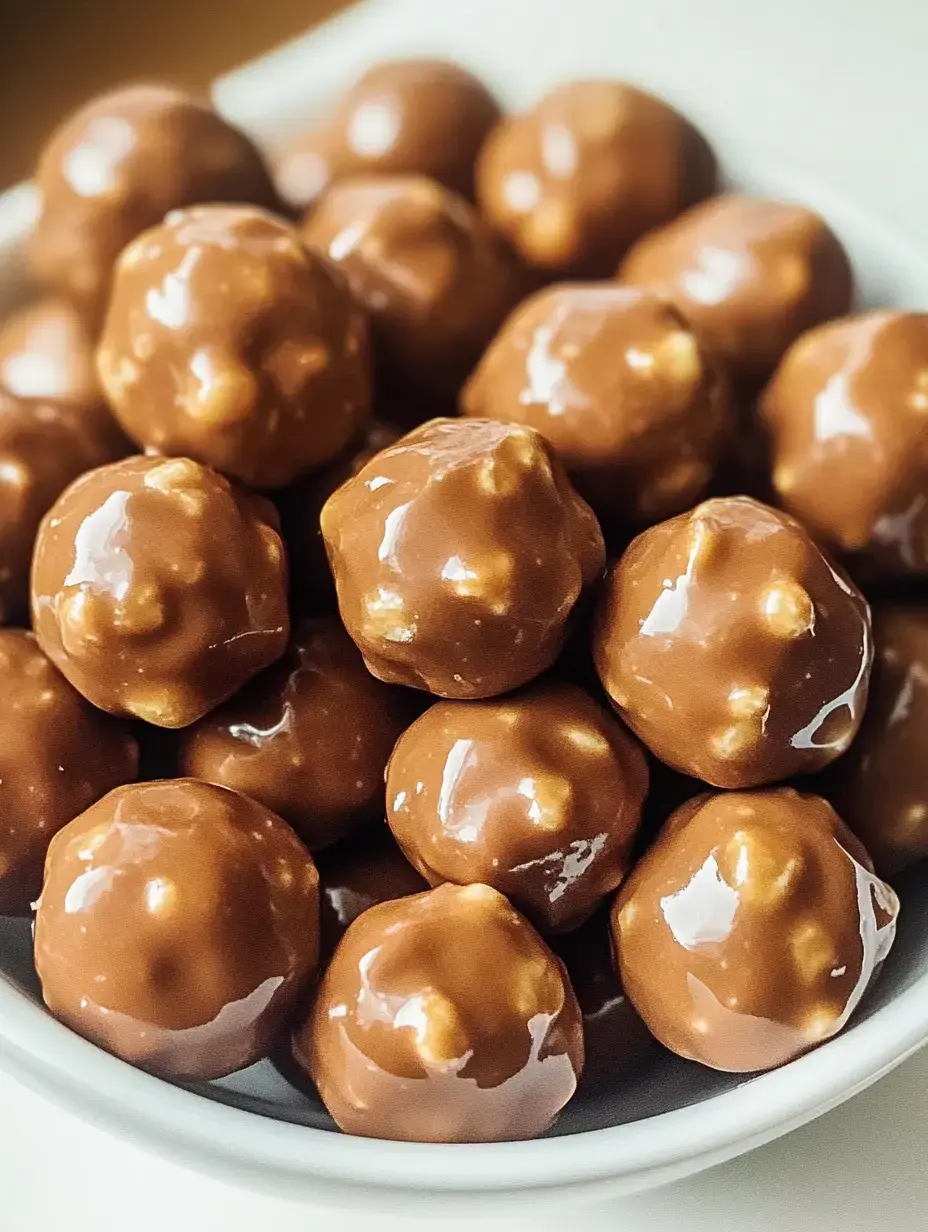
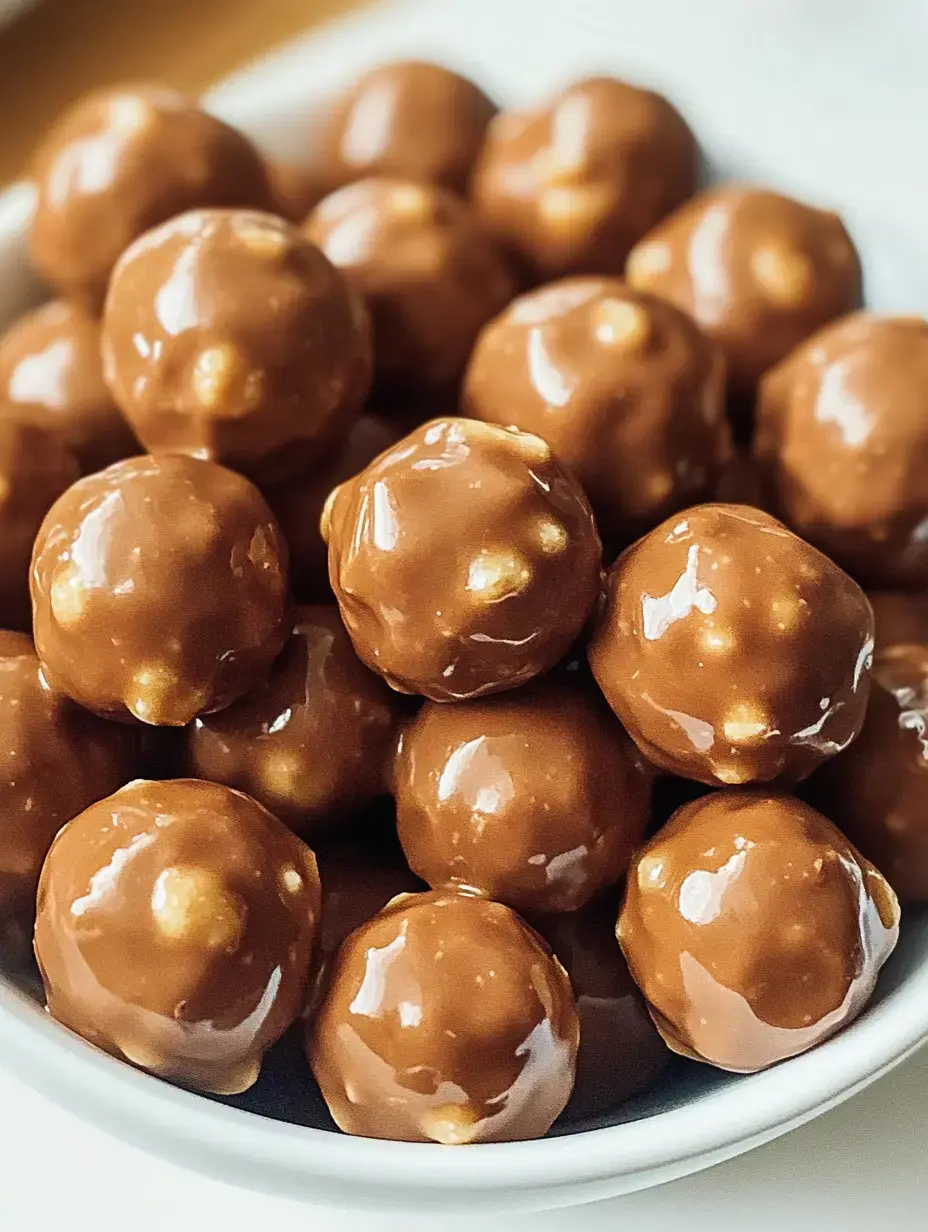
These Butterfinger Balls take me back to my kid days with a fancy adult spin. Whenever I whip them up, folks can't get enough of the smooth peanut butter inside mixed with crunchy Butterfinger pieces all wrapped in velvety chocolate. They're incredibly tasty and surprisingly easy to throw together.
What Makes These Crowd-Pleasers
The coolest thing about these goodies is how fast they come together. No oven needed—just mix, smash and roll. When smooth peanut butter meets that distinctive Butterfinger crackle, something really special happens. I like making a huge batch to hand out to pals or stash in my freezer for when sweet tooth strikes.
The Magic Behind Their Flavor
Using smashed Butterfinger bars transforms these from basic peanut butter balls into something out of this world. The candy adds this fantastic toffee-like bite and boosts that peanut butter taste we can't resist. My little ones say they taste like treats from a fancy sweet shop.
Essential Components
- Peanut Butter: Smooth type works wonders for that velvety middle.
- Graham Crackers: They provide stability and a nice honey-sweet taste.
- Butterfinger Bars: The key item that makes these stand out.
- Chocolate: I go for melting wafers for easy, no-fail coating.
Initial Preparation
Pull out your largest mixing bowl and throw in that smooth peanut butter with smashed graham crackers and tiny chopped Butterfinger bits. Stir it all up until it looks similar to cookie dough. I sometimes toss in extra graham cracker bits if the mix feels too gooey.
 Save
Save
Shaping Stage
Now the enjoyable part begins. Grab small amounts and roll them in your hands to create neat balls. Set them on a paper-covered cookie sheet and tuck them in the fridge. They need roughly 20 minutes to get firm, giving you plenty of time to melt your chocolate.
Chocolate Transformation
Getting chocolate just right can be tough, but I've found an easy trick. I put a glass bowl over bubbling water and stir gently until it all melts smoothly. A microwave works too if you go slowly and mix often. Just don't let any water touch your chocolate or it'll turn lumpy.
Adding Flair
This part's my favorite—dunking those cold balls into warm chocolate. I roll them around with a fork then tap off the extra. Sometimes I toss more crushed Butterfinger on top before the chocolate hardens. They turn out looking so fancy when done.
Cooling Time
Let them fully set. You can leave them out if your kitchen isn't warm or stick them back in the fridge. I usually can't hold out and grab one while they're still a bit soft. They taste wonderful either way.
Storage Tips
Keep these tasty treats in the fridge in an airtight container. They'll stay good about a month that way. Put wax paper between layers so they won't stick. You can freeze them up to 6 months too, but at my place they never hang around that long.
 Save
Save
Creative Variations
- Swap Candies: I sometimes use Snickers or Reeses instead of Butterfingers.
- Seasonal Touch: Add colorful sprinkles to match any party theme.
- For Those with Allergies: Sunbutter makes a great option for no-nut versions.
Prepare In Advance
You can easily get these ready early for gatherings. I often make lots and keep them frozen without the chocolate outside. When I need them, I just let them warm up and dip. Fresh chocolate makes them look extra nice.
Nailing The Right Feel
The trick is making that filling just perfect. It should stick together while rolling but not feel too dry. If your peanut butter runs too thin, add more graham crackers. Want extra crunch? Keep some bigger Butterfinger chunks in the mixture.
Delicious Variations
- White Chocolate Layer: Gives a totally different taste profile.
- Minty Hint: A small dash of mint in the chocolate tastes awesome.
- Texture Boost: Throw in some rice cereal for added crispness.
Presentation Ideas
I enjoy placing these at parties in small candy papers. They look gorgeous on dessert tables alongside other sweets. Put them in clear bags with colorful ribbons and they become perfect holiday presents or take-home party treats.
 Save
Save
Troubleshooting
- Too Mushy: Chill the mix or add more crackers.
- Stiff Chocolate: A bit of oil will thin it nicely.
- Uneven Coating: Tap your fork lightly to smooth it out.
Worth Noting
These are definitely special occasion treats. Each ball packs about the same calories as a candy bar. I make mine smaller when I want to watch portions but still enjoy that amazing flavor.
Ideal Occasions
These little joy bombs fit any event. From casual TV nights to fancy holiday get-togethers, they always vanish quickly. Since they don't need baking, they're great for hot summer days when you're craving something sweet.
Must-Have Tools
- Large Mixing Bowl: For combining that delicious filling.
- Cookie Scoop: Makes ball-rolling much quicker.
- Baking Paper: Nothing clings to it.
- Water Bath Setup: Gives perfect melted chocolate every time.
My Special Twist
These Butterfinger Balls have become my trademark sweet. Friends ask for them at every gathering and my family knows exactly where to hunt for them in the freezer. They bring together everything wonderful about candy-making without any hard steps. Try them once and watch them become your new go-to treat too.
Recipe FAQs
- → Why shouldn't I use natural peanut butter?
Natural peanut butter is often too greasy and makes the mixture fall apart. Use a brand like Skippy or Jif for a smooth, stable texture.
- → Can I put these in the freezer?
Definitely! They'll stay fresh for up to 3 months if stored in an airtight container with wax paper in between.
- → Why is chilling important before dipping?
It hardens the mixture, making it easier to dip into chocolate without falling apart, and helps the coating hold firm.
- → Which chocolate should I choose for dipping?
Melting wafers or chocolate bark works best because no tempering is needed. Chips will work too, but stir in shortening for a smooth finish.
- → How can I stop my chocolate from seizing up?
Melt it slowly at half-power in short spurts, stirring often. Keep it dry, as even tiny drops of water can ruin the texture.