
 Save
Save
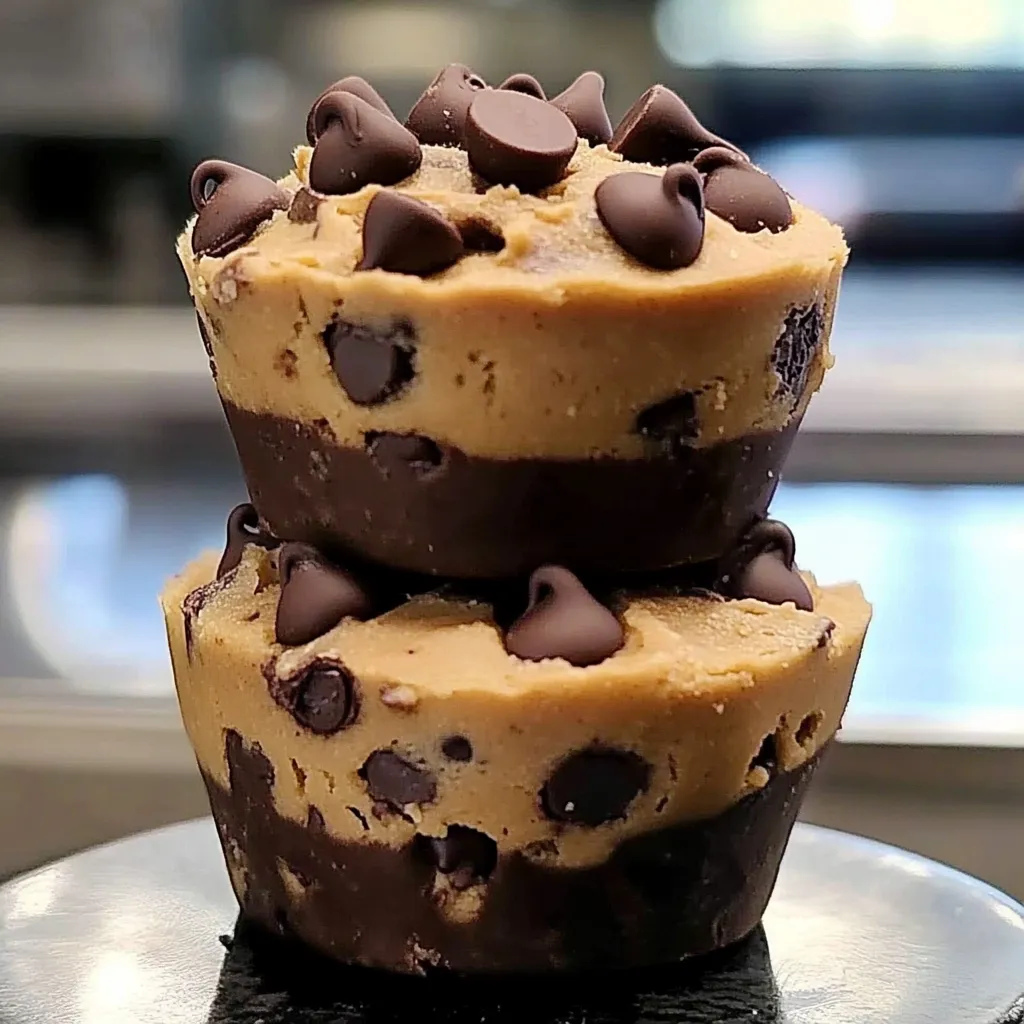
I found this peanut butter chocolate chip cookie cup idea last year during a hunt for something new to bring to a neighborhood treat swap. Mixing peanut butter and chocolate and baking them in a muffin pan makes these little goodies that look fancy but are actually simpler than rolling out regular cookies. They've turned into my favorite quick fix when I need to wow people without spending all day in the kitchen.
My teen had buddies drop by without warning last weekend, and I threw these together while they were deep into their gaming session. When I walked in with them still warm, the talking stopped completely as everyone grabbed one. One kid even asked if I'd show his mother how to make them - that's basically the ultimate compliment from a teenager.
Basic Pantry Staples
- Peanut butter: Pick whatever brand you like, smooth or crunchy based on what you prefer
- Brown sugar: Gives you that wonderful soft texture and hints of caramel taste
- Butter: Get it properly soft to mix well with the sugar
- Chocolate chips: Try using half semi-sweet, half milk chocolate for better flavor
- Vanilla extract: Brings out the taste in both the peanut butter and chocolate
 Save
Save
Baking Magic
- Getting Pans Ready
- Properly greasing your muffin tin stops sticking and helps you pop them out easily. I've learned that spray oil works better than butter for this. You can use paper liners if you want, but you'll miss those crispy edges that form against the metal. The first batch I ever made had liners and tasted great, but baking directly in the tin makes that perfect mix of soft middle and crisp outside.
- Mixing Butter and Sugar
- Take your time here - those few minutes of beating build the foundation for your cookies. You want the mix to get lighter and kind of fluffy before moving forward. I use my stand mixer, but handheld works fine too. Your butter shouldn't be melted, just soft enough that poking it leaves a dent but doesn't sink through.
- Adding Peanut Butter
- Blend the peanut butter completely with your butter-sugar combo before the egg goes in. This spreads the fat evenly through your dough. Natural peanut butter can work, but regular kinds like Jif give more reliable results since they don't separate. If you go with natural, stir it really well first.
- Handling Flour Mix
- Put your dry stuff in slowly, not all at once, and mix just enough to combine everything. Too much mixing makes tough cookies instead of tender ones. I usually add flour in three batches, mixing slowly until I can't see dry patches. A few little lumps are okay - they'll disappear as they bake. Once when I rushed and dumped all the flour in together, the texture wasn't nearly as good.
- Portioning Dough
- That 3/4 full rule matters - it lets the cookie cups rise without spilling over. I use a cookie scoop so each cup gets the same amount for even baking. Making a little dent in each ball of dough helps create that cup shape. Saving some chocolate chips for the top makes them look pretty and guarantees chocolate in every bite.
- Watching the Oven
- Keep an eye on these - they can go from perfect to overdone very quickly. They're ready when the edges look set and golden but the middles still seem a bit soft. They'll finish cooking from the heat even after you take them out. I start checking at 10 minutes in my oven, though most take 12-15. A toothpick stuck near the edge should come out with a few moist crumbs, not wet batter.
My husband usually skips dessert claiming he's "not into sweets," but he wolfed down three of these in one go and has asked for them several times since. There's something about the way the peanut butter and chocolate come together in that cookie cup shape that hooks even folks who don't normally go for desserts.
Tasty Combinations
Try these cookie cups slightly warm with a scoop of vanilla ice cream for a fancy treat. They go great with a strong coffee or hot cocoa at gatherings. During holiday parties, I put them on platters with other cookies for variety, though these always vanish first. My kids find them perfect for lunchboxes since they hold up better than regular cookies.
Fun Twists
Try pushing a mini peanut butter cup into each cookie right after baking. Throw in some chopped peanuts for extra crunch and flavor. For a fancier version, drizzle melted chocolate over cooled cups and add a pinch of flaky sea salt. Last holiday season, I tried adding a bit of cinnamon to the dry mix, which gave a nice warmth that worked really well with both peanut butter and chocolate.
 Save
Save
I've brought these peanut butter chocolate chip cookie cups to everything from kids' snack time to dinner parties, and they always get compliments. Something about peanut butter and chocolate in that little cup form makes them feel more special than ordinary cookies. My daughter now makes them for her friends at college and says they make her look like a "baking genius" even though they're so easy. Sometimes the tastiest treats are just familiar flavors arranged a little differently to create something that feels fresh and exciting.
Recipe FAQs
- → Can I use natural peanut butter here?
- You could try natural peanut butter, but it might tweak the cookie texture. If you go that route, make sure it's mixed well and not too oily. For best results, stick to a smooth, no-stir option.
- → How do I tell if they're baked enough?
- Look for golden brown edges and centers that still seem soft. They’ll finish setting as they cool, so don’t leave them in the oven too long if you want them chewy.
- → Can I prep these ahead?
- Sure! Store in a sealed container at room temp for up to five days, or freeze for three months. Before eating, thaw them out or heat them up slightly in the microwave.
- → What can I swap the chocolate chips with?
- Try peanut butter chips, white chocolate chips, candy chunks like M&Ms, or even mix a few together for variety.
- → Could I use a mini muffin tin?
- Definitely! Use a mini tin and bake for 8-10 minutes. You’ll end up with 24-30 mini bites that are great for parties or snacking.