
 Save
Save
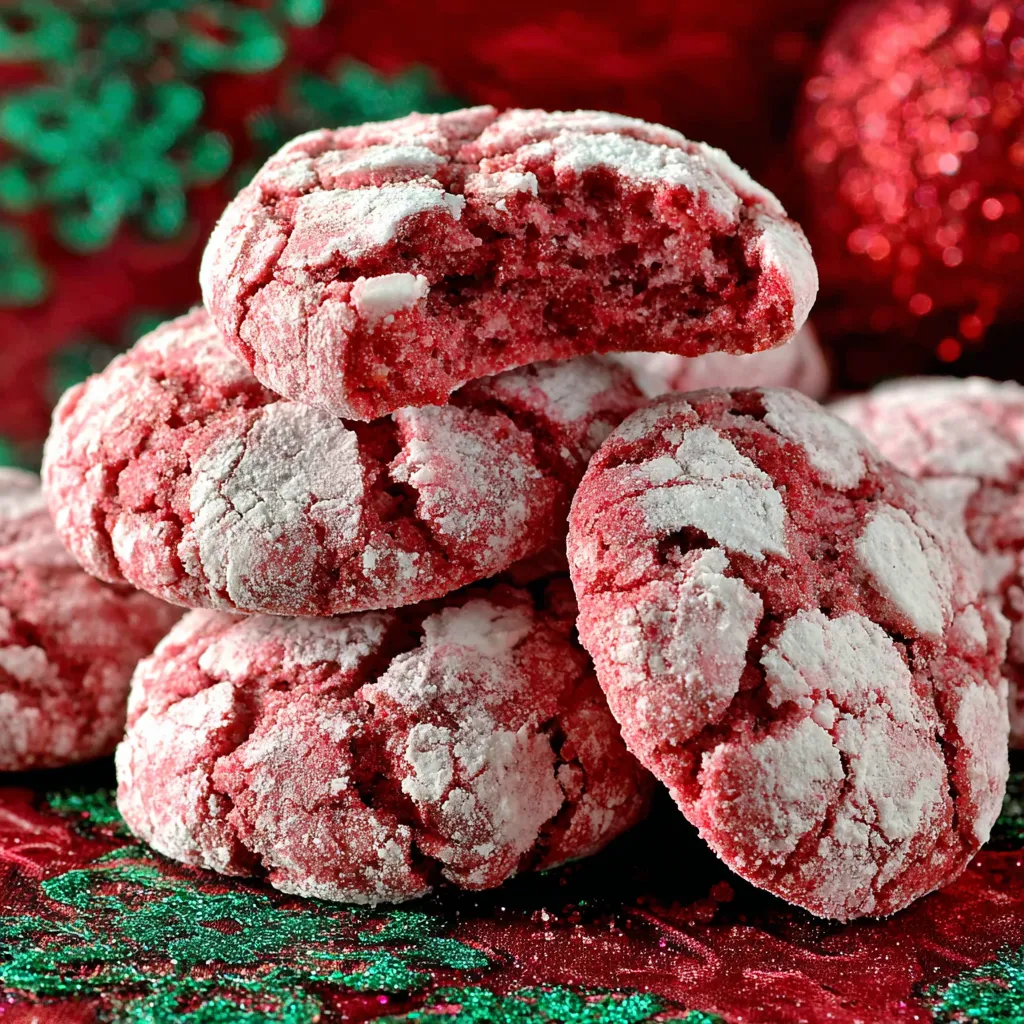
These Red Velvet Crinkle Cookies have become my go-to treat for Christmas gatherings and Valentine’s Day surprises. Each bite gives you a chewy interior with a slightly crackled sugary crust and the vibrant red color always stands out on any dessert table. They are perfect for cookie exchanges and make a sweet edible gift that gets rave reviews.
I first baked these for a holiday swap and ended up doubling the recipe the next year because everyone asked for more. Now these are a tradition at every winter party in my home.
Ingredients
- Cream cheese: Choose a brick style for best texture and ensure it is fully softened before mixing to yield a smooth dough
- Butter: Opt for real unsalted butter and allow it to come to room temperature for easy blending
- Egg: Brings structure and a tender crumb to the cookies
- Red liquid food coloring: Use a quality brand to ensure deep and even coloring
- All-purpose flour: For soft cookies sift beforehand to avoid lumps
- Granulated sugar: Adds sweetness and plays a part in the crinkle effect
- Cocoa powder: Unsweetened cocoa is key for the subtle chocolate undertone seek out Dutch process for deeper flavor
- Baking powder: Creates lift and gentle puffiness in each cookie
- Salt: Enhances all the other flavors just a pinch will do
- Powdered sugar: Used for rolling and necessary for the classic crinkle appearance sift for smoother results
Step-by-Step Instructions
- Make the Dry Mix:
- In a medium bowl whisk together all-purpose flour granulated sugar cocoa powder baking powder and salt until thoroughly combined. This ensures your cookies have an even texture without pockets of dry or wet ingredients
- Blend the Cream Cheese and Butter:
- Place softened cream cheese and butter in a large mixing bowl. Beat with a hand mixer until completely smooth and fluffy. Scrape down the sides to eliminate any lumps for a velvety dough
- Add Egg and Food Coloring:
- Crack in the egg and pour in the red liquid food coloring. Beat the mixture until it is evenly colored and glossy throughout creating a smooth red base
- Combine with Dry Mixture:
- Add the dry ingredients to the wet base in two additions mixing on low speed until just incorporated. Do not overmix as it can make the cookies tough
- Chill the Dough:
- Wrap the dough tightly in plastic wrap or place in a covered bowl. Chill in the refrigerator for at least two hours and preferably three. This step helps the cookies hold their shape and develop more intense flavor
- Preheat and Prep Baking Sheets:
- Preheat your oven to 350 degrees F. Line two baking sheets with parchment paper to prevent sticking and make cleanup easy
- Roll Dough Balls:
- Portion about one tablespoon of chilled dough at a time and roll between your palms to form a ball. The dough will be sticky so consider lightly dusting your hands with flour
- Coat in Powdered Sugar:
- Drop each dough ball into a bowl of powdered sugar and roll until completely coated. Generously covering them is what helps create dramatic crinkles as they bake
- Space and Bake:
- Arrange the coated dough balls on the prepared baking sheets spacing them about three inches apart to give plenty of room for spreading. Bake for 10 to 12 minutes watching for set edges and a slightly puffy middle
- Cool and Enjoy:
- Once done transfer cookies to a wire rack to cool completely. This allows them to set fully and develop their signature texture
 Save
Save
Cream cheese is my not-so-secret weapon for impressively tender cookies and I remember my niece helping with the powdered sugar step last year her giggles over the mess made this a special holiday memory
Storage Tips
Store cooled cookies in an airtight container at room temperature for up to three days. If stacking layers place parchment or wax paper between them to keep the crinkle tops intact. For longer storage freeze cookies in a single layer and then transfer to a freezer-safe bag for up to one month
Ingredient Substitutions
If you are out of cream cheese you can use mascarpone though the flavor will be slightly different. For the food coloring a gel version works in a pinch just use less as it is more concentrated. Gluten free flour blends also perform well here if needed
 Save
Save
Serving Suggestions
These cookies shine on holiday trays alongside chocolate peppermint treats or as a standout on a dessert buffet. Tie stacks with ribbon for homemade gifts or crumble a few over ice cream for a decadent sundae twist
Cultural and Historical Context
Red velvet cakes and cookies trace their roots to early 20th-century American baking cherished for their unique combination of mild cocoa and vivid color. The crinkle cookie style with its signature crackled sugar coating became popular as a fun way to add texture and visual appeal to classic flavors
Recipe FAQs
- → How do I achieve the bright red color?
Use red liquid food coloring, mixing well into the dough to ensure even, vibrant color throughout each cookie.
- → Why chill the dough before baking?
Chilling helps the dough firm up, making it easier to roll and preventing spreading, resulting in thicker cookies with a pronounced crinkle pattern.
- → How do I prevent the cookies from drying out?
Bake just until the edges set but the centers are still soft. Overbaking leads to dryness, while underbaked centers give a gooey texture.
- → Can I substitute cream cheese?
Cream cheese adds tenderness and richness, but you may use mascarpone for a similar texture. Plain butter may change the flavor and texture.
- → How should these cookies be stored?
Keep in an airtight container at room temperature for up to 3 days. To maintain freshness, layer with parchment paper.
- → What occasions are these cookies suited for?
Their vibrant red color and powdered sugar coating make them perfect for holidays like Christmas and Valentine’s Day.