
 Save
Save
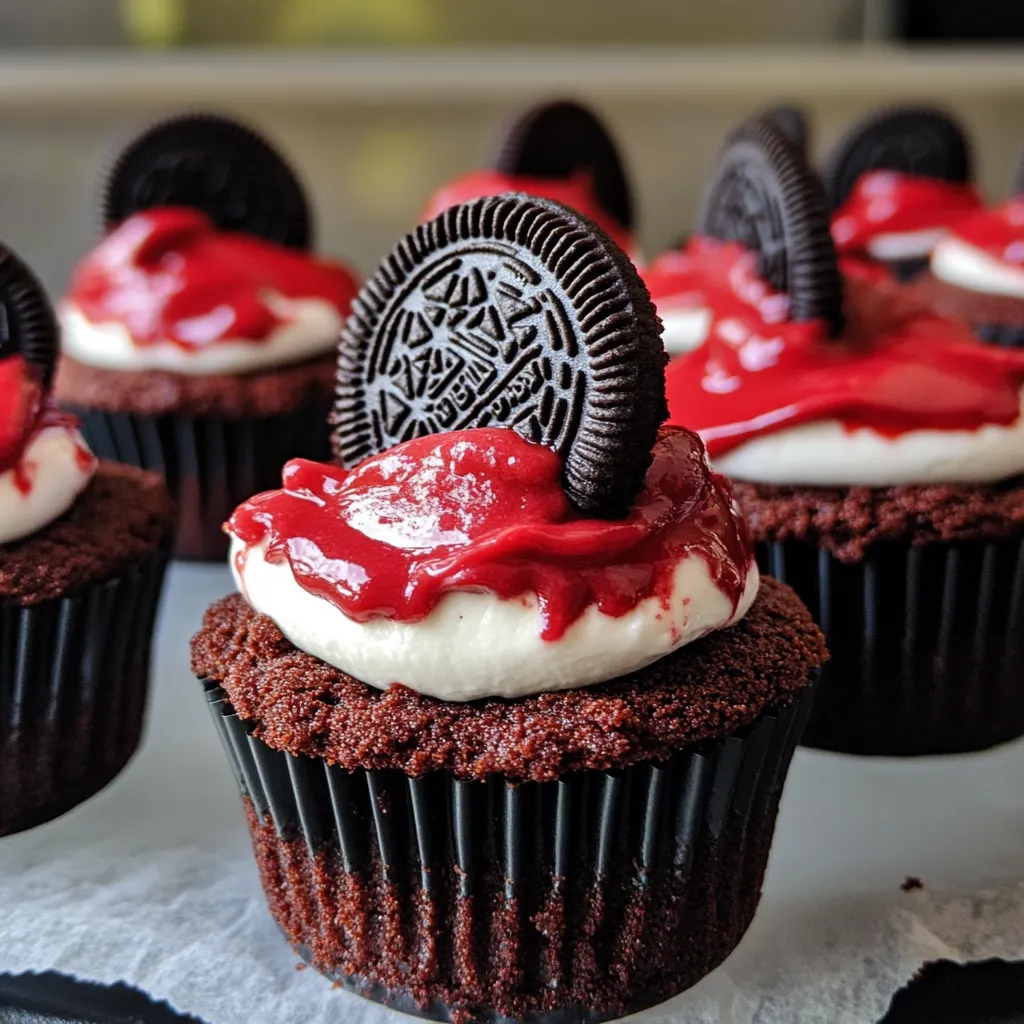
These mini red velvet Oreo cheesecakes started as a simple birthday treat for my daughter last year, but they've now become the dessert everyone begs me to bring to gatherings. There's just something special about how the fudgy brownie bottom, surprise Oreo middle, and bright red velvet cheesecake top come together that makes folks smile. I love that they're already portioned out—no fussy cutting or serving drama—and they look so cute with their whipped cream swirls and chocolate bits on top. I've learned to snap a quick pic as soon as I arrive at parties because these little treats vanish in minutes!
When I took these to my neighbor's new home party last month, her teenage boy who "hates cheesecake" secretly gobbled up three of them. He then asked if I'd show his mom how to make "those red cookie cheesecake things." His mom texted me later saying he checks their fridge daily hoping she's made them. Getting a picky teen to fall in love with a dessert might be the biggest kitchen win ever!
Key Ingredients
- Cream cheese - You need this completely soft for smooth cheesecake. I've messed up by using it too cold and got pesky lumps throughout. Let it sit out for at least an hour, or if you're in a rush like me, warm it in the microwave with 10-second zaps.
- Cocoa powder - This goes in both the brownie base and cheesecake part, giving that classic red velvet chocolate hint. Dutch-processed makes the red color pop more, but regular works fine too.
- Red gel food coloring - Gel works better than liquid as it won't thin your batter. Start with just a tiny bit and add more until you're happy—trust me, it's way easier than trying to fix a mix that looks like smeared lipstick!
- Oreo cookies - These create that wow moment in every bite. I've tried all sorts—regular, Double Stuf, even holiday flavors like peppermint. They all turn out great, so play around with whatever sounds good!
- Cool Whip - I know homemade whipped cream tastes amazing, but Cool Whip stays pretty much perfect during parties. It's also more forgiving when you make these a day before your event.
 Save
Save
Crafting Your Treats
- Getting the base just right:
- Make your brownie layer thick enough to hold everything but thin enough to leave room for cheesecake. When you spread it in the liners, push it slightly up the sides to make a little cup that stops the cheesecake from sneaking underneath.
- The Oreo trick:
- Timing matters when pressing cookies into the brownie base. Too early and they sink to the bottom, too late and they won't stick properly. That quick five-minute pre-bake creates the perfect sticky spot to hold your cookies right where you want them.
- Nailing the red color:
- Add your food coloring bit by bit until you like the shade. Mix slowly at first so you don't splash red everywhere (I once ruined a white shirt this way—not smart). Check the bottom of your bowl with a spatula to make sure the color's even all through.
- Smooth as silk texture:
- For perfect cheesecake, mix thoroughly but don't overdo it. Once you add the egg, just mix until everything comes together. Those little taps to settle the batter also pop air bubbles that might cause cracks while baking.
- Spotting when they're done:
- Look for set edges with a tiny wiggle in the middle—they'll finish cooking from leftover heat and firm up in the fridge. If you bake too long, they'll crack and dry out. I start checking at 15 minutes since ovens can be so different.
My first try at these taught me some good lessons. I tried to hurry by using cold ingredients and ended up with bumpy cheesecake that tasted good but looked homely. I've also played with different amounts of food coloring—too little makes an unappealing brownish-pink color, while too much looks fake. About 1/4 teaspoon of gel coloring usually hits that sweet spot for classic red velvet.
Stunning Serving Ideas
Make these mini treats even more eye-catching by setting them on a tiered platter with fresh berries scattered around. For fancy events, I put tiny chocolate hearts on the whipped cream swirls. During Christmas, a light sprinkle of edible gold glitter over the chocolate bits adds sparkle. For date night dessert, swap the chocolate shavings for half strawberries dipped in chocolate.
Tasty Twists
After you've got the hang of the basic recipe, try switching things up. Use flavored Oreos like Golden or seasonal ones instead of regular. Toss some mini chocolate chips into your cheesecake mix for extra texture. Want more depth? Add a teaspoon of instant coffee to the brownie part. In autumn, try pumpkin Oreos with a dash of cinnamon in the cheesecake. If you like citrus, mix some orange zest into the cheesecake for a fresh pop.
Keeping Them Fresh
These little cheesecakes stay great for up to five days in a sealed container in your fridge. For the freshest look, add the whipped topping and chocolate bits just before you serve them. They freeze really well too—up to three months! Just freeze them in a single layer first, then stack them with parchment paper between layers in a container. Let them thaw in the fridge overnight before adding the final toppings.
 Save
Save
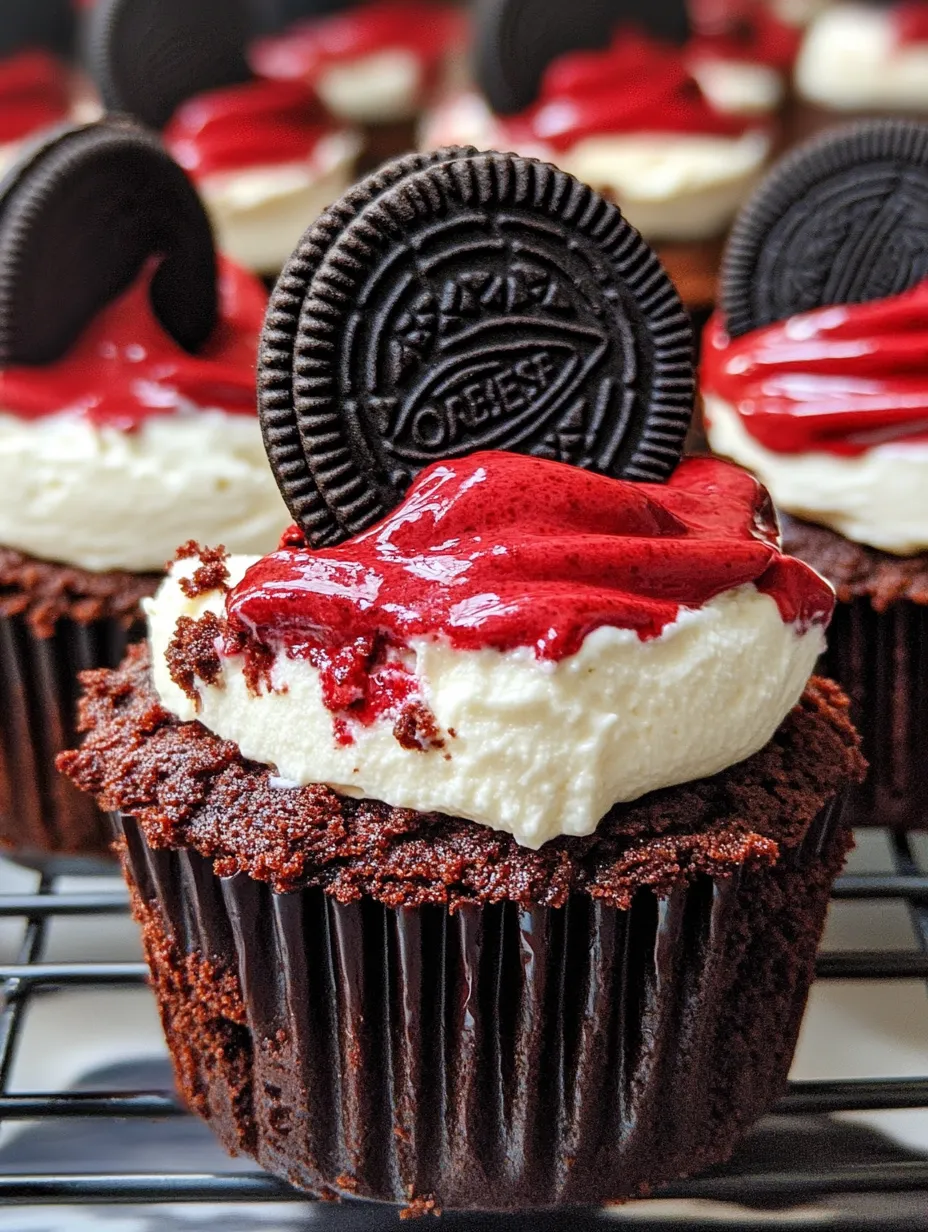
I've baked these mini red velvet Oreo cheesecakes for so many events over the years, from casual family dinners to fancy celebrations. Something about that bright red color against the white topping just pulls people in. And the mix of textures—fudgy brownie, crunchy cookie, smooth cheesecake, and fluffy topping—creates something truly magical. They might look complicated, but the recipe is pretty forgiving and flexible. Just be ready for everyone to ask for your recipe afterward!
Recipe FAQs
- → Can these little cheesecakes be prepped ahead?
- Definitely! You can store them in the fridge for up to 2 days. Just wait to add the whipped topping so it looks fresh.
- → Why are room temperature ingredients important?
- They mix more smoothly, giving you a silky batter without lumps. Cold ingredients can mess up the texture.
- → Is freezing these desserts an option?
- Absolutely! As long as you leave the whipped cream off, they'll keep in the freezer for up to a month. Wrap each one up tight, thaw in the fridge, then add toppings before serving.
- → How do I tell when they're done baking?
- Look for firm edges and a wobbly center when you gently shake the pan. They'll firm up as they cool. Be careful not to overbake—dry cracks aren't fun!
- → Can liquid food coloring swap for gel?
- Sure, but gel creates a bolder red without thinning the batter. Using liquid might need more drops and won’t be as vibrant.
- → What works as a Cool Whip replacement?
- Homemade whipped cream is an easy swap! Beat 2 cups of heavy cream with 1/4 cup sugar and a splash of vanilla until it’s nice and fluffy. It’ll match the Cool Whip quantity.