
 Save
Save
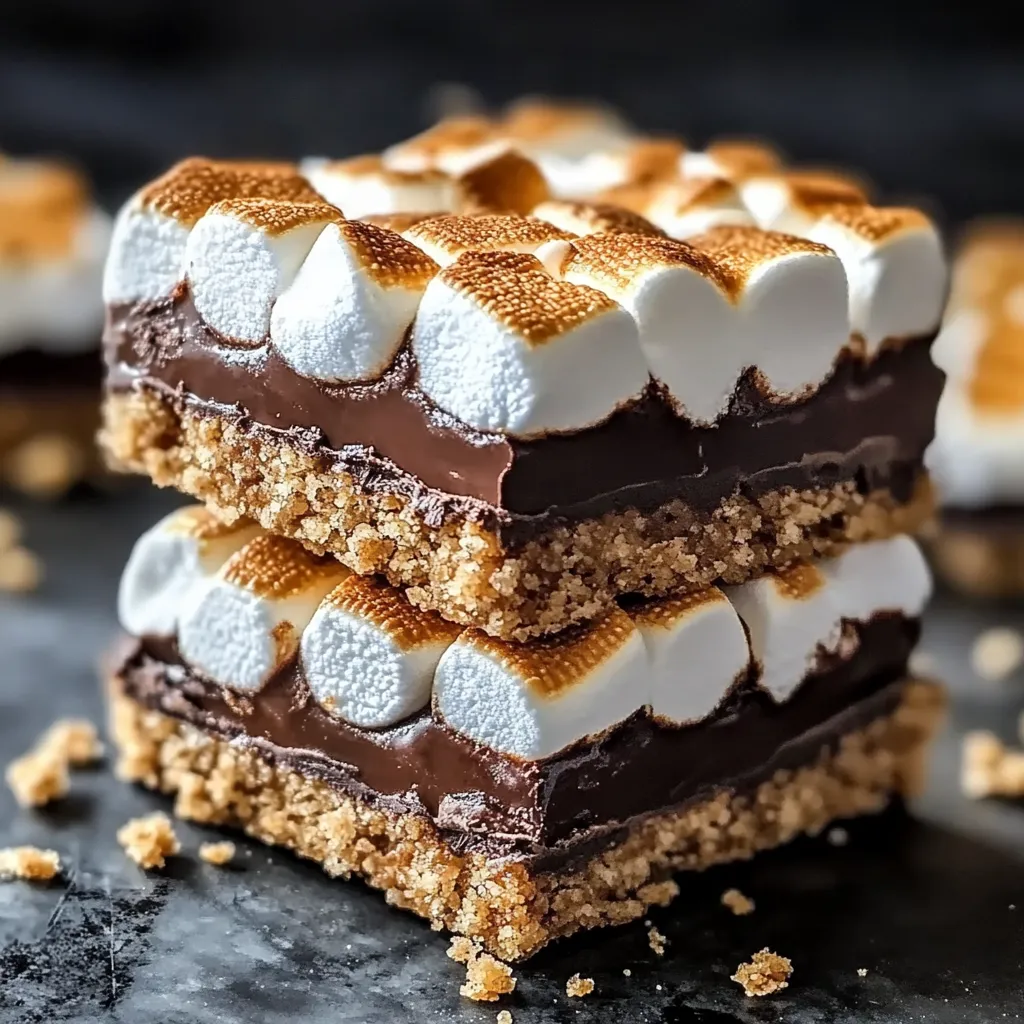
Indoor s'mores bars pack all the joy of campfire treats without needing sticks, fire, or ending up with gooey hands. The crumbly graham base gives a warm foundation for smooth melted chocolate that blends just right with soft marshmallows in an easy-to-slice form. This clever switch keeps the classic three-flavor combo of traditional s'mores while making it better with steady texture and even chocolate-to-marshmallow spread in every tasty bite.
I whipped up these bars for my kid's birthday when rain messed up our outdoor fire plans. The sad looks on the children's faces quickly turned to excitement when these treats showed up—the brown toasty marshmallow tops and see-through layers of gooey chocolate instantly reminded them of their favorite fireside snack. I noticed the grown-ups hanging around the sweets table too, sneaking extra pieces when they thought nobody was looking.
Key Components
- Graham Cracker Crumbs: Make up the signature base that gives the s'mores taste. Crushing your own crackers works better than buying pre-made crumbs.
- Butter: Binds everything in the base together. Go for unsalted so you can manage how sweet your bars turn out.
- Milk Chocolate Chips: Give that smooth, classic chocolate middle. They melt perfectly during baking thanks to their fat content.
- Mini Marshmallows: Make that golden-brown top layer with a gooey center. The tiny ones spread out better and toast more evenly than big marshmallows.
- Granulated Sugar: Adds a touch of sweetness to the graham base and helps it stick together. You just need a little bit to balance all the flavors.
- Vanilla Extract: Adds depth with its warm smell. You can skip it, but even a tiny splash makes everything taste way better.
Making Your Bars
- Starting Off:
- First, get your oven hot at 350°F so it's ready for baking. Put parchment in an 8×8-inch pan with extra hanging over two sides so you can lift it out later. This simple trick stops sticking and helps you cut nice squares afterward.
- Making The Base:
- Mix your graham crumbs, melted butter, and sugar in a bowl until it's all wet and sandy-looking. It should stick when you squeeze it. Dump this into your pan and press it down hard and flat with a measuring cup. This gives you a solid base that won't fall apart when you cut it.
- First Bake:
- Put the crust in the oven for 8-10 minutes until it looks light golden and smells good. This step sets your base and brings out nutty flavors that make the whole thing taste better. Let it cool a bit so the chocolate doesn't melt too fast next.
- Adding Chocolate:
- Scatter chocolate chips all over the warm base, making sure to cover it completely. The warmth will start softening them, which helps make an even layer when it goes back in the oven. Use good chocolate—cheap kinds can get grainy when melted.
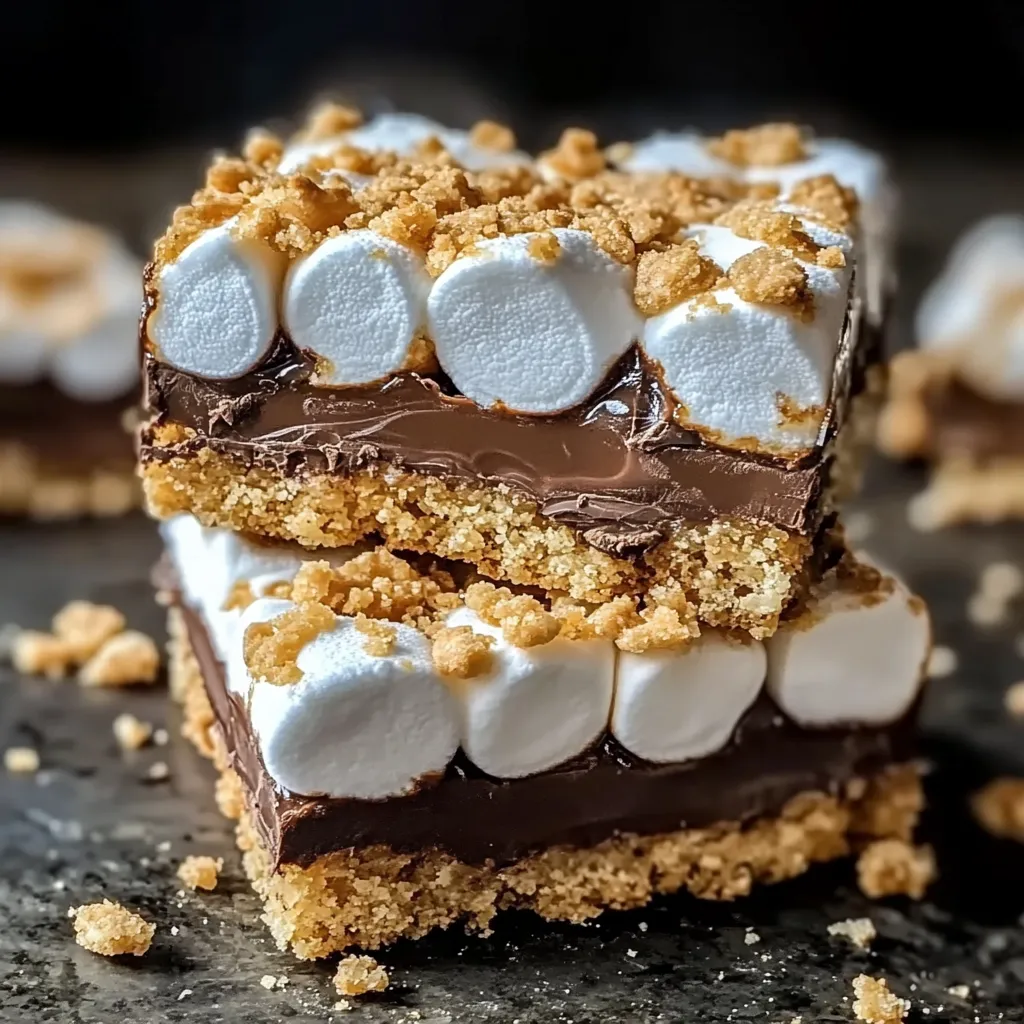
- Marshmallow Layer:
- Spread mini marshmallows over the chocolate, covering it but leaving tiny gaps. These spaces let the marshmallows grow during baking without spilling over. Arranging them closely means every bite has plenty of toasty marshmallow.
- Last Bake:
- Put the pan back in the oven for 5-7 minutes, watching it closely at the end. You want the marshmallows to puff up and turn golden-brown but not burn. This short bake melts the chocolate fully while making the marshmallows perfectly gooey.
- Cooling Down:
- Let the bars sit in the pan for at least 30 minutes before lifting them out using the parchment edges. Being patient here lets the chocolate firm up enough for clean cutting while staying melty in your mouth.
- Cutting Tips:
- For neat slices, use a sharp knife sprayed with cooking spray or dipped in hot water and dried between cuts. Cut straight down with firm pressure instead of dragging through the marshmallows, which can make them stretch and tear.
 Save
Save
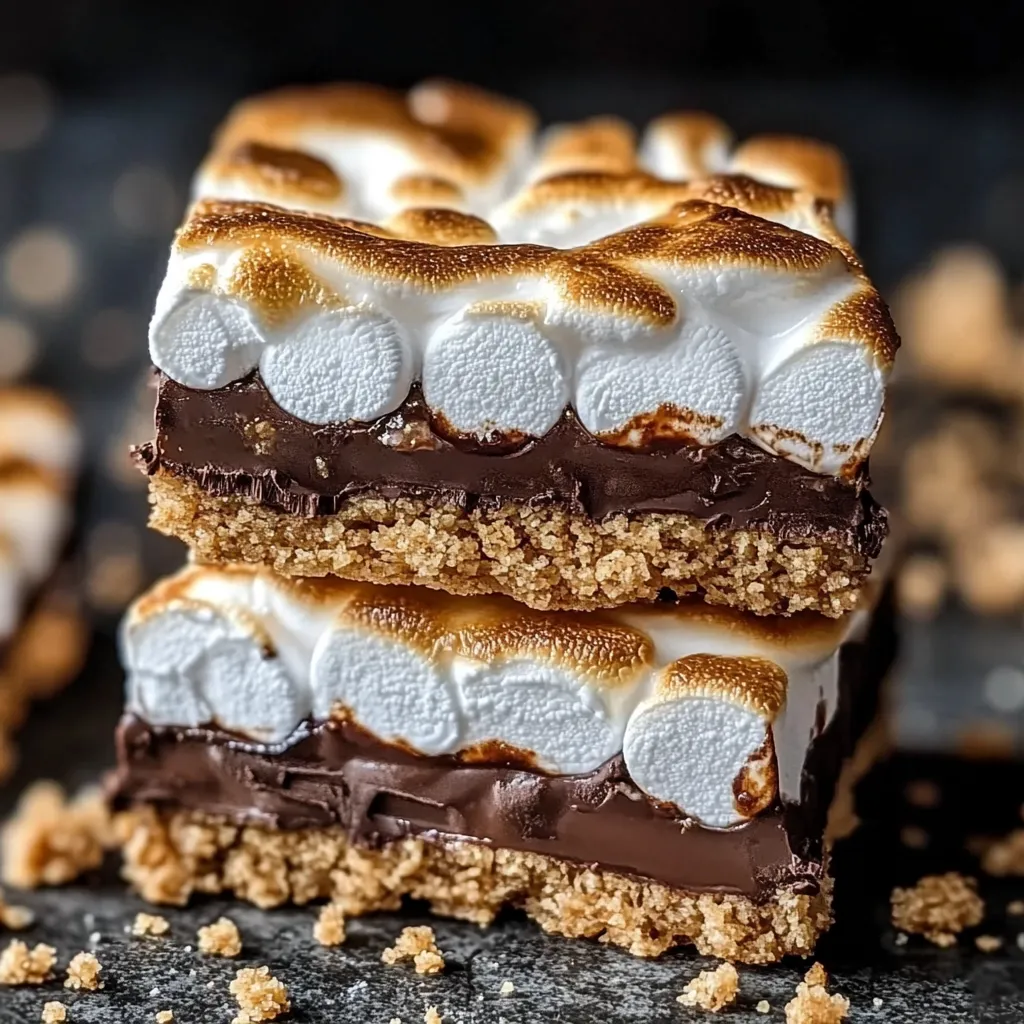
My grandma always told me to take my time with layered desserts. The first time I made these bars, I rushed and didn't let them cool enough—they tasted great but looked messy. Now I follow her advice and wait for them to cool all the way, which gives me beautiful distinct layers that show off all three parts of this favorite treat. Just a little patience turns good s'mores bars into amazing ones that look as good as they taste.
Ways To Serve
These flexible bars work for lots of different occasions with hardly any extra work. For casual get-togethers, just put the cut bars on a plate for people to grab. Make them fancier for special events by zigzagging some melted chocolate on top. Turn them into a fancy dessert by warming them slightly and adding a scoop of vanilla ice cream. At kids' parties, put each bar in a bright cupcake paper for less mess. In summer, serve them with fresh berries to balance out the sweetness.
Fun Twists
Switch up this flexible recipe by trying different flavor combos. Make a version for peanut butter fans by smearing a thin layer of peanut butter over the crust before adding the chocolate chips. If you love chocolate, swap half the graham crackers for chocolate ones or mix some cocoa into the crust. For holidays, try crushing candy canes over the marshmallows at Christmas or drizzling caramel for fall parties. To add some crunch, throw in chopped nuts to the crust or between the chocolate and marshmallow parts.
Keeping Fresh
Keep your bars tasting great by storing them right. Put completely cooled bars in a sealed container at room temperature with pieces of parchment between layers so they don't stick together. They stay fresh for 4-5 days, though the marshmallow slowly gets less fluffy over time. If you need them to last longer, keep them in the fridge for up to a week, but let them warm up before eating for the best taste and feel. Don't try freezing these—the marshmallow gets weird when it thaws out.
These s'mores bars show how favorite flavors can work in more practical forms without losing what makes them special. They celebrate the nostalgic campfire snack while making it better through careful preparation and presentation. Whether you're making them for a kid's birthday, a backyard barbecue, or just a family treat, these bars hit the perfect balance of familiar comfort and handy innovation that makes everyone reach for seconds.
 Save
Save
Recipe FAQs
- → Can I crush graham crackers at home instead of buying crumbs?
- Yes, absolutely! Crush about 12 graham cracker sheets in a food processor or smash them in a zip bag using a rolling pin.
- → How can I tell when the marshmallows are done?
- You’re aiming for puffy and just-golden marshmallows. Peek often—they toast fast! A quick broil for 30 seconds can help get that nice toasty finish.
- → Can I make these bars a day ahead?
- Of course! These are great made 1-2 days before. Keep them airtight, at room temp or chilled if it’s warm.
- → Why do my bars fall apart when I slice them?
- Make sure they’re fully chilled and cold. Use a sharp knife, wipe it between cuts, or dip it in hot water and dry before slicing.
- → What fun extras can I throw in?
- Try tossing in chopped nuts, candy bits, or swirling peanut butter into the chocolate. Flavored chips like caramel or mint work awesome too.