
 Save
Save
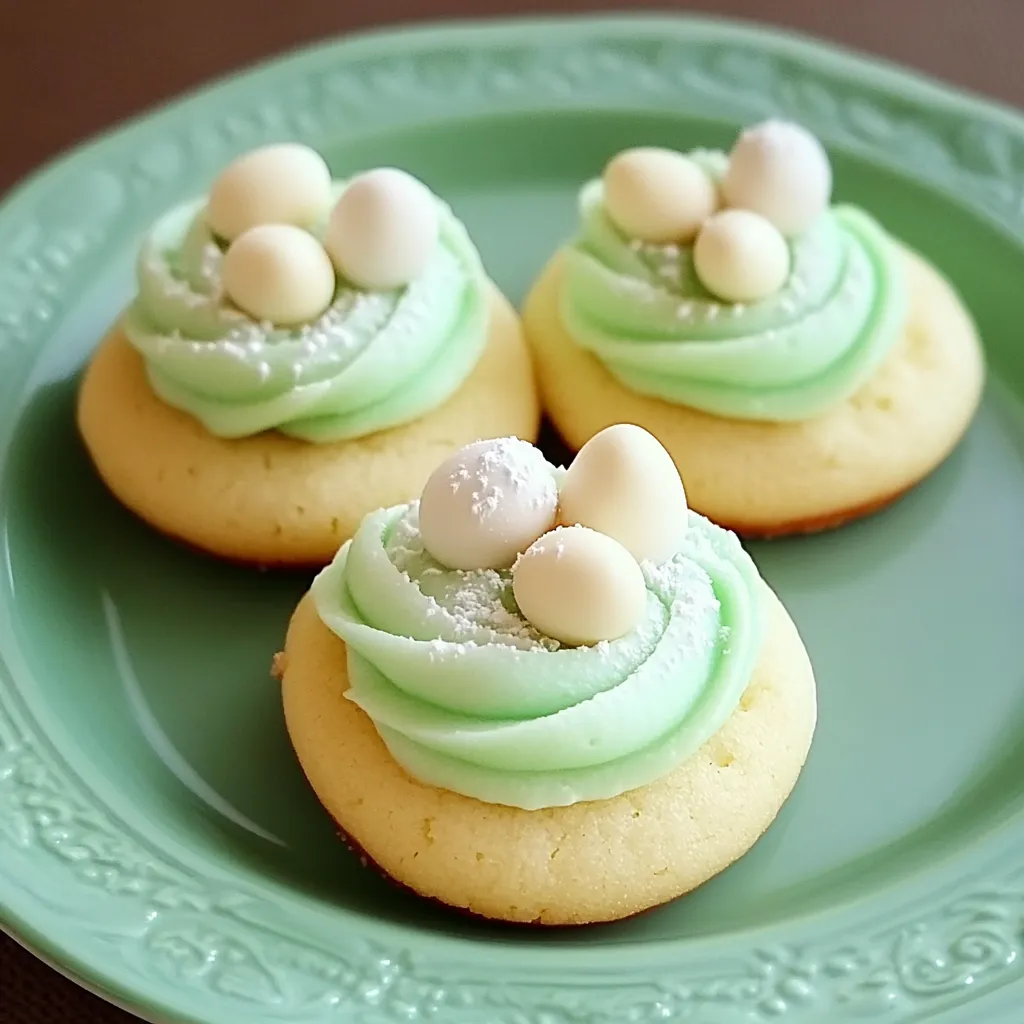
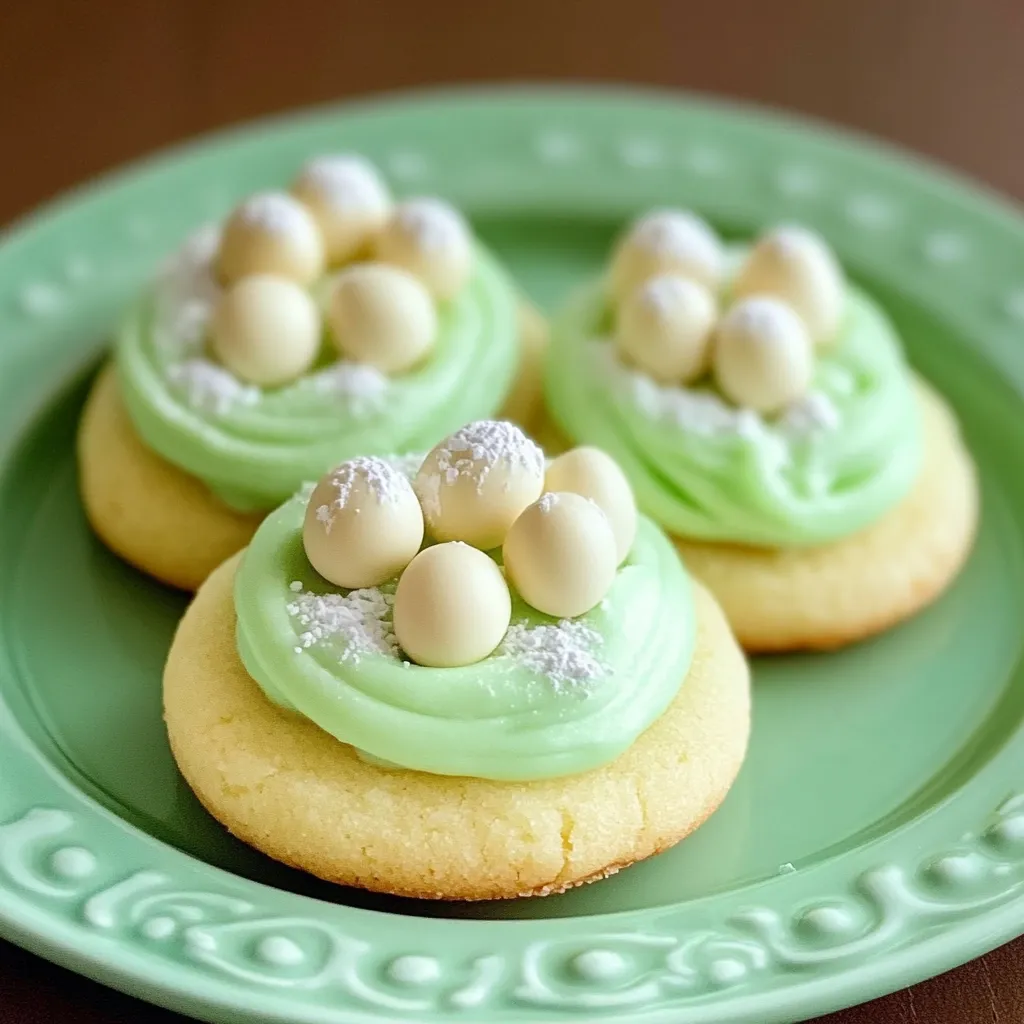
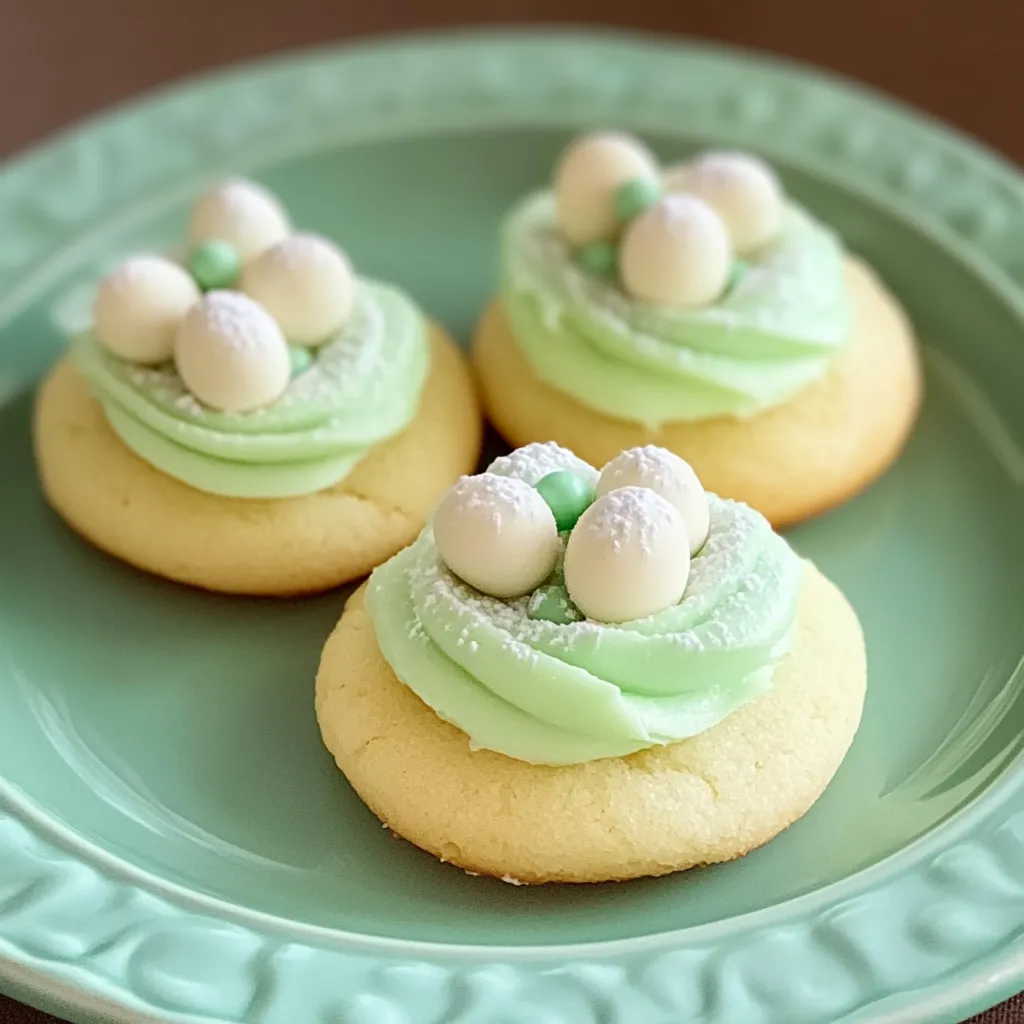
Buttery and pillowy Easter sugar cookies blend rich sweetness with subtle touches of vanilla and almond in a snack that embodies the spirit of spring celebrations. These cookies with pastel decorations strike the right balance—gently crunchy on the outside while staying soft inside, melting away as you take each bite. Beyond tasting amazing, these fun holiday treats turn baking into a beloved family activity, opening doors for imagination and togetherness when families join to flatten, shape, and embellish cookies together.
I first saw how special these cookies were in my grandma's kitchen, where afternoon sun came through windows covered with flour as we turned basic stuff into little masterpieces. She always chilled the dough for 'just long enough' based on her years of practice. Now when I bake these with my kids, we feel that same excitement waiting for the oven timer to tell us the edges are done. Watching their happy faces hovering near the cooling cookies reminds me we aren't just making sweets—we're creating moments they'll carry forward into their own lives someday.
Key Ingredients
- All-Purpose Flour: Makes the foundation for cookies that stay soft but won't fall apart. It has just the right amount of protein to hold decorations while staying tender.
- Unsalted Butter: Adds incredible flavor and richness. Butter at room temp mixes perfectly with sugar, letting air in for the best texture.
- Granulated Sugar: Adds sweetness and helps create crispy edges. The small crystals melt completely when mixed with butter for smooth dough.
- Vanilla Extract: Brings warmth and depth to every bite. Real vanilla works better than the fake stuff and plays nicely with the almond flavor.
- Almond Extract: Adds an extra layer of flavor that makes them stand out. You only need a tiny bit to change ordinary cookies into something really special.
- Egg: Holds everything together and adds moisture. Eggs work better in the mix when they're not cold from the fridge.
- Baking Powder: Gives just a bit of lift without making cookies spread too much. It works gently so your cookie shapes stay clear during baking.
Making Them Just Right
- Getting Ready:
- First, let your butter and egg sit out for at least half an hour. This key step makes sure they'll mix well with other stuff. While waiting, mix your flour, baking powder, and salt together so the rising agent spreads evenly through the dry ingredients.
- Mixing Butter and Sugar:
- Beat your softened butter with sugar until it's truly fluffy and lighter in color, about 3-4 minutes with your mixer. This longer mixing puts air bubbles in that make the texture just right when baked. You'll know it's done when both the color and feel have changed.
- Adding Flavor:
- Put your vanilla and almond extracts into the butter mix before adding the egg. Doing it this way lets the flavors blend into the fat, which carries taste better than watery ingredients. That touch of almond makes these way better than plain sugar cookies.
- Mixing it All:
- Add the dry ingredients bit by bit, mixing just enough to combine everything. If you mix too much, the gluten gets tough and your cookies won't be soft. Stop as soon as you don't see any flour streaks for the best texture.
- Cooling Time:
- Wrap your dough tightly in plastic and stick it in the fridge for at least an hour. This rest helps the flour soak up moisture and firms up the butter so cookies won't spread while baking. Chilled dough is also easier to roll out and cut.
- Rolling It Out:
- Roll your cold dough on a lightly floured counter to exactly ¼-inch thick for the perfect mix of softness and structure. Use guides on your rolling pin if you have them to make sure the thickness stays the same all over, which helps everything bake evenly.
- Cutting Shapes:
- Push cookie cutters straight down through the dough without twisting. Twisting messes up the edges and can affect how they rise. Put the cut cookies on baking sheets lined with parchment, leaving at least an inch between them so air can flow around each one.
- Baking Time:
- Bake in a 375°F oven for exactly 8-10 minutes until edges just start turning golden while middles stay pale. This exact timing creates that signature soft center with slightly crisp edges that makes the perfect sugar cookie.
- Cooling Off:
- Let cookies sit on the hot pan for 2-3 minutes before moving them to a wire rack. This short rest lets them firm up enough to move without breaking, while the rack keeps steam from making the bottoms soggy.
 Save
Save
My grandma always said patience makes sugar cookies turn out better—patience when beating the butter, patience while the dough chills, and patience letting cookies cool fully before adding icing. When I try to hurry these steps with my kids, I remember what she told me: 'The time you think you're saving will show up in how your cookies taste.' Following her advice always brings perfect results that are worth the extra minutes you put in.
Decorating Ideas
Turn these cookies into Easter showpieces using different decorating methods that work for any skill level. Beginners can spread cookies with simple buttercream in pastel colors topped with sprinkles. Those with some practice might enjoy outlining bunny shapes with icing bags and filling them using the flood method with thinned royal icing. Expert decorators can make detailed designs using multiple colors, adding tiny touches like flowers, spots, or swirled effects. For fun gatherings, set up a decorating table with plain cookies, different icings, and toppings so everyone can make their own custom treats.
Fun Flavor Twists
Change this flexible recipe to make different flavors while keeping the amazing texture. Swap lemon extract for the almond and throw in 1 tablespoon lemon zest for bright spring-themed cookies. Make chocolate sugar cookies by using ¼ cup less flour and adding cocoa powder instead, leaving out the almond extract. For coconut fans, add ½ teaspoon coconut extract and mix in ½ cup toasted coconut. Cinnamon-sugar cookies can be made by adding 1 teaspoon cinnamon to the mix and sprinkling tops with cinnamon sugar before they go in the oven. All these changes use the same baking time and temperature while giving you new flavors to try.
Keeping Them Fresh
Keep your cookies tasting great by storing plain, cooled cookies in sealed containers at room temperature, with pieces of parchment between layers to prevent sticking. They'll stay fresh up to a week this way. For cookies with royal icing, let the icing harden completely (usually overnight) before stacking with parchment between layers. These decorated ones stay good for 3-5 days. Both plain and decorated cookies freeze really well—wrap each one in plastic, then put them in freezer bags for up to three months. Let them thaw still wrapped at room temperature so moisture doesn't ruin your decorations.
These Easter sugar cookies mean more than just something sweet to eat—they represent tradition, creativity, and the happiness of sharing something made with love. The simple actions of rolling dough, cutting shapes, and adding decorations create moments together that matter more than just the cookies themselves. Whether they're an old family tradition or something new you're starting at home, these cookies bring both delicious treats and meaningful moments. They work great as artistic creations, activity centers, or heartfelt gifts that capture the brightness of spring for any Easter gathering.
 Save
Save
Recipe FAQs
- → Can I prep the dough in advance?
- Totally! Keep it in the fridge for up to 3 days. Or freeze for 3 months. When ready, thaw frozen dough in the fridge overnight before rolling.
- → How do I know the cookies are baked?
- Edges should look set and just begin to turn golden. Centers might look slightly soft, but they'll firm up when they cool. For chewy results, don’t overbake.
- → Is almond extract necessary?
- Not at all! It’s optional. You can swap it with more vanilla or skip it entirely if you'd like or have nut sensitivities.
- → How can kids decorate easily?
- Use squeeze bottles instead of piping bags. Offer pre-colored icing and a variety of sprinkles, candies, and sugars to let them have fun adding their touch.
- → How long does icing take to set?
- The top will set in 2-4 hours at room temp, but give it 6-8 hours or overnight to be fully dry and stackable without smudging.