
 Save
Save
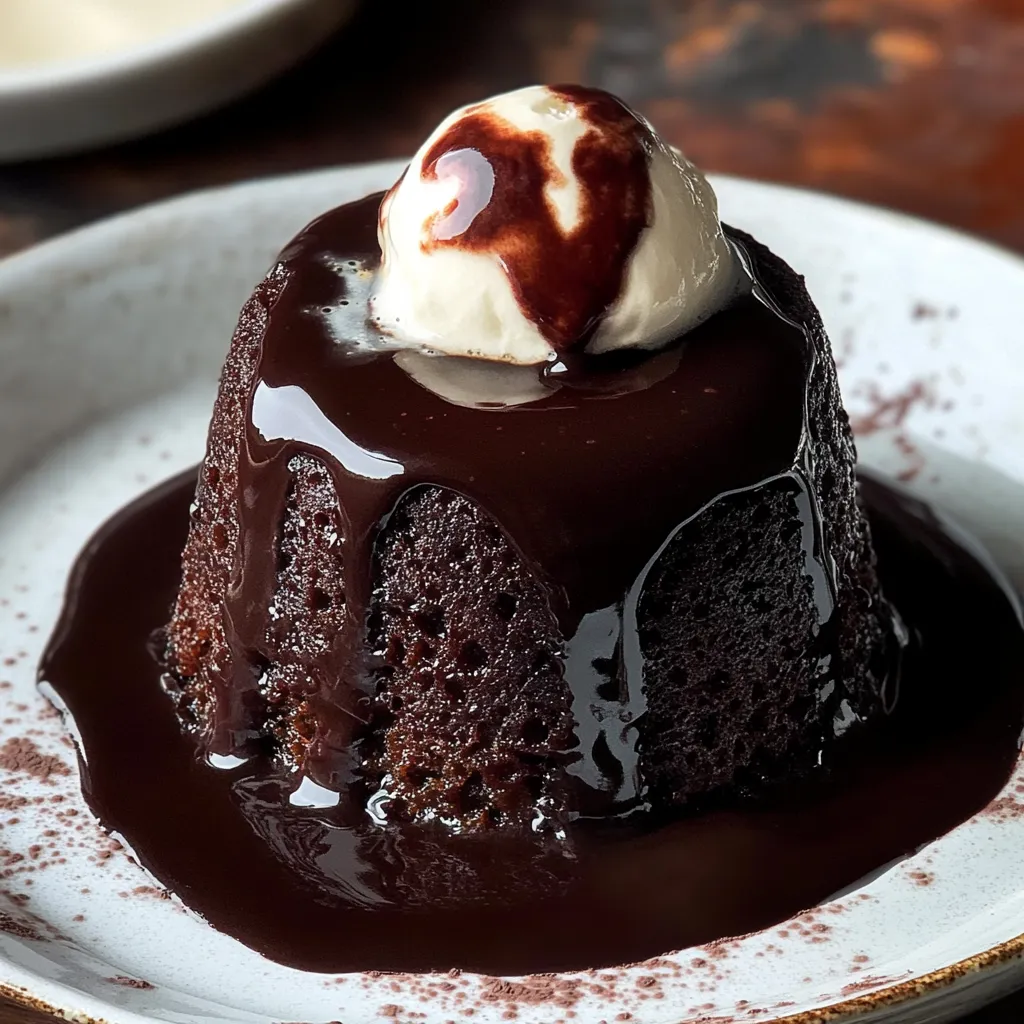
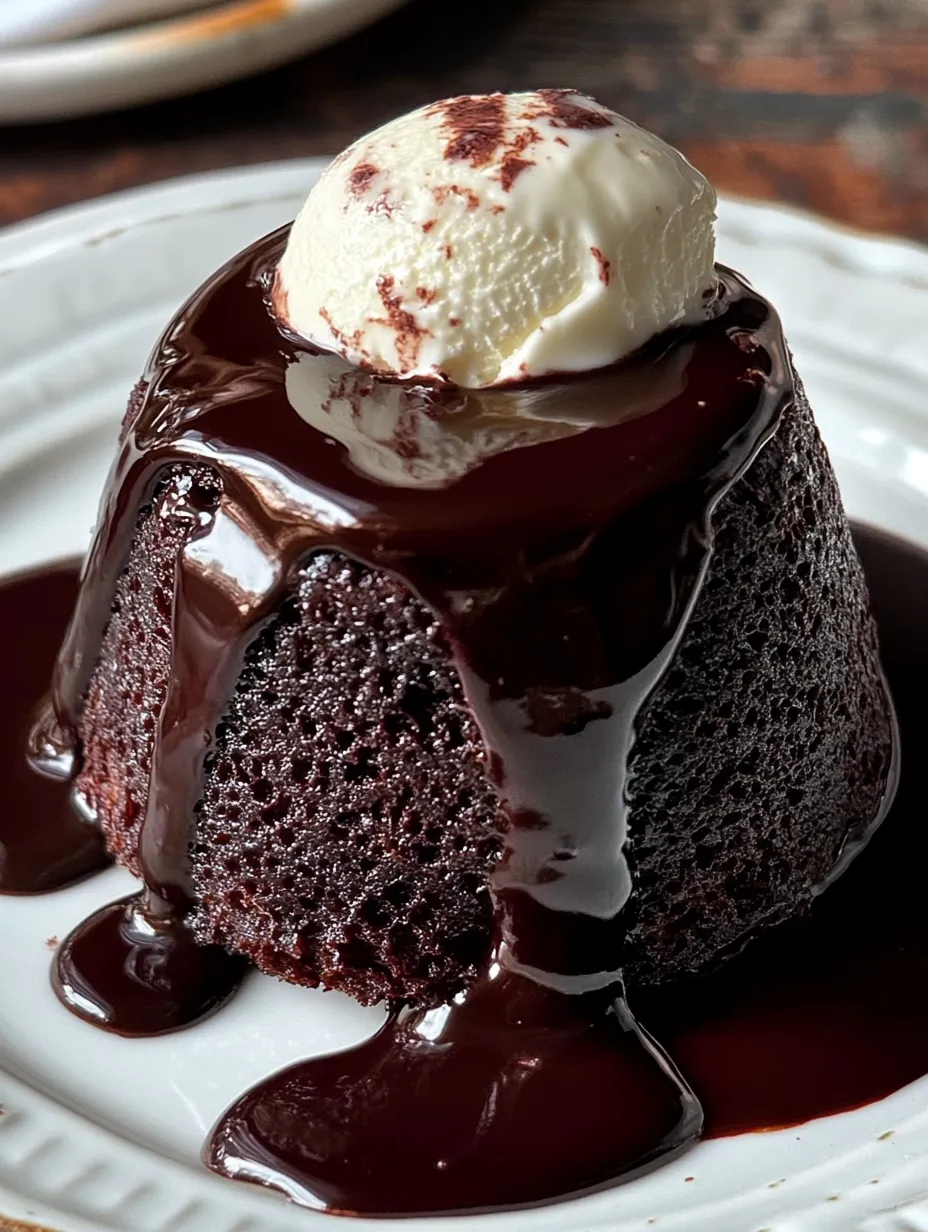
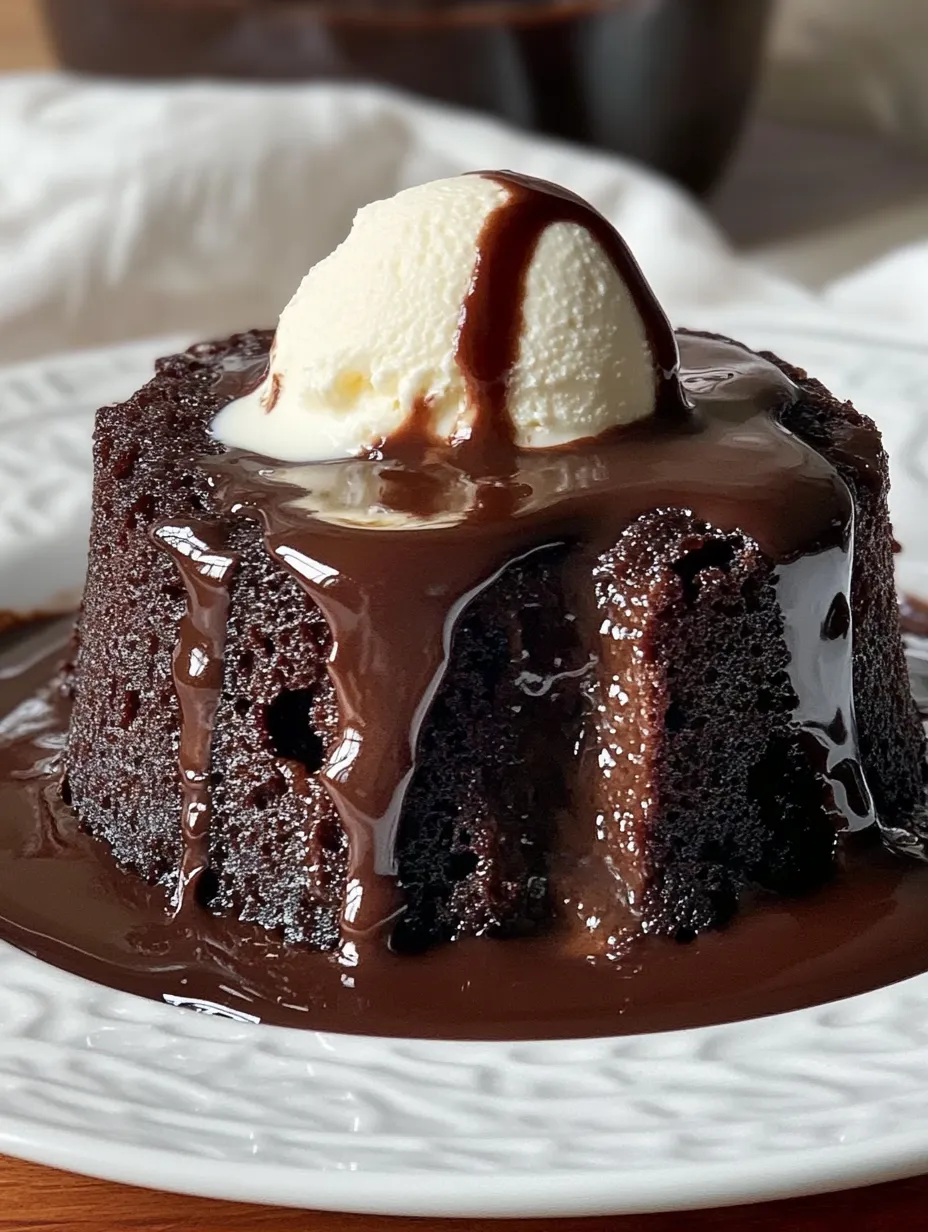
These decadent chocolate sticky toffee treats turn an everyday night into a special moment. Each personal-sized dessert blends rich dark chocolate with sweet, caramelly dates, creating a warm, gooey middle that just melts in your mouth. Every pudding comes soaked in smooth chocolate sauce, making each bite pure chocolate heaven.
Everyone in my house asks for these treats whenever we're celebrating something. Last December, my kid wanted to learn how to make them, and now we bake them together once a month. The amazing chocolate smell fills our kitchen and always brings the whole family running to check the oven.
Key Ingredients Breakdown:
- Medjool dates: they add natural sweetness and that trademark sticky feel - grab shiny, plump ones without sugar crystals
- Dark chocolate chips: go for 60-70% cocoa for just the right mix of sweetness and deep chocolate taste
- Brown sugar: brings those lovely caramel hints and helps keep everything moist and soft
- Heavy cream: makes your sauce super smooth - don't skimp on the fat content
- All-purpose flour: gives structure to hold everything together - spoon it into your cups and level it off
- Salted butter: makes both chocolate and caramel flavors pop - let it warm up before using
 Save
Save
Making Your Treats:
- Get Started:
- Turn your oven to 350°F and put parchment circles in two 14-ounce ramekins. Butter the sides really well so they'll pop out easy.
- Work Your Dates:
- Cook chopped dates with milk till they get really soft. Mash them up smooth, then mix in baking soda to make everything light and fluffy.
- Boost Your Chocolate:
- Mix cocoa powder with hot water till it looks shiny. This makes the chocolate taste way better and gives you a richer dessert.
- Mix Your Base:
- Beat butter and sugar till they're fluffy and pale. Don't rush this part - it's what makes your puddings so tender.
- Combine Everything:
- Mix your date stuff with the chocolate stuff, folding gently till they're completely combined. Add eggs one by one, making sure each one disappears before adding another.
- Add Dry Stuff:
- Sift flour, baking powder, and salt right over your mix. Fold everything together gently till you can't see any dry spots. Your batter should look thick and shiny.
- Bake Them Up:
- Pour batter evenly into your ramekins and smooth the tops. Put them in your hot oven and let them cook for 34-40 minutes.
When I was little, my grandma always put a tiny bit of espresso powder in her chocolate desserts. It's now my favorite trick for making chocolate treats taste amazing. Whenever I use it, I remember her kitchen and all the cool stuff she taught me about baking.
Tasty Serving Ideas:
Make these desserts even better by serving them warm with some freshly whipped cream on top. Adding a scoop of vanilla bean ice cream creates that awesome hot-cold combo that makes every bite better. For fancy times, I like to add some fresh raspberries and a light sprinkle of cocoa powder.
Ways To Switch It Up:
Try using white chocolate instead of dark in the sauce for a cool look. Add some orange zest to the batter for a fruity kick, or throw in chopped nuts if you want some crunch. If you've got friends who can't have gluten, just swap the regular flour for a good gluten-free mix that measures the same way.
Storing Your Desserts:
Put any leftover puddings in a sealed container in the fridge for up to three days. When you want to eat them again, warm them slowly in a 300°F oven for about 10-15 minutes until they're just heated through. You can keep the sauce separate and warm it up in short bursts in the microwave.
 Save
Save
Pro Baking Tricks:
- Spoon cocoa powder into measuring cups instead of scooping - packing it down makes things taste too bitter
- Let your batter sit for 10 minutes before baking so the flour can soak up all the moisture
- For super juicy puddings, put your ramekins in a bigger pan with hot water while they bake
I've tweaked this recipe for years and learned it's not just about following directions - it's about feeling the flow of baking. These puddings have become my go-to dessert that everyone asks for at family get-togethers and cozy dinners. Watching someone take their first bite and seeing their face light up as the warm chocolate sauce pools around their plate makes all the work totally worth it.
Recipe FAQs
- → Can these desserts be prepped earlier?
- Absolutely, but they’re tastiest when warmed right before you eat them.
- → Why are dates in this dish?
- They sweeten naturally and give that signature soft, sticky feel.
- → What can I do without ramekins?
- Double the mix and bake everything together in an 8x8 dish for around an hour.
- → Is espresso powder a must-have?
- No, but it amps up the chocolate intensity without adding coffee flavor.
- → Can I switch the type of chocolate?
- You can, but pick dark chocolate (50-70% cocoa) to get the ideal richness.