
 Save
Save
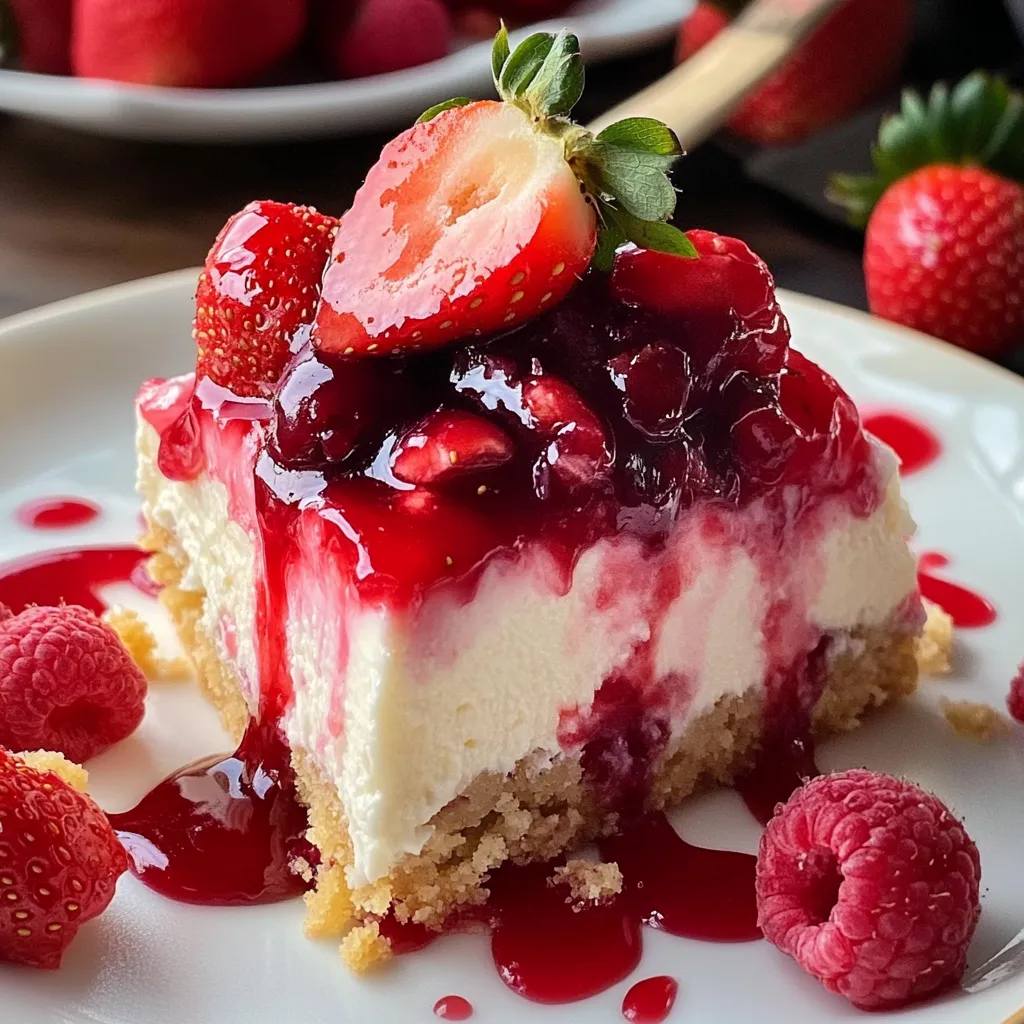
I discovered this strawberry cheesecake dump cake by accident one hot day when friends showed up unannounced. The mix of strawberry filling with cream cheese and cake turns into amazing layers that seem fancy but take barely any work. It's now my backup plan when I want to wow people but don't have the time or patience for anything complex.
My next-door neighbor walked in just as I pulled this from the oven, and the smell alone made her stick around for a taste. She couldn't believe how something so tasty could be thrown together so fast and begged me for the steps. The easiest dishes often leave the biggest mark on people.
Basic Components
- Strawberry pie filling - Your time-saving hero that adds fruit flavor without any chopping
- Cream cheese - Makes that wonderful cheesecake section without worrying about eggs or tricky baking
- Cake mix - The lazy cook's best friend that turns into a tasty, crumbly layer on top
- Milk - The hidden helper that makes sure your cake cooks right and stays moist
- Butter - Pulls all the flavors together and makes those delicious brown edges
 Save
Save
Baking Instructions
- Pan Setup
- A quick spray of cooking oil plus a touch of flour makes serving way easier. I learned this the hard way when my first try stuck badly to the sides as the fruit got all sticky. Glass dishes work great for this, but metal pans are fine too—they just cook faster because they heat up quicker.
- Adding Fruit Layer
- Spread your strawberry filling so it covers the whole bottom in an even layer, right to the edges. I push it around with a spoon back. This fruit layer adds moisture that helps cook the cake part, so you want it spread out nicely. Sometimes I toss in a few extra strawberries for more fruit chunks and texture.
- Adding Cheese Mix
- Make sure your cream cheese sits out long enough to get truly soft. If you forgot, unwrap it and pop it in the microwave for around 20 seconds. Drop spoonfuls all over rather than just dumping it in the middle. Don't stress about making it perfectly smooth—those random spots of creaminess make this dessert special.
- Cake Mix Layer
- The way you sprinkle the dry cake mix really matters. I grab a measuring cup and dust it over everything like falling snow, watching for spots that look too thick or too thin. The dry mix soaks up moisture from below to make a soft cake on top and slightly gooey spots where it touches the fruit—that contrast makes dump cakes so good.
- Liquid Topping
- How you pour the melted butter and milk might be the most crucial part. I drizzle them in a zigzag to hit every area of cake mix. Any dry spots will stay powdery after baking, so I poke around with a fork to make sure everything gets wet enough. Adding milk alongside butter is my special twist—it makes the top more like actual cake instead of just a crumbly topping.
- Oven Time
- Watch how it looks rather than just setting a timer. You want a nice golden top with some darker spots where butter pooled. The sides should bubble a bit, and the middle shouldn't look wet anymore. I start checking after 35 minutes, especially with metal pans. Let it sit for at least 15 minutes before digging in—it actually tastes better after cooling slightly.
My teenage boy usually turns his nose up at anything with fruit and heads straight for chocolate desserts. But he took one bite of this and called it "strangely awesome" before grabbing seconds. When a picky teenager gives you that kind of praise, you know you've got a keeper.
Tasty Companions
This tastes amazing warm with a scoop of vanilla ice cream melting on top. During summer, I add some fresh berries on the side for extra pop of color. It goes great with coffee or tea when friends come over. My husband downs his with a cold glass of milk, but I prefer mine with hot coffee to balance the sweetness.
Fun Twists
Switch up the pie filling with cherry or blueberry for totally different flavors. Try chocolate cake mix instead of yellow if you want a chocolate-covered strawberry feel. Sprinkle white chocolate chips between the cream cheese and cake mix layers if you're feeling fancy. Last December, I threw some crushed gingersnaps into the topping which gave it a holiday vibe that worked surprisingly well with the strawberries.
 Save
Save
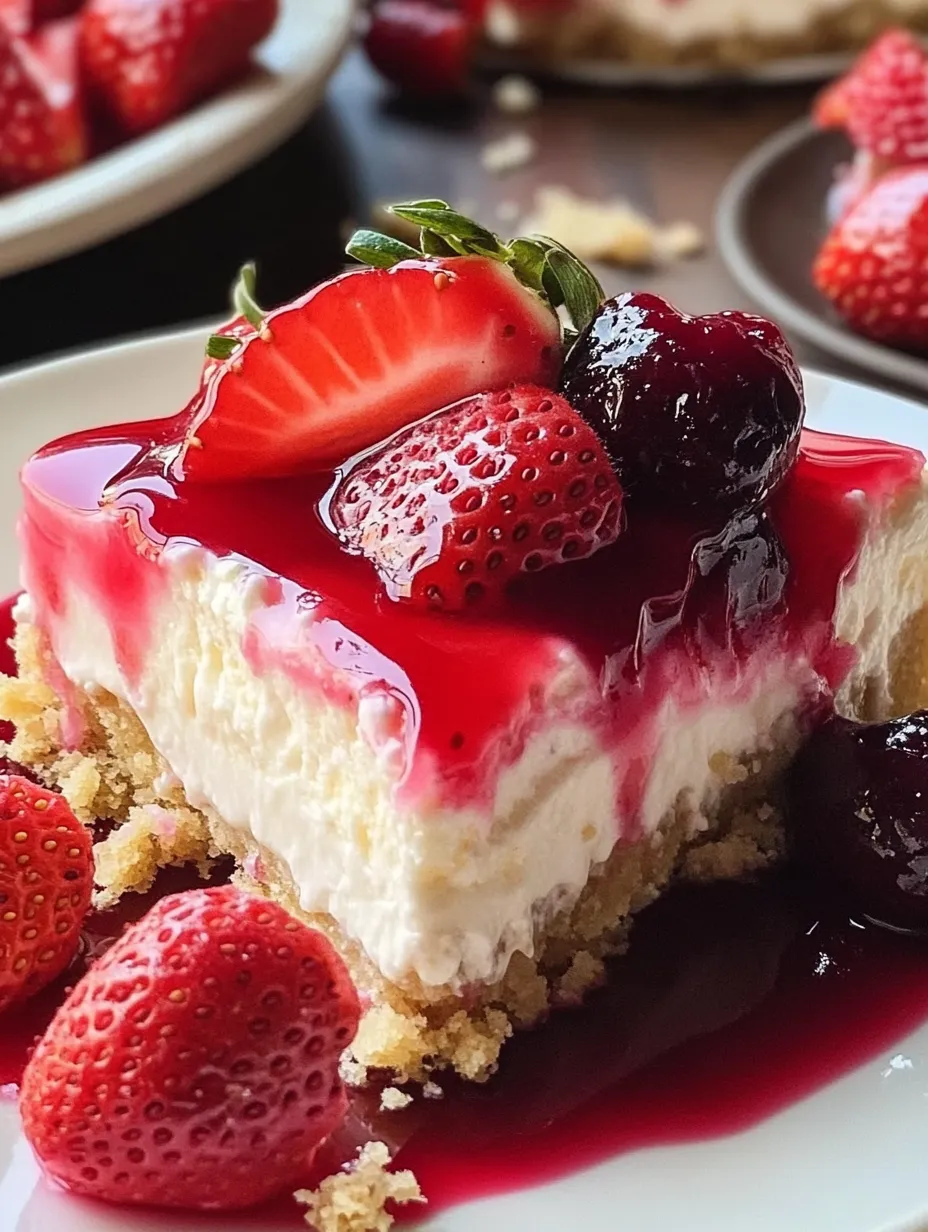
I've brought this strawberry cheesecake dump cake to family dinners, potlucks, and holiday parties, and it's always a hit. There's something almost magical about how these simple ingredients change in the oven to create distinct layers of flavor. My daughter now asks for this instead of birthday cake every year, which is about the biggest cooking compliment I can get. Sometimes the quickest recipes end up becoming the family favorites that create the best memories around the table.
Recipe FAQs
- → Can I swap the strawberry filling for a different fruit?
- Of course! Use any flavor you like—cherry, blueberry, peach, or apple all work. Mixing two fillings together can also be fun for unique combos.
- → Why is the cake mix dry on top after baking?
- Some dry spots can happen if butter or milk didn’t fully coat the mix. Spread them carefully across the surface or add tiny butter pieces to cover all dry areas.
- → Is it okay to assemble this cake ahead of time?
- Sure thing! Put it together up to 24 hours before baking and store it in the fridge. Bake directly from cold with a few extra minutes. Leftovers last 1-2 days at room temp or up to 5 days in the fridge.
- → Are there vegan or dairy-free tweaks for this?
- Yes! Swap in dairy-free cream cheese, plant butter, and non-dairy milk. For a vegan version, check that the cake mix doesn't have any eggs or animal products.
- → Can you freeze the finished cake for later?
- Definitely! Cool it completely, cover it well with plastic and foil, then freeze up to 3 months. Thaw overnight in the fridge and warm in the oven or microwave to enjoy.