
 Save
Save
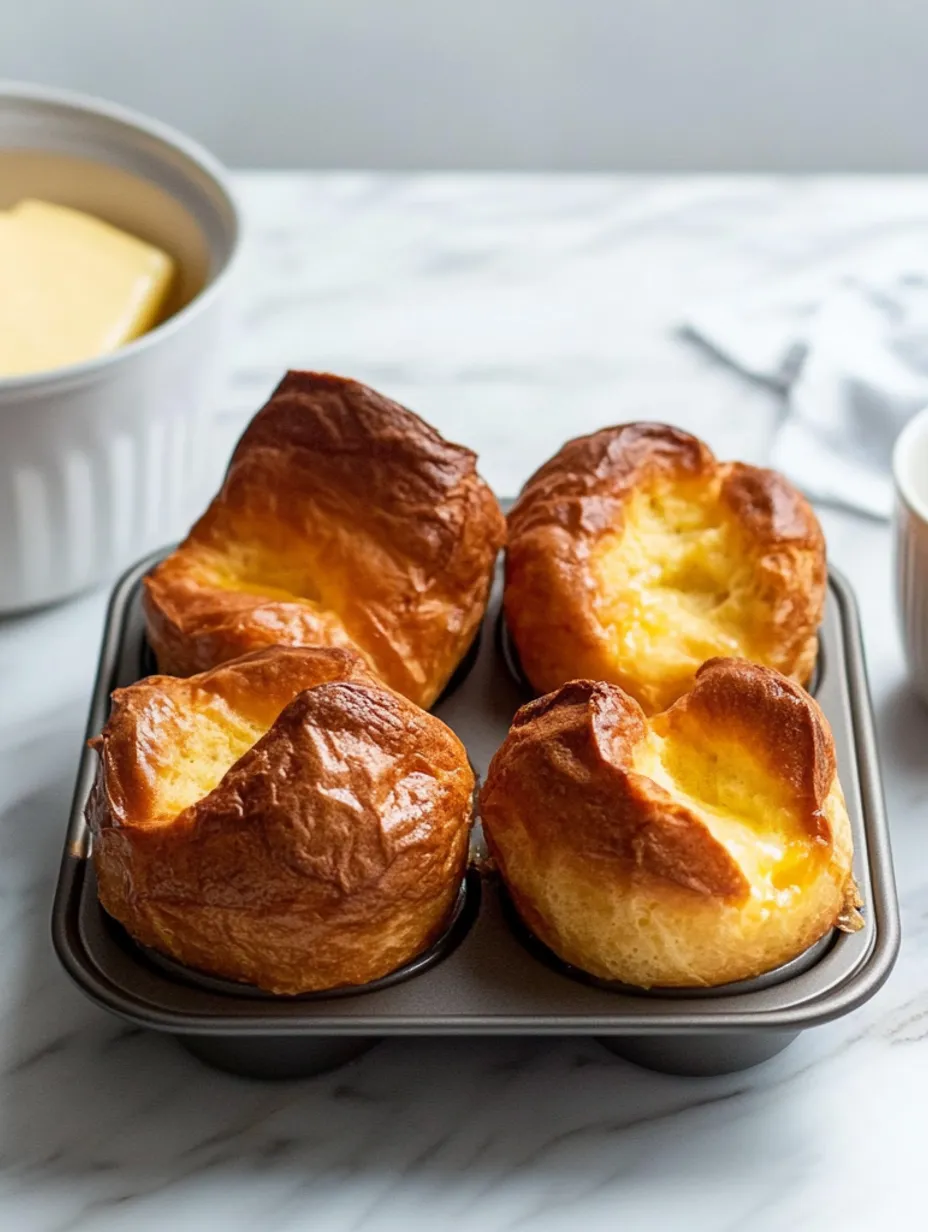
My kitchen adventures often begin with memories from my early years. In my childhood home, popovers were what we baked when celebrating something special, showing up like small miracles during holiday dinners. Fast forward to when I bought my first popover pan and dug up mom's handwritten notes - I found out these airy treats aren't just for big occasions - they're actually easy enough to whip up whenever you want to add some wow factor to dinner.
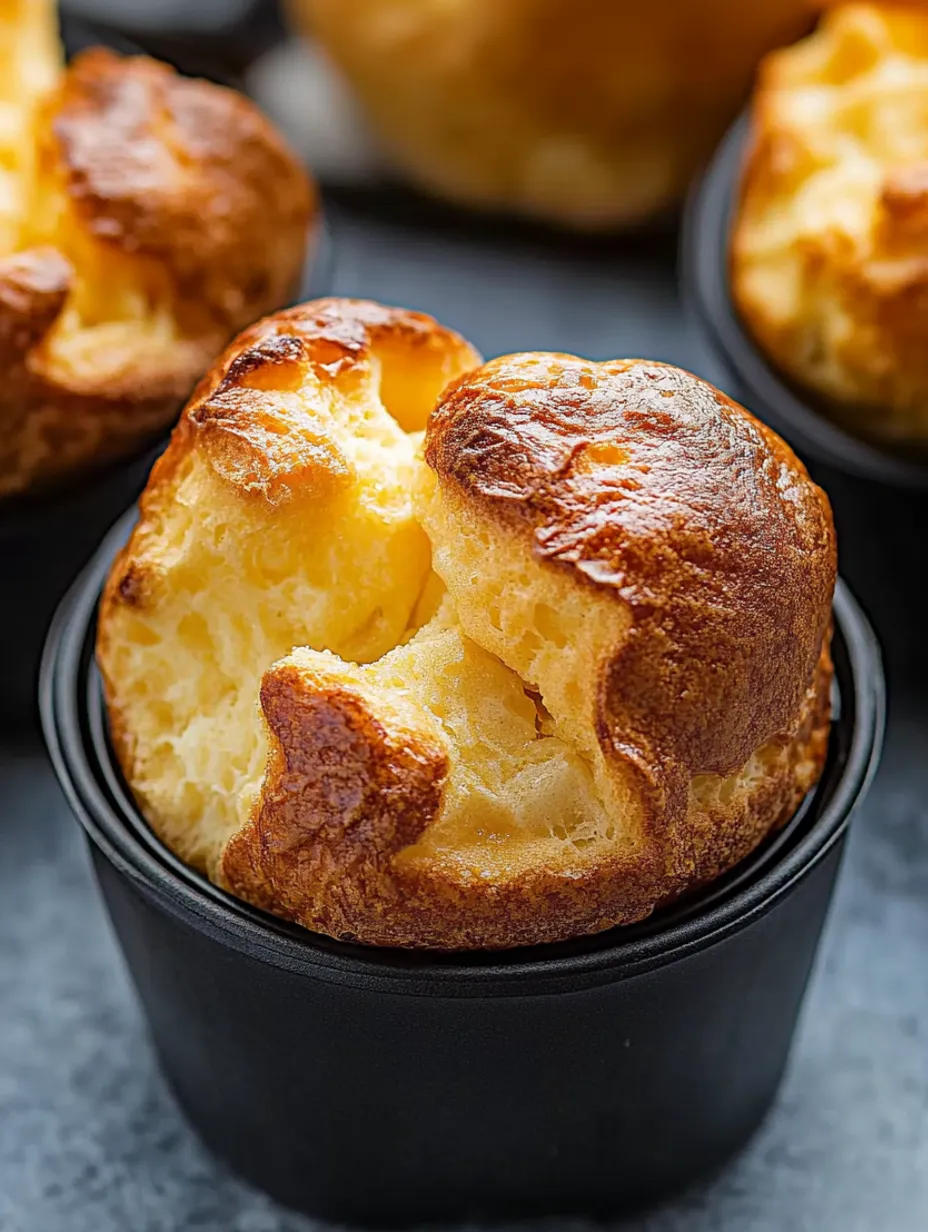
I once made these on a random Sunday and surprised everyone at breakfast. Now my family keeps checking the kitchen hoping I'm making another batch. These aren't regular bread rolls - they're like crispy balloons you can eat!
Complete Ingredients Breakdown
- Room temperature eggs: Don't skip warming them up
- Whole milk: You need all that richness
- All-purpose flour: Measure it carefully
- Actual butter: Don't try anything else here
- Small-grain salt: Brings everything together just right
 Save
Save
Mastering Popover Technique
- Mixing Magic:
- Mix everything till it's bubbly and lump-free
- Hot Pan Trick:
- Warm your pan for better lift
- Waiting Game:
- Let batter sit while oven gets hot
- Heat Strategy:
- Begin with high heat, then lower carefully
- Air Release:
- Poke holes on top for the right texture
When I first tried making these, I couldn't help checking on them - what a mistake! They sank faster than a lead weight. Now I know waiting patiently is what really makes them work.
Secrets Behind The Batter
I didn't always get those beautiful hollow centers. After many sad flat attempts, I learned success comes down to tiny details. The warm milk and eggs sitting at room temperature? They're not just suggestions - they're what makes these puff up like little clouds.
My Baking Journey
I can still picture my first good batch. Watching through the oven glass as they grew taller and taller made me so proud. Now I understand every step matters - from how you scoop the flour to the way you pour everything into the cups.
Custom Variations
Basic popovers taste amazing, but I love trying different versions:
- Mix in chopped herbs for dinner sides
- Dust with sugar and cinnamon for morning treats
- Add grated hard cheese for extra flavor
- Coat with garlic butter straight from the oven
Keeping Them Fresh
Let's face it - they usually get eaten right away! But if you have leftovers:
- Let them cool all the way first
- Warm at 350°F to bring back crispness
- Poke holes in bottoms before storing to keep them crisp
- Put in freezer for up to two months if needed
 Save
Save
Common Questions Answered
- Q: Why did mine fall flat?
- A: Probably because you peeked in the oven too early.
- Q: Can I use skim milk instead?
- A: Whole milk gives you the best height and texture.
- Q: They got stuck in my pan!
- A: You didn't use enough butter or oil to coat it.
- Q: How much batter goes in each cup?
- A: Fill them about 3/4 full for the best rise.
I've been making these for so long now, and I've come to see popovers as tiny kitchen science experiments. Watching plain batter turn into golden, tall treats still makes me smile every single time.
Don't worry if your first try isn't perfect - that's normal. You'll get better each time you make them. And here's a bonus: even the ones that don't rise right taste amazing with some butter and jam on top.
One last thing - do yourself a favor and buy a real popover pan. It's totally worth the money when you pull out those first perfectly golden, tall beauties!