
 Save
Save
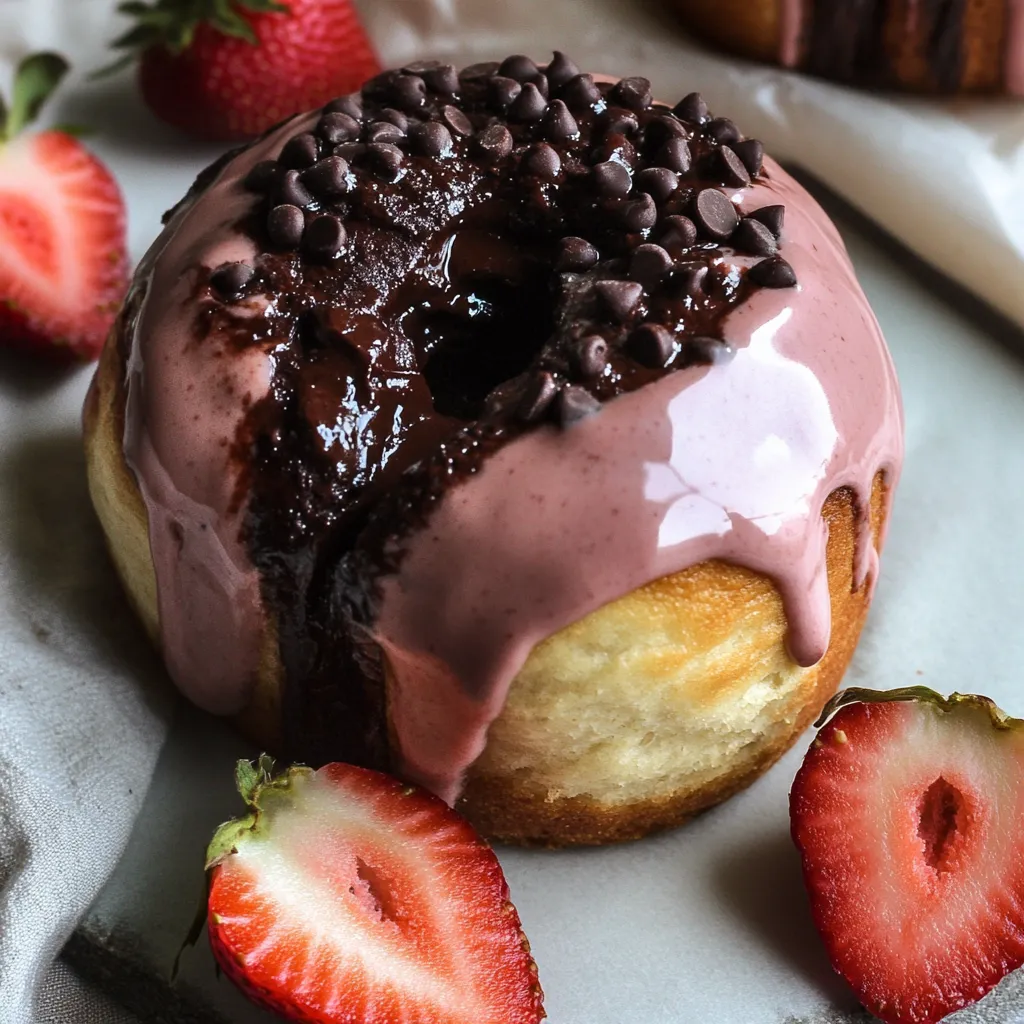
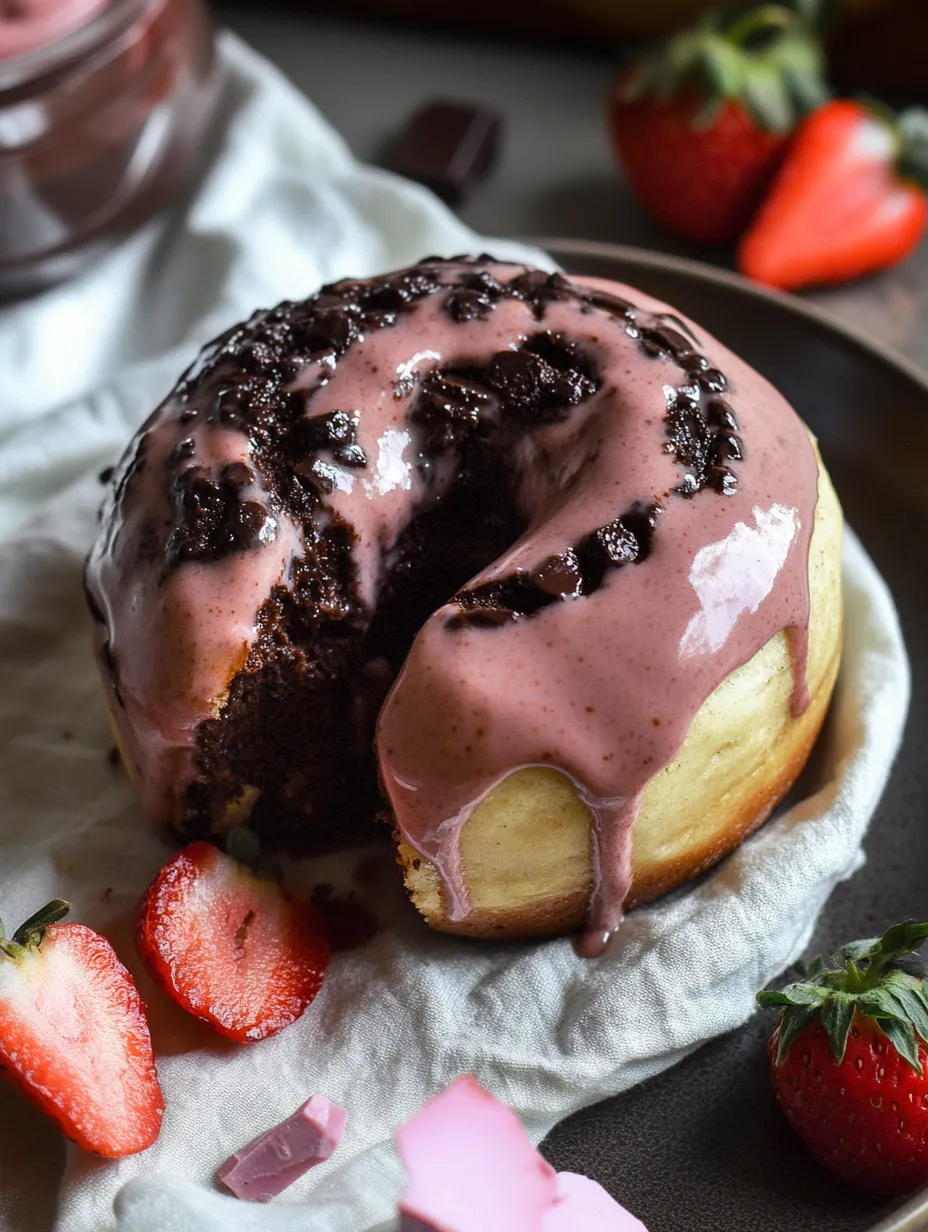
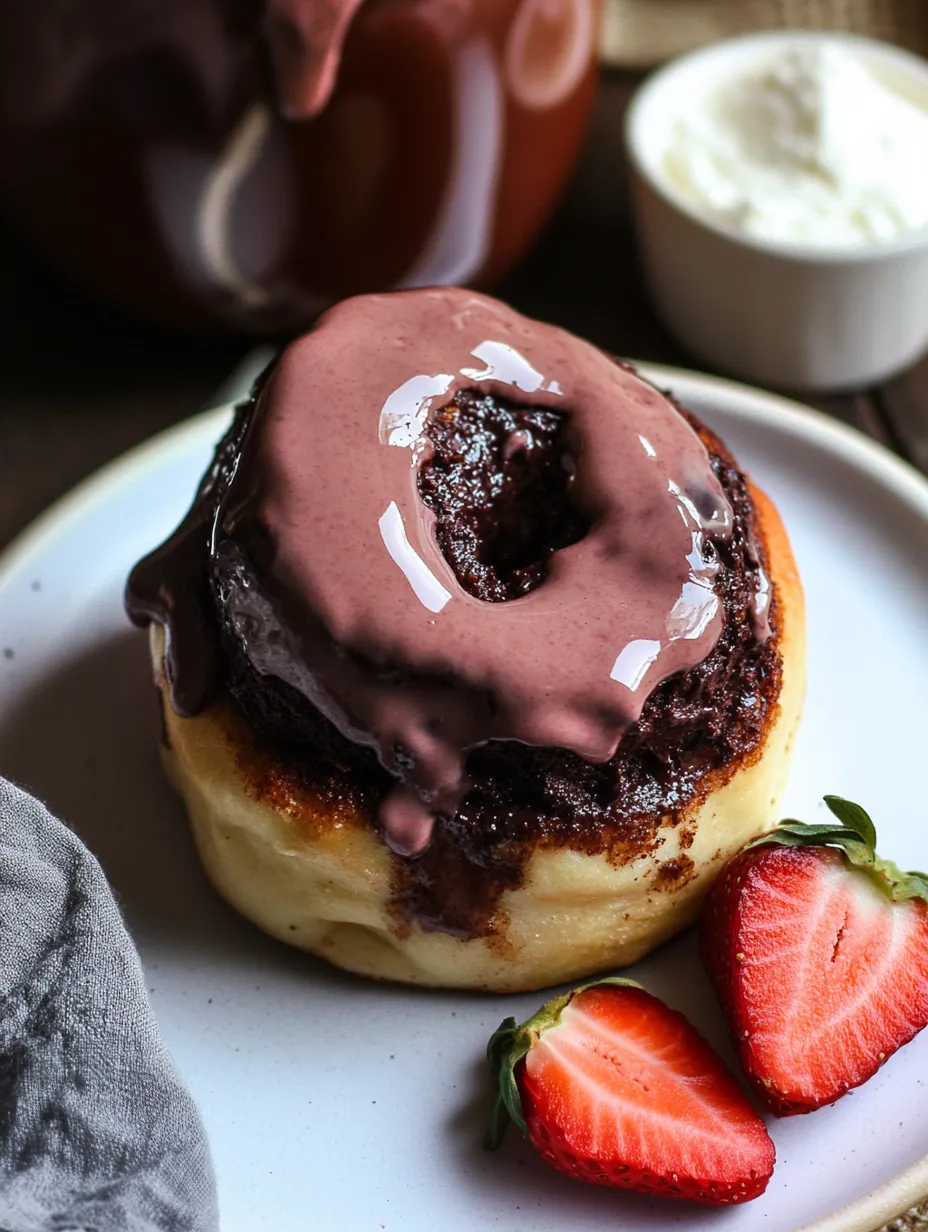
These cocoa swirls topped with berry cream cheese icing are total comfort cooking delight. I whipped them up during a cold February when my kitchen and spirit needed warming. The mix of deep chocolate base and that pinkish, zesty topping isn't just tasty - it's like getting a sweet embrace for your senses.
On one dreary winter day, I baked these swirls and my whole house got that amazing bread-chocolate smell. My teenager actually came downstairs without me having to call out!
Key Components:
- High-grade cocoa: really changes the game
- Active dry yeast: (don't forget to check expiration!)
- Any plant milk you prefer
- Vegan cream cheese: for that zingy topping
- Real strawberries: giving natural pink tint and taste
- A dash of affection: - we could all use extra of this
 Save
Save
Step-by-Step Guide:
- Activate The Yeast:
- Get your milk just the right warmth - that's where everything starts. When you see foam appearing, you're heading the right way.
- Mix Your Base:
- Add the cocoa and watch as your dough transforms into this beautiful rich brown. The kneading part can feel almost peaceful.
- Give It Time:
- Find a nice warm place for your dough to expand. I enjoy this quiet moment of waiting, knowing something delicious is in the works.
- Whip Up Pink Goodness:
- As the dough grows, make your strawberry cream cheese topping. That natural rosy color reminds me that warmer days will return.
- Form With Love:
- Stretch your chocolate dough into a rectangle and roll it tightly - each turn promises comfort to come.
The first batch I made on a me-time Sunday taught me that baking isn't just about what you eat at the end - it's the whole journey of making something meaningful.
Perfect Moments:
These swirls shine on lazy weekend mornings when you can enjoy both making and eating them. They're best when they're still a little warm and the topping gets slightly runny.
Personal Touches:
I sometimes pour a bit of coffee into the mix, or add some berry preserve inside. Every batch can become your own twist on comfort baking.
Storage Tricks:
Put your leftover swirls in a sealed container and warm them up before eating. A few seconds in the microwave brings back that just-baked feel.
 Save
Save
Smart Baking Tricks:
- Cut your rolls using unflavored dental floss
- Don't skip the second rise - it matters just as much
- Take your time with the topping - let it get properly whipped
Whenever I bake these swirls, I remember that taking care of yourself isn't all about spa treatments and long baths. It can be about spending time creating something from scratch, getting your home smelling wonderful, and sharing that joy with friends - or keeping it all for yourself. Because sometimes that's exactly what you need.
Recipe FAQs
- → Why cut rolls with floss?
- Using floss makes smooth slices without pressing or squashing, unlike cutting with a knife.
- → How do I prep these early?
- Shape the rolls, store in the fridge until morning, then bake once they warm to room temperature.
- → What’s the best milk to use?
- Go with any unsweetened option, but almond or soy milk gives the nicest texture.
- → Can I store them in the freezer?
- Freeze the buns (without frosting) for up to two months. Defrost, then add glaze just before serving.
- → Why add coconut sugar to this?
- It gives the filling a rich, caramel flavor while staying plant-based.