
 Save
Save
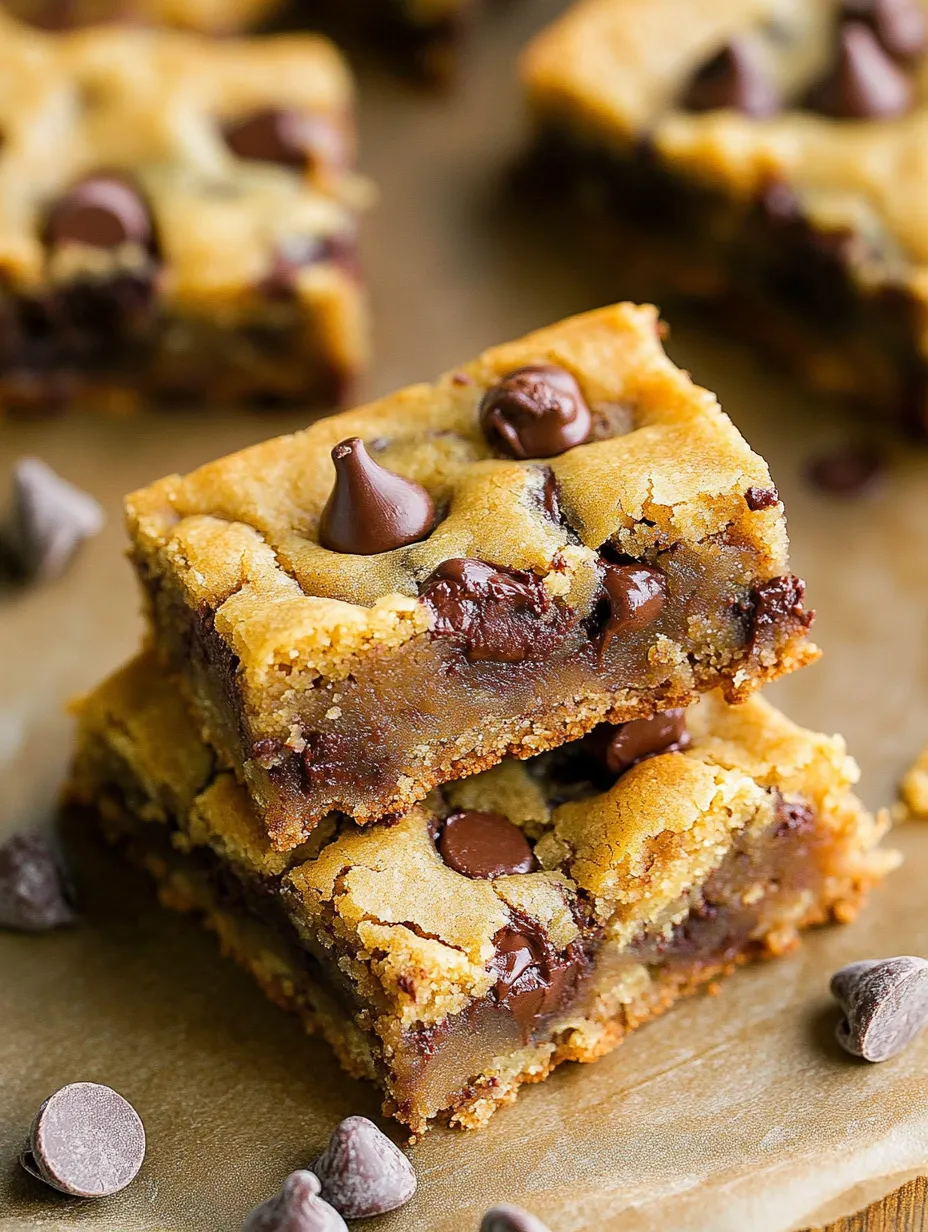
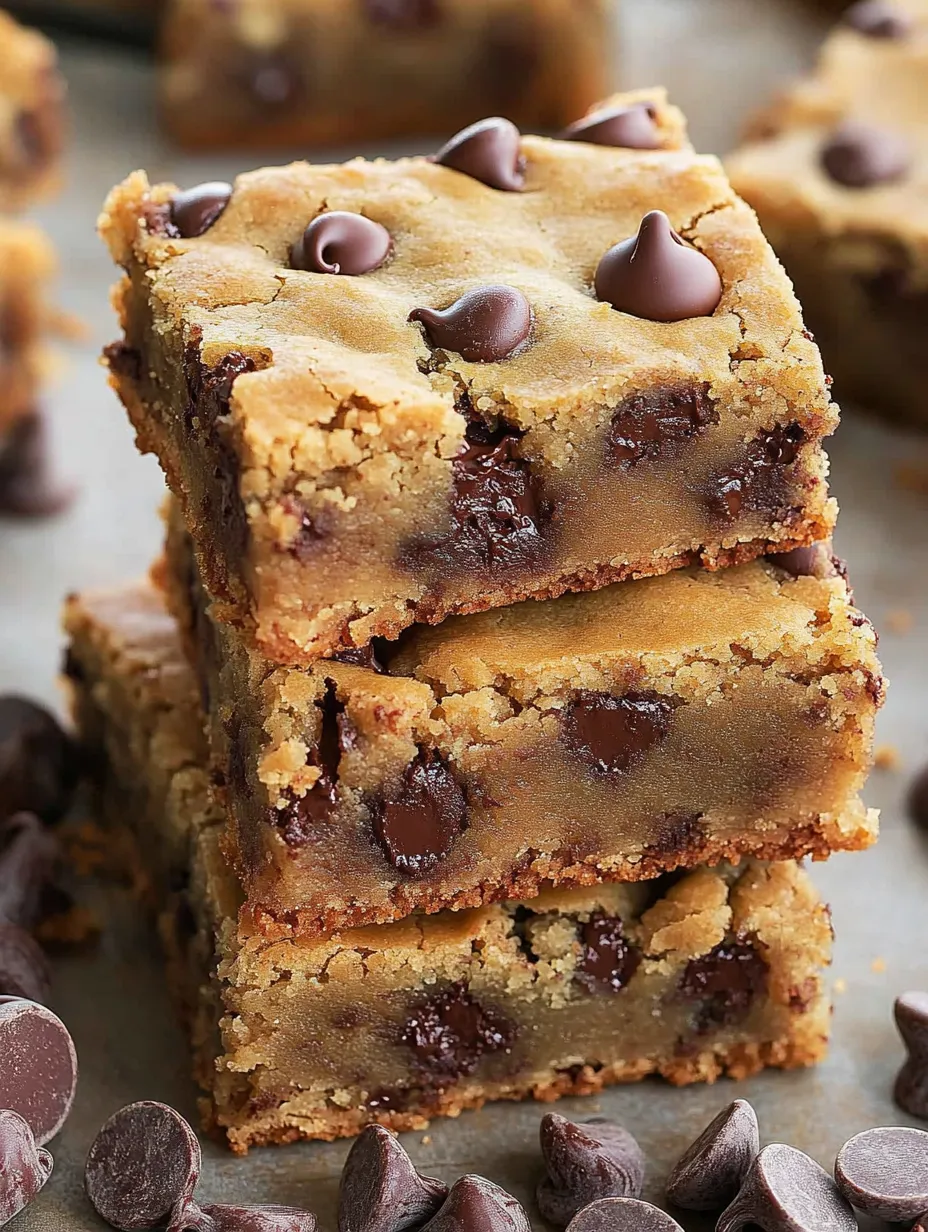
Here's the story of these squares. One wild Tuesday night, my kid hit me with a last-minute surprise—she needed a treat for her school bake sale the next day. It was already 8 PM and I was scrambling. Forget rolling out a bunch of cookies—I dumped my trusty go-to into a pan and crossed my fingers. The result? Total game-changer. These squares are what happen when chocolate chip cookies decide to be low effort and come out somehow even tastier than before.
When I brought these to my book club, chaos broke out. Usually, everyone pretends they're not hungry. But not this time. Karen—the one on her third day of being "gluten-free"—ate three and then hunted me down for how I made them. That was my clue that these are something special.
Game-Changing Ingredients
- All-purpose flour: basic but does the trick
- Two kinds of chocolate chips: why settle for just one?
- Brown sugar: all that yummy caramel flavor
- Vanilla extract: don’t mess with that fake stuff
- Real butter: melted perfectly (no margarine here)
- White sugar: gets those lovely crisp bits
- Two eggs plus a bonus yolk: trust me, it works
 Save
Save
Thorough How-To
- The Big Mix:
- Gently stir in your flour, but don't overdo it. Bars, not bread! Next up—load in all those chocolate chips. I always throw in a little extra for good luck. Use the flat side of a measuring cup to smoosh it into the pan. Fancy, right?
- The Beginning:
- Start by melting butter until it’s smooth and runny. Don’t let it get bubbling! Stir in both sugars ‘til you get a texture like damp sand at the beach. Add the eggs and vanilla, whisk ‘til it’s super smooth and shiny looking.
The Awesome Part
Wanna know my secret? Take the pan out just before you think you should. The middle will seem underdone—it’s supposed to be like that. It sets as it cools and you end up with a gooey center that makes everyone grab for the middle pieces first. Learned it the hard way after baking a few too many extras-crispy pans. Now I shave two minutes off my timer and hover close by.
Unexpected Wins
I've tinkered with this so much. That one time I ran out of regular chips, so I chopped up random chocolate bars. Those uneven blobs of chocolate in every bite were legendary. At Christmas, I'll sometimes brown the butter for a toasty flavor—takes maybe five extra minutes but totally worth it. People always ask what's different!
Lasting Goodness
About saving leftovers—these stay nice for up to five days in a sealed container. My grandma swore by adding a piece of white bread in there to keep ‘em soft. I thought it was bonkers but it totally works. To go longer, wrap each bar up and freeze. My teen loves them straight from the freezer—like weird little ice cream treats. Teenagers, am I right?
Happy Vibes in Every Pan
These squares have rescued me plenty—like when I almost missed the school fundraiser or wanted to welcome a new neighbor without being over the top. They’re my honest-to-goodness go-to for cheering folks up or quietly celebrating. There's something special about sharing treats from scratch. It says 'I'm thinking of you' way better than anything store-bought.
 Save
Save
Baker’s Soul Tips
- Check on them constantly near the end so they don’t overbake
- Wait just a little before cutting so you don’t burn your mouth
- Seriously—a plastic knife slices way cleaner than you’d expect
They’re not just bars anymore—they’ve become family legend. We’ve celebrated wins, soothed rough days, and just enjoyed the little stuff together. Isn’t it wild how the simplest stuff can make all the difference when you put some love into it?
Recipe FAQs
- → Why use foil or parchment?
- Pulls bars out easily and helps cut clean slices.
- → Can baking time change?
- Yes! For soft bars, bake 20-21 mins; firmer bars need 23 mins.
- → Why melted butter?
- Gives that soft, chewy texture and mixes well with sugar.
- → Why small-sized chocolate chips?
- Spreads chocolate evenly in bar dough for every bite.
- → Why avoid overmixing?
- Mixing too much makes tough bars by pushing gluten development.