
 Save
Save
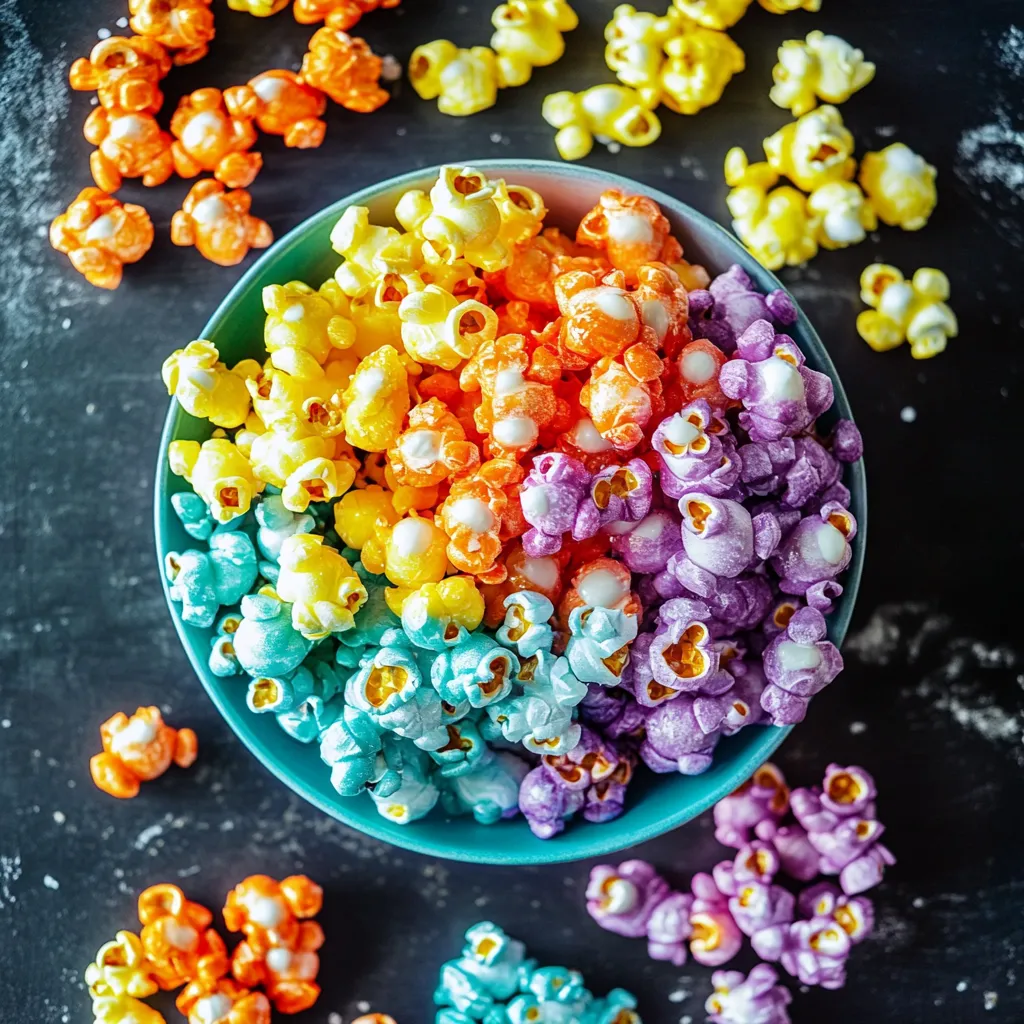
Making vibrant, sugar-coated popcorn in my own kitchen always takes me back to summer carnivals and big top treats. This colorful popcorn isn't just a snack - it's a burst of happiness that transforms regular TV evenings into something extraordinary. I nailed this method after many test batches, learning that getting the timing and heat just right makes all the difference.
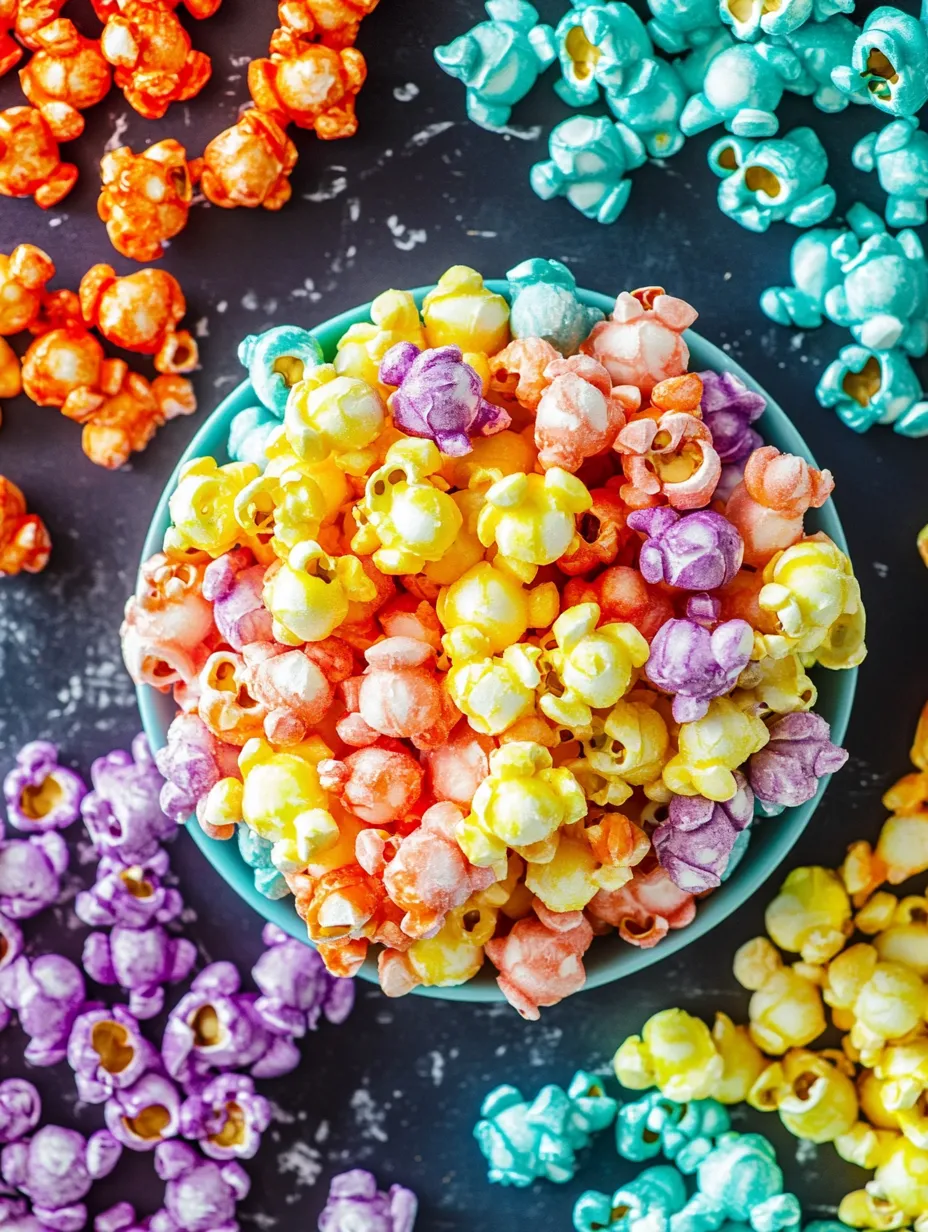
Just last week, I whipped this up for my kid's overnight party. The children couldn't keep their hands off it, and another parent even wanted me to make a batch for her little boy's party. Everyone was grabbing their favorite colors first!
Delightful Core Components:
- Raw popcorn kernels: - skip the microwave packets for the right crunch
- Granulated cane sugar: delivers that perfect transparent finish
- Food coloring gel: adds bright hues without making things soggy
- Corn syrup (light): stops your sugar from forming crystals
- Unsalted butter: brings that homemade goodness
- Salt (just a dash): cuts through the sweetness wonderfully
 Save
Save
Crafting Your Colorful Creation:
- Smart Popping:
- Begin with hot, freshly popped corn - my stovetop method works best. Get rid of any unpopped bits; they'll ruin the fun!
- Sugar Transformation:
- Warm your sugar mix gradually with constant movement. Look for when it becomes transparent and shiny - that's your moment.
- Color Division:
- Split your hot syrup and mix in different gel colors. Don't dawdle - I found out the hard way that candy coating gets hard fast!
- Batch Coloring:
- Divide popcorn between containers and pour your colored syrups onto each pile. My large metal spoons work great here - plastic ones melt from the heat.
- Mix Thoroughly:
- Mix each batch until all pieces shine with color. You'll need some arm strength! Keep going until everything looks evenly coated.
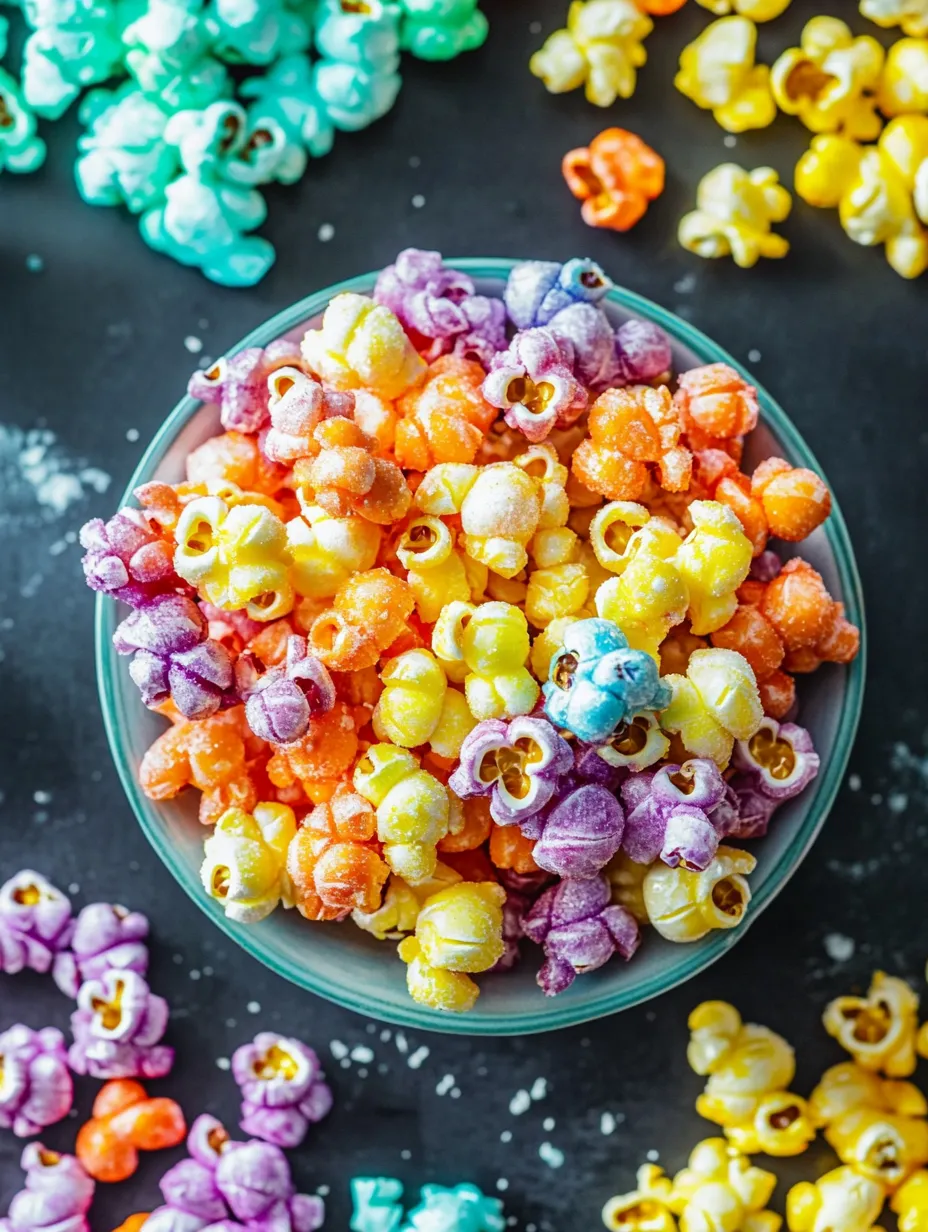
- Spread to Cool:
- Lay each color on separate parchment sheets. Keep them apart or you'll end up with a single multicolored clump instead of distinct colors.
The first time I tried making this was for my boy's science project about flavor and color. All the students kept coming to our display, not for learning, but to grab more snacks!
Party-Ready Treat:
Hand it out in bright paper cones at kid parties, or stack it in a crystal bowl for movie watching. I enjoy throwing all the colors together and seeing which shades people go for first.
Custom Flavor Ideas:
You can put different flavor drops in each color - maybe vanilla for yellow bits, peppermint in green ones, and cherry for red pieces. Sometimes I'll toss on some edible sparkles for extra shine, or blend two shades for a cool swirled look.
Storage Smarts:
Pack your rainbow mix in sealed containers, away from moisture. When you hear that nice snap as you shut the lid, you can bet it'll stay crunchy for several days (though at my place, it never hangs around that long).
 Save
Save
Expert Popcorn Advice:
- Wait until your colored popcorn is fully cool before handling
- Split up any stuck-together chunks while still a bit warm
- Have a wet towel ready for sticky hands and drips
This treat has brightened countless gloomy afternoons in our home. There's something wonderful about seeing kids get excited when they spot those bright colors, and even better when they find out it tastes amazing too. It's become our go-to treat for snow days and big moments alike.
Recipe FAQs
- → Why pick gel colors?
- They're more concentrated and won’t water down the mixture like liquids do.
- → How long does it keep fresh?
- It’ll stay good for about a week if you use an airtight container.
- → What’s baking soda for?
- It helps make the coating airy by creating small bubbles.
- → Can I stick with just one shade?
- You bet! Use the whole syrup batch and dye it one color if you’d like.
- → How can I stop clumps?
- Move fast when mixing and spread the popcorn out right after coating.