
 Save
Save
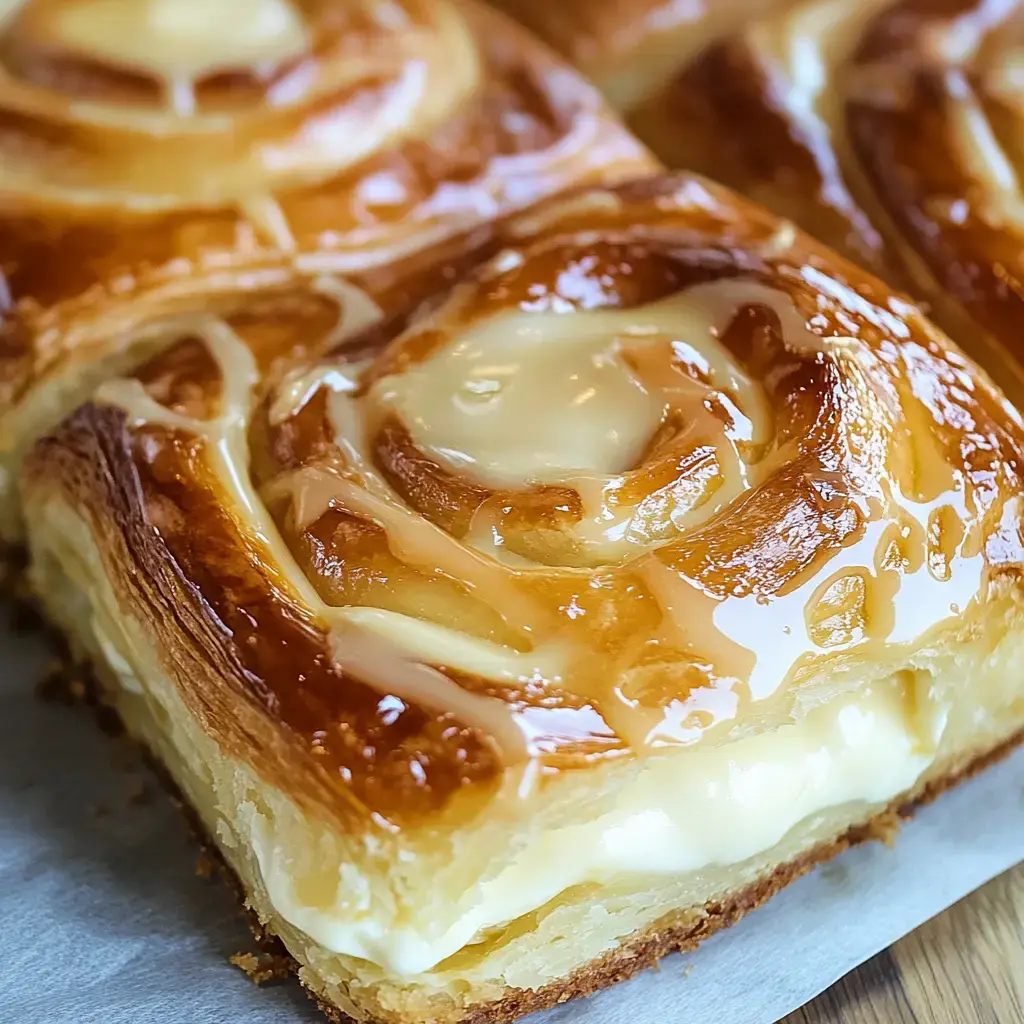
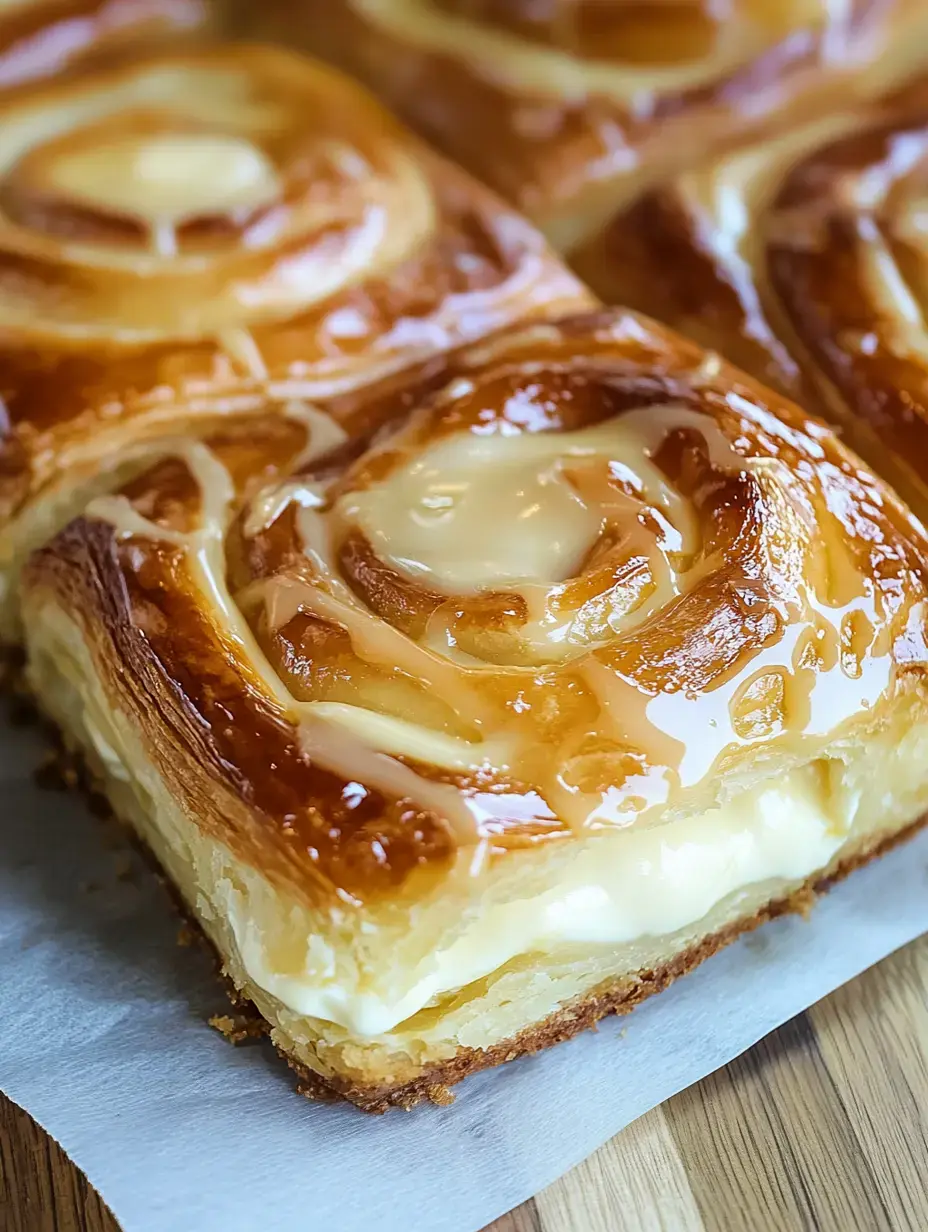
I've gone crazy for these Speedy Hawaiian Roll Cheesecake Danishes lately. Imagine biting into fluffy King's Hawaiian rolls packed with smooth cheesecake filling. Add some brown sugar and nutmeg, and these simple items turn into something magical. And guess what? They're done in just 22 minutes. Everyone who tries them begs me to share how I make them.
My Discovery of These Sweet Treats
I found this idea during a relaxed kitchen experiment one weekend. That morning, the smell filled my home as my family returned from their Saturday run. They couldn't wait until these cooled down and started grabbing bites right away. They've asked for them every weekend since, and I totally get why.
Why They Taste So Good
When you mix those soft King's Hawaiian rolls with that rich cheesecake filling, something wonderful happens. You get that soft bread feeling first, then it turns into sweet creaminess. Just a bit of nutmeg brings this amazing warmth you'll wish you'd tried sooner. It shows how basic items can create kitchen wonders.
Great Any Part of Day
You can enjoy these danishes whenever you want. Have one with coffee in the morning, put them out for brunch, or munch on them later in the day. The mix of cream cheese, cinnamon and nutmeg makes them feel like the ultimate comfort food. When friends show up without warning, I whip these up and they think I've been cooking all day.
Ingredients List
- Fresh nutmeg: A small amount does amazing things.
- King's Hawaiian sweet rolls: Nothing else works quite the same.
- Full-fat cream cheese: Makes the filling super smooth.
- White sugar: Works perfectly with the cream cheese.
- One egg: Helps everything set up right.
- Real butter: Don't use margarine, it won't taste as good.
- Ground cinnamon: The aroma alone will cheer you up.
- Brown sugar: Gives that wonderful caramel-like sweetness.
 Save
Save
First Steps
Heat your oven to 375°F and pull out a baking dish you love. I always rub melted butter all over the bottom and sides. It seems like a tiny detail but you'll be glad you did it when you're serving them later.
Setting Up Your Rolls
Put your Hawaiian rolls in the dish. Now for the fun bit - take a sharp knife and cut an X on top of each roll. Don't cut all the way to the bottom, just enough to make room for that creamy filling. You're basically making little pockets for the cheesecake mix.
Mixing Your Sweet Butter
Stir together your melted butter, brown sugar, cinnamon and nutmeg in a bowl. I love to watch this mix come together. The butter gets little specks of cinnamon and boy, does it smell good. Sometimes I just stand there for a minute taking in that wonderful scent.
Pouring On The Goodness
Drizzle that yummy butter mix all over your rolls. Try to get it everywhere, in all the cracks and spaces. This is what gives your danishes that amazing caramel taste that makes everyone ask for seconds.
Whipping Up The Filling
Now for the main attraction. Whip your cream cheese until it's nice and fluffy, then add your sugar and keep mixing. Next, mix in your egg. You want the filling smooth and silky with no lumps. I often sneak a tiny taste because it's just so good.
Stuffing The Rolls
This is the best part - adding filling to those rolls. I use a piping bag because it's easier, but a spoon works too. Fill each roll carefully. You want them full but not spilling over. It's like tucking little cheesecake clouds into each roll.
 Save
Save
Baking Time
Put your dish in the oven for about 12 to 15 minutes. You'll know they're ready when they turn a pretty golden brown on top. I always make sure they're warm through the middle - about 145°F if you're checking with a thermometer.
Cooling Off
Let them cool for a few minutes before you dig in. The filling gets really hot so this break lets it settle. Plus you can brew some coffee or grab some plates while you enjoy that wonderful smell in your kitchen.
Storing Extras
If you have any left, put them in a sealed container in the fridge. They'll stay good for 3 or 4 days. A quick trip through the microwave makes them taste fresh again. But honestly, they rarely last that long at my house.
Helpful Tricks
Always let your cream cheese get soft first, it really improves the filling. Using a piping bag seems fancy but makes filling so much easier. Sometimes I throw in some vanilla or drizzle caramel sauce on top when I want to make them extra special.
Ways To Change Them Up
My children love to help make these. We sometimes put mini chocolate chips on top or stuff in some marshmallows. In autumn we go with pumpkin spice, and around Christmas we add a bit of ginger for a holiday feel. You can try so many options.
Make-Ahead Ideas
Want an easier morning? Get everything ready the night before, cover the dish and stick it in the fridge. In the morning, just bake and eat. This trick has saved me tons of time when I have breakfast guests coming over.
Best Times To Serve
I've brought these to lazy Sunday morning breakfasts and fancy brunches alike. They're just right when you need something impressive but don't want to spend forever cooking. Folks always think you put in way more effort than you actually did.
Customize To Your Taste
While I'm a fan of King's Hawaiian rolls, other breads can work too. I sometimes mix a spoon of strawberry jam into the filling or scatter nuts across the top. The recipe is super flexible so don't be afraid to try new things.
Fast Answers To Questions
Can you swap the rolls? Sure thing, brioche is great too. Can you prep ahead? Absolutely, just keep them wrapped up in the fridge. Good for kids? You bet, especially if they get to help fill them or add toppings. They'll have a blast being your kitchen buddies.
Recipe FAQs
- → Can these be made a day in advance?
- Yep, you can get them ready the day before. Keep them chilled and give them a quick warm-up before enjoying for the best flavor.
- → What if a piping bag isn’t available?
- A sandwich bag with a small corner cut off works well. Or just use a spoon to carefully add the filling into the cuts.
- → How do I freeze them?
- Wrap each one snugly in plastic, pop them in a freezer bag, and they’ll stay good for 2 months. When you’re ready, thaw in the fridge overnight and reheat.
- → When are they done baking?
- You’ll know they’re ready when the tops are golden, the filling is no longer jiggly, and the edges have a bit of crispness.
- → How should leftovers be stored?
- Stick any extras in an airtight container in the fridge for 3-4 days. Warm them gently before eating to bring back that bakery-fresh feel.