
 Save
Save
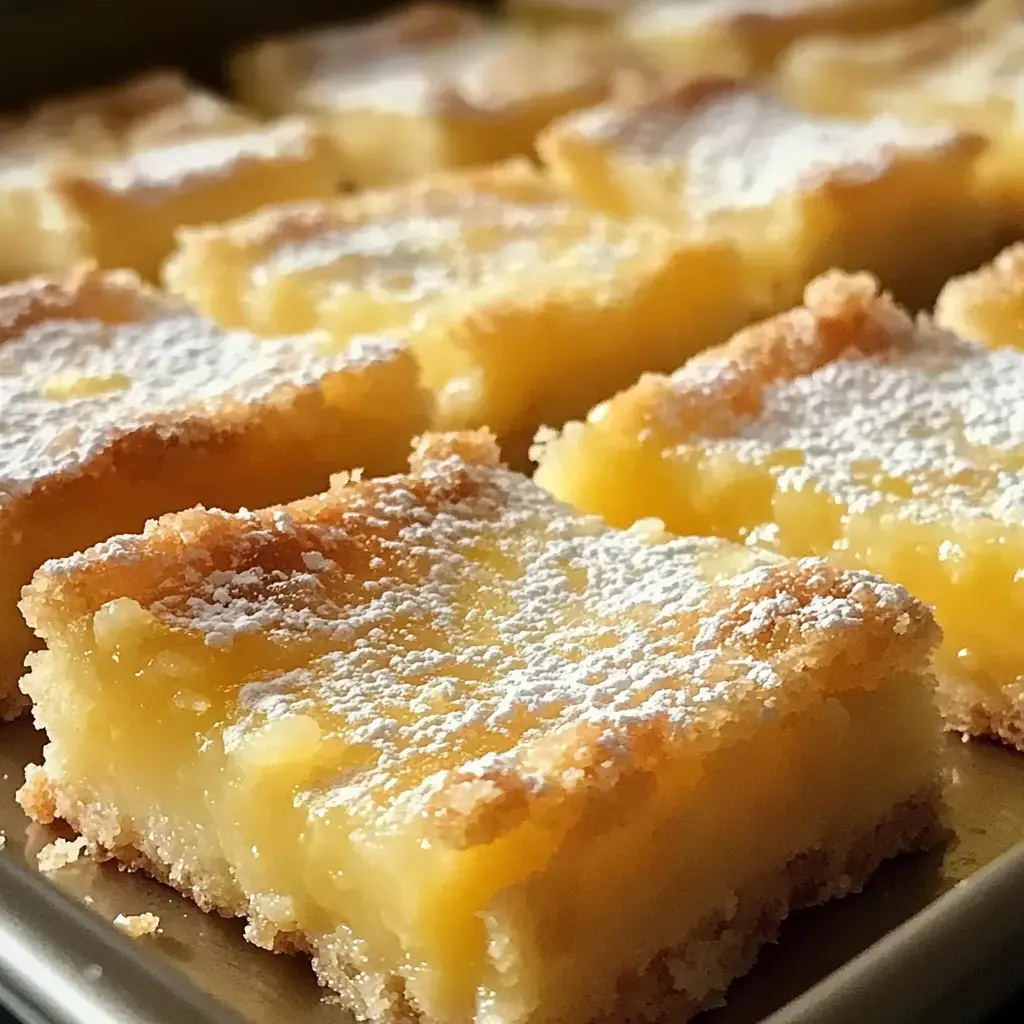
Rain was pouring but inside my kitchen, I started dreaming of beach getaways and sunshine. That’s when these Pineapple Bliss Bars came to life. Buttery crust goes down first, then smooth creamy filling and sweet pineapple piled on top. Take a bite and you’ll feel like you’re on vacation, right at home.
Irresistible Sweet Escape
No matter the season, these bars brighten up the mood in a snap. I bring them to backyard parties and watch the tray empty fast. Pineapple and rich cream together—it’s got all the fun vibes that turn any day into something special.
Grab What You Need
- Powdered sugar for dusting at the very end.
- A can of 20 oz crushed pineapple (drain it well—no soggy bars).
- Shake a teaspoon of real vanilla extract in.
- 1 cup white sugar for that sweet bite.
- Room-temp butter—3/4 cup will do.
- Pick up 1 1/2 cups of your favorite flour for the base.
- Go for 1 cup full-fat sour cream for creaminess.
Building the Foundation
I always reach for my trusted mixing bowl and toss in the sugar and flour first. Next, cold butter gets rubbed in until it feels like packed sand at the beach. Press that mix into your baking pan. When it cooks, everyone comes running once they smell that crust baking.
Adding Some Sparkle
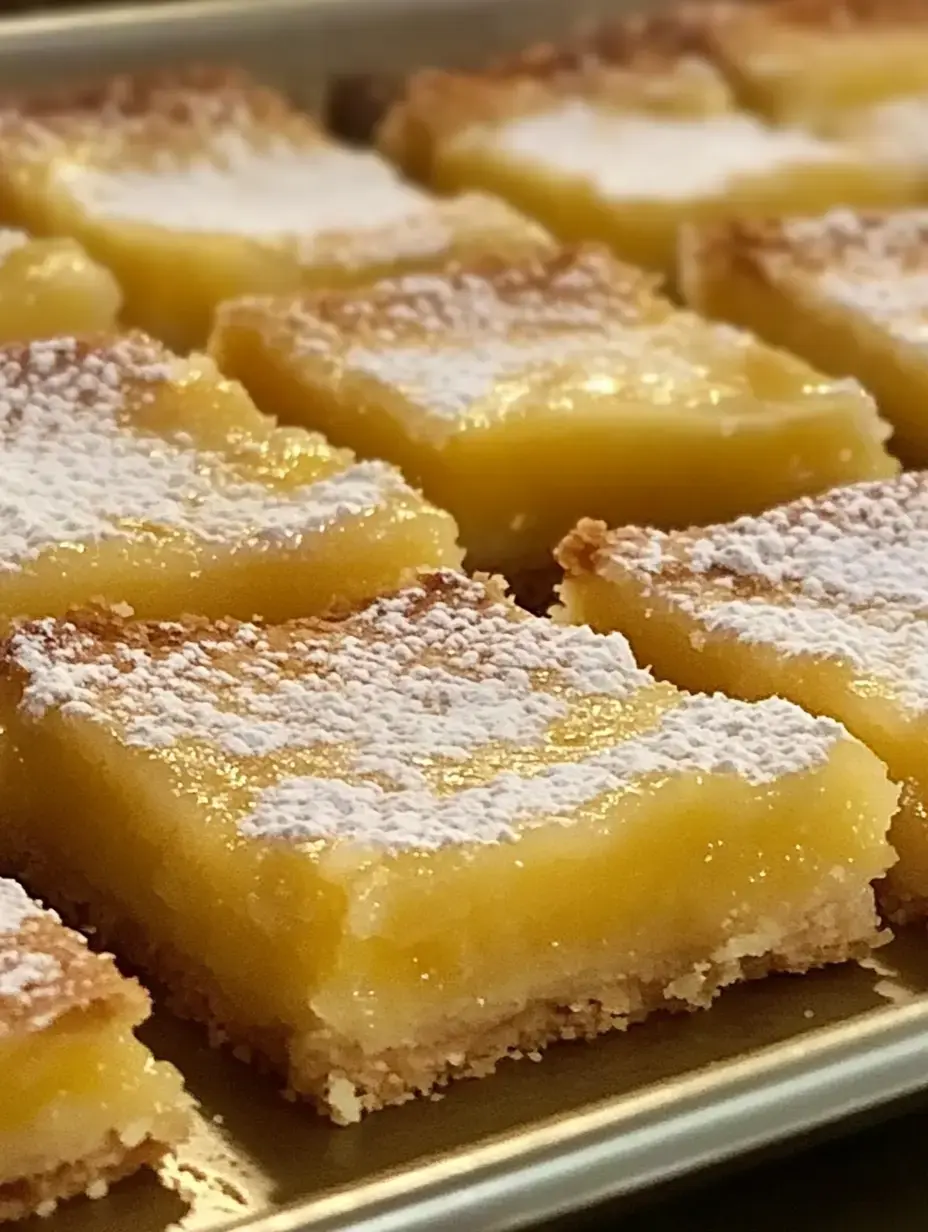
A gentle shower of powdered sugar on top gives them that next-level look. If I’ve got company, sometimes I add mint leaves—they look gorgeous sitting on those golden squares. The contrast always makes me happy.
 Save
Save
Tropical Flavor Burst
Every batch takes me straight back to that Hawaiian trip years ago. Tangy pineapple blends with a lush creamy center for instant happiness. If I bring these to a get-together, folks always ask for the secret.
Put Your Spin On It
I’ll mix in diced mango or a bit of shredded coconut for a fun twist. My kid likes Greek yogurt in the filling when we're out of sour cream. It’s easy to switch things up and make them your own.
Staying Fresh
Honestly, these taste even better after hanging out overnight in the fridge. Pop leftovers in an airtight container and they’ll stay amazing almost all week—unless everyone eats them fast.
Crust Wisdom
I’ve learned that the colder your butter, the softer and flakier your crust. You want to press it in gently but firmly—I use the bottom of a glass to get it flat. These little hacks make a big difference!
Why Go with Canned Pineapple?
Sure, fresh pineapple is lovely, but canned crushed stuff works every single time. Just give it a super good drain. I stick mine in a mesh strainer while I work on the crust, and it’s perfect.
 Save
Save
Gluten Free Version
My pal who can’t touch gluten gets her own batch with a gluten-free flour blend. Tastes just as awesome, so nobody gets left out of the fun.
Easy to Freeze
I wrap up single portions and stash them in the freezer. Pull one out any time for a sneaky treat or to wow guests with something sweet on the fly.
Dairy Free Smiles
Inspired by my vegan niece, I swap in coconut cream for the sour cream. The flavor fits so well. Turns out, nobody misses the dairy—everyone digs into them together.
Switch Things Up
Try a handful of toasted coconut or add some chopped mango next time. Every little change brings new happy surprises. You’ve got endless options to keep things feeling fresh.
Stress-Free Baking Tips
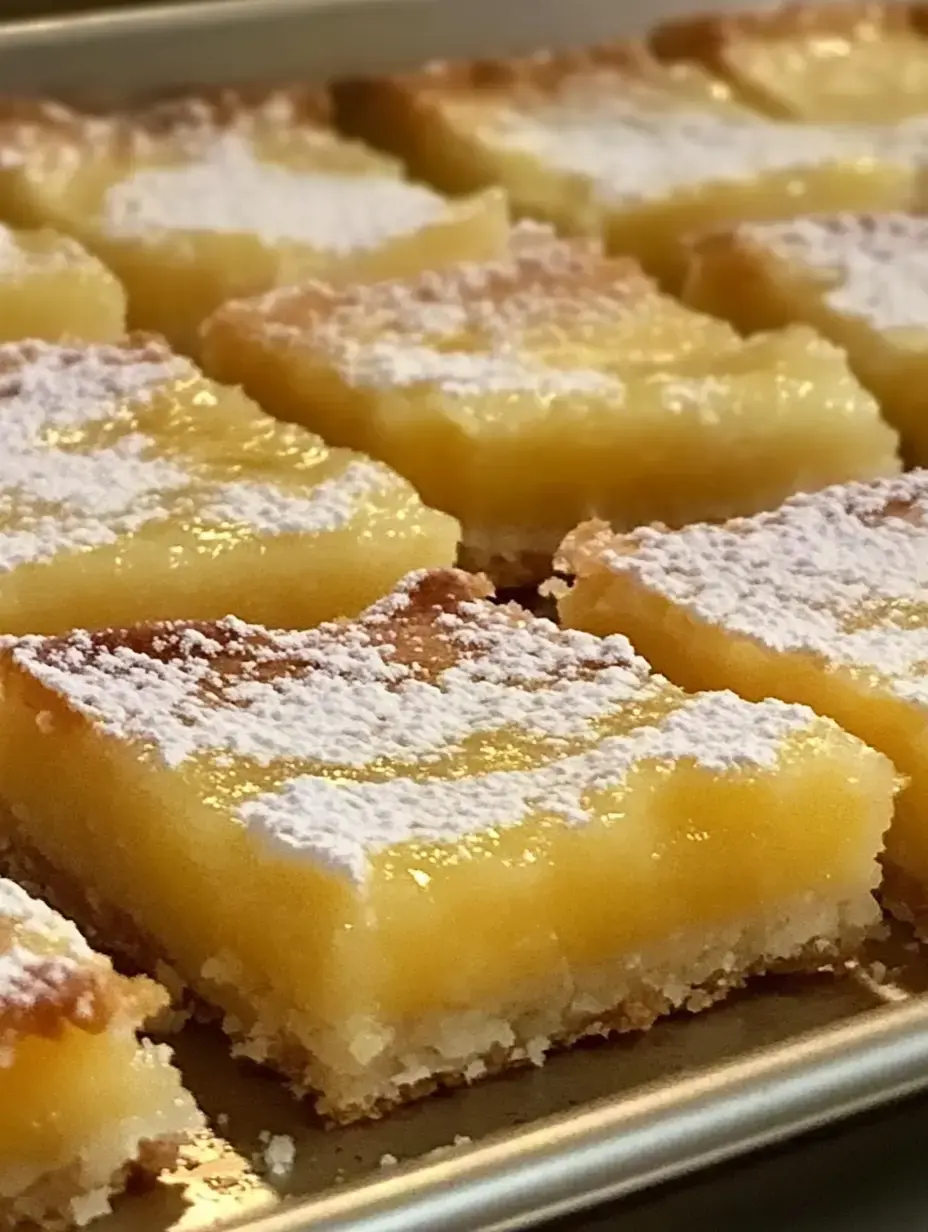
Look for a slight wiggle in the middle when baking’s almost done. The golden edges mean you’re set. Be patient—cool them all the way before slicing in. That’s how you get perfect bars.
 Save
Save
Fun Ways to Serve
Serve them as is, or go wild and toss a scoop of vanilla ice cream on top. Bonus points for a cold glass of tropical tea or hot coffee on the side. Weekend brunch feels extra fancy with these on display.
Bake with the Kids
My grandkids love pitching in—mixing things, sneaking pineapple nibbles, and giggling the whole time. Making these bars feels even better when little hands are helping out.
Texture Fans Rejoice
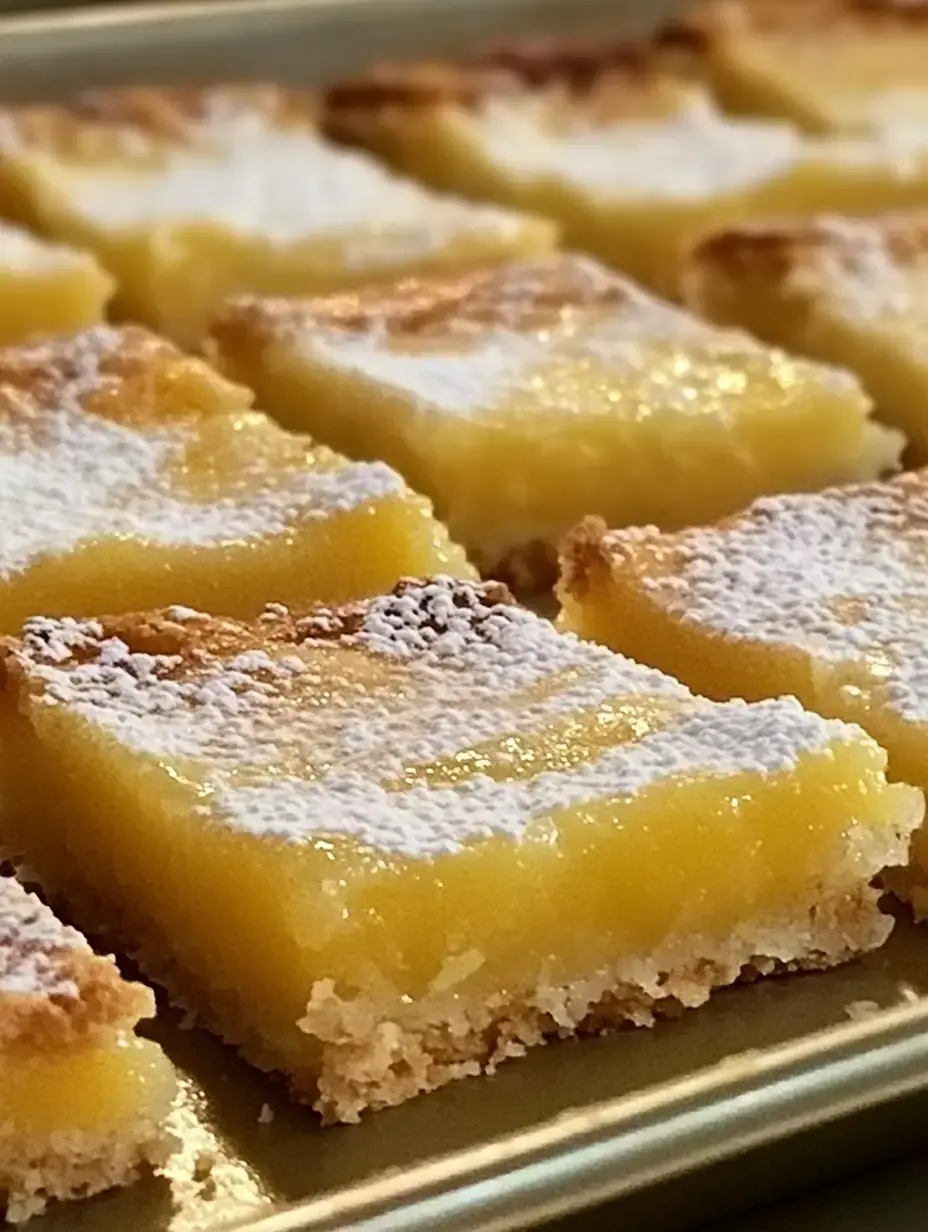
You’ll love biting through the crisp bottom, feeling the creamy middle, and tasting sweet pineapple in every bite. It’s a treat for both your tastebuds and your teeth.
Popular Questions
Fresh pineapple? Sure, just cut it small and drain well. Got a party coming up? Make these the night before—they hold up great and taste even better the next day.
Year-Round Sunshine
Pineapple Bliss Bars always bring some bright joy to the table. Whenever anyone needs a tropical pick-me-up, I make a batch. Nothing beats sharing these and seeing everyone grinning from ear to ear.
Recipe FAQs
- → What’s the deal with draining pineapple?
- Getting rid of extra liquid is key. It keeps the crust flaky and the filling thick.
- → Can these be gluten-free?
- Absolutely! Swap regular flour for a gluten-free blend in the crust.
- → How can I tell they’re baked?
- The filling shouldn’t wobble in the middle. This takes 25 to 30 minutes.
- → What’s the best way to store them?
- Keep them chilled in a sealed container because of the dairy filling.
- → Is fresh pineapple okay for this?
- Canned pineapple’s moisture level and consistency work best here.