
 Save
Save
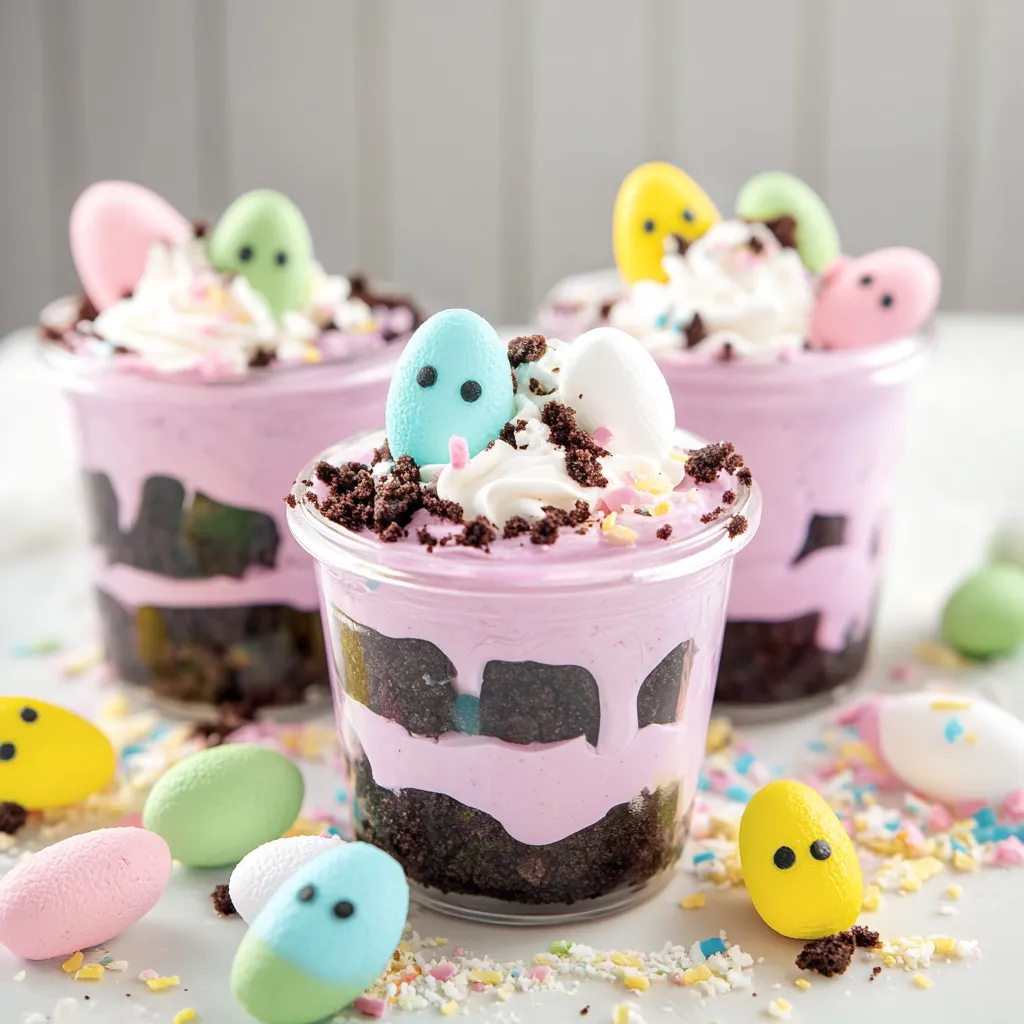
I created these cute Easter cups several years ago when I got tired of just loading baskets with sweets. I wanted something creative that would actually be eaten at our family get-together instead of just adding to the candy mountain. They're basically dressed-up pudding cups with a spring twist, and believe me - folks absolutely love them. Something about those creamy pudding and cookie crumb layers crowned with marshmallow Peeps just feels perfectly Easter-ish without being too fussy.
When I brought these to my sister's big annual egg hunt last Easter, my seven-year-old niece (who's suddenly gotten super picky about everything) called them "the most gorgeous dessert ever" and made everyone wait while she snapped photos. My brother-in-law, who normally skips sweet treats, finished his completely and hung around the extras I'd packed for the kids to take with them.
Necessary Ingredients
- Instant vanilla pudding forms your foundation - don't grab the cooking type
- Milk straight from the fridge - it must be chilled or your pudding won't thicken properly
- Cool Whip creates a much airier texture than pudding by itself
- Scraped Oreos create the perfect "dirt" - I've tried leaving the filling in and it just doesn't look convincing
 Save
Save
Assembly Steps
- Combine your pudding and milk thoroughly. Whisk it vigorously for two full minutes - I typically use a timer because I tend to rush otherwise.
- Allow it to rest for roughly 5 minutes. The mixture will start to firm up during this time.
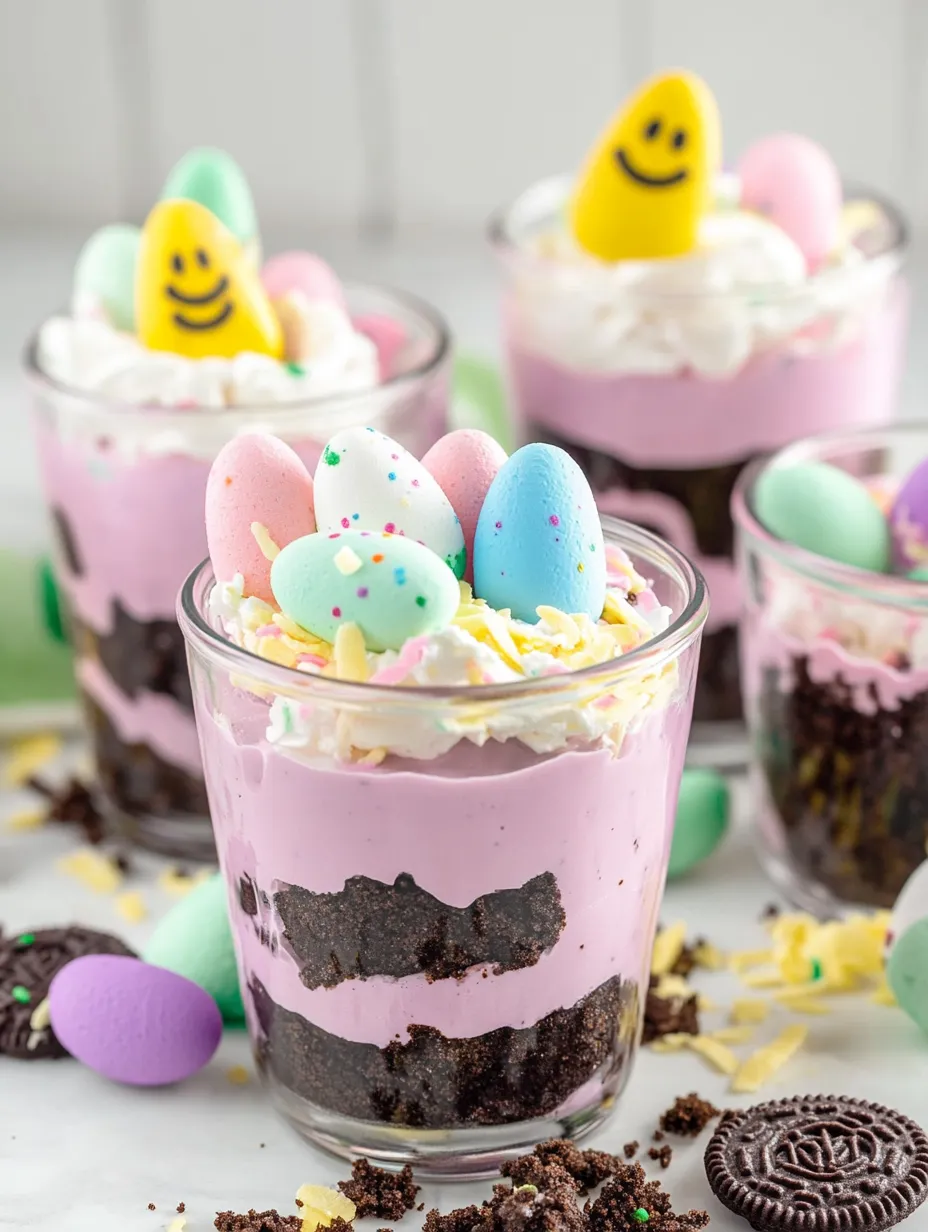
- Divide between two separate bowls and add your chosen food coloring. I typically choose purple and pink for spring vibes, but my children have requested blue and green previously.
- Incorporate the Cool Whip with gentle folding motions. Don't mix aggressively or you'll lose all the fluffiness and end up with dense pudding.
- For crushing Oreos, I normally place them in a sealed plastic bag and smash them with a rolling pin. A food processor works wonderfully too.
- Begin creating layers in your containers - start with cookie crumbs, then purple pudding, more crumbs, pink pudding, and so on.
- Finish with a final sprinkling of cookie crumbs on top.
- Chill them for at least 60 minutes, though overnight works perfectly too.
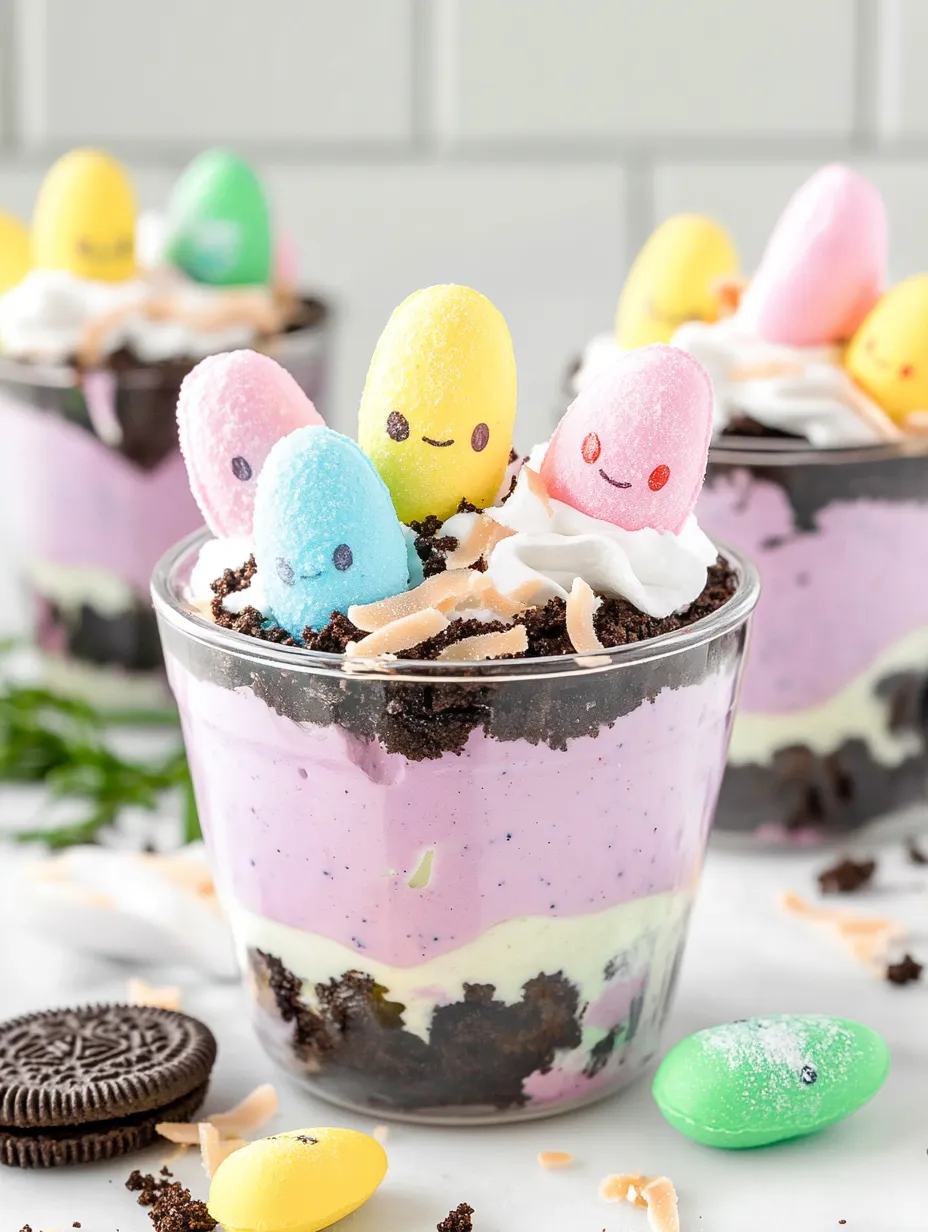
- To make green coconut "grass," put coconut in a container with a secure lid, add several drops of green food coloring plus a tiny bit of water, then shake vigorously until completely colored.
- Just before serving, sprinkle your green coconut, arrange candy eggs, and place a Peep on the surface.
When I first tried making these, I used chocolate pudding thinking it'd look more like "dirt." Huge error - you couldn't spot any pretty layers, and everything just looked like mud. Switching to vanilla with food coloring totally changed things. I also found out that keeping the Oreo filling makes the crumbs stick together weirdly. My daughter came up with adding coconut "grass" during our second year making them, and now they don't seem complete without it.
Presentation Suggestions
They look adorable arranged on a tray with actual Easter grass or spring flowers tucked between each cup. For my niece's birthday (which happens near Easter), I made them for her "garden party" theme and stuck little name flags into each child's cup. For school events, I've created a small "garden" display with cups nestled among potted spring flowers and scattered plastic eggs around them.
Tasty Variations
I sometimes add a chocolate pudding layer between the colored ones for extra visual pop. Golden Oreos can create a lighter "sandy" look that's really pretty too. My boy gets excited when I swap the toppings - try jelly beans, tiny chocolate bunnies, or those small crispy-shelled chocolate eggs for fun alternatives.
 Save
Save
These Easter dirt cups have somehow turned into my family's expected contribution every spring. They're so basic yet people act like I slaved over them for hours. Kids get pumped about the bright colors and candy, while grown-ups actually enjoy eating them since they aren't as sugary as typical Easter sweets. It's pretty fantastic when something looks adorable AND tastes great, don't you think?
Recipe FAQs
- → Can I make these cups early?
- Definitely! Put them together up to a day ahead and store in the fridge. Just wait to add the toppings until right before serving to keep them fresh.
- → What’s a good Cool Whip substitute?
- Try making whipped cream by beating 1 cup of heavy cream with a bit of powdered sugar until it’s thick. Fold it into the pudding the same way.
- → Should I scrape out the Oreo filling?
- Not necessary! Leaving the filling makes it sweeter and lighter in color. But if you want it to look more like dirt, take it out before crushing.
- → What size cups work best?
- Go for small jars (4-8 oz), clear plastic cups, or small glasses. Something see-through shows off those fun layers beautifully.
- → Can I swap vanilla pudding for chocolate?
- Sure thing! Chocolate pudding makes a yummy option. You won’t need food coloring for chocolate but can mix vanilla and chocolate together for cool layers.
- → What's the easiest way to crush Oreos?
- A food processor gets the job done fast. If you don’t have one, load up a baggie with cookies and use a rolling pin or heavy object to crush them.