
 Save
Save
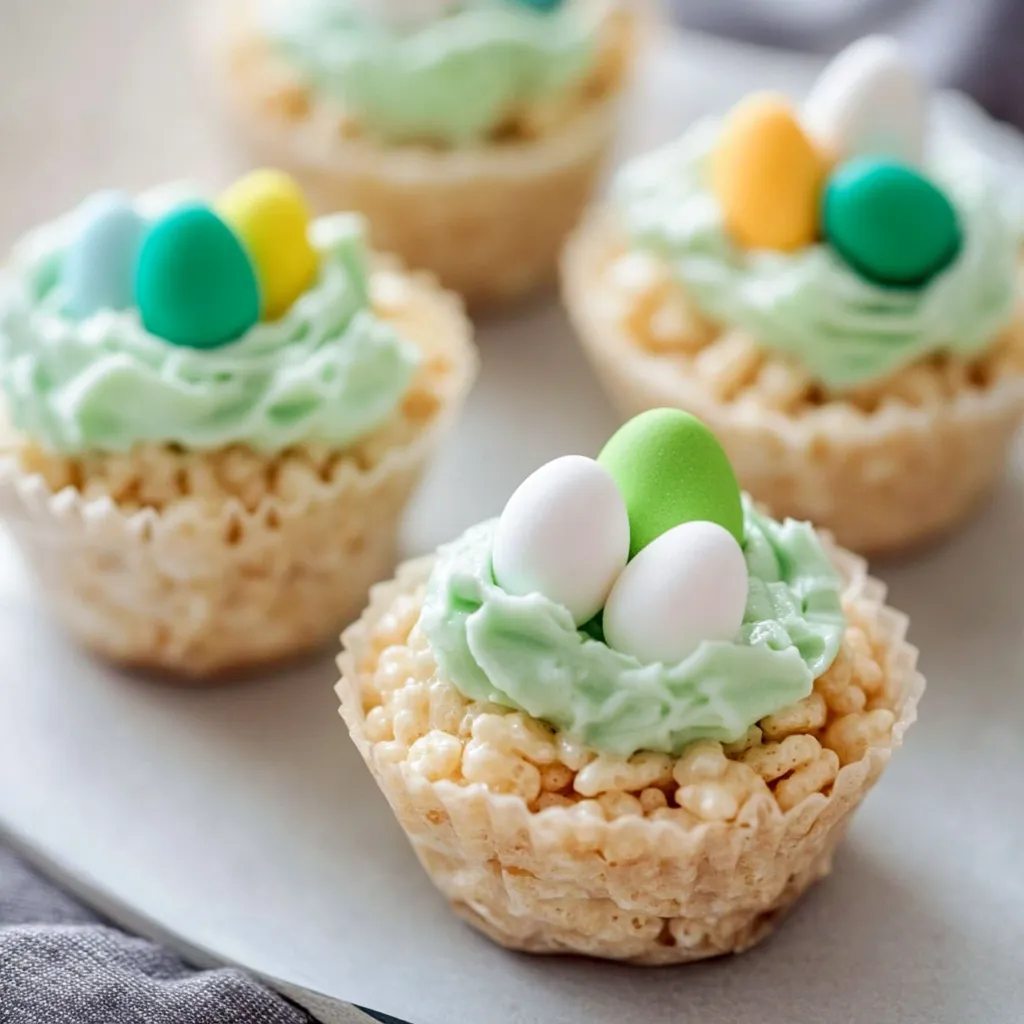
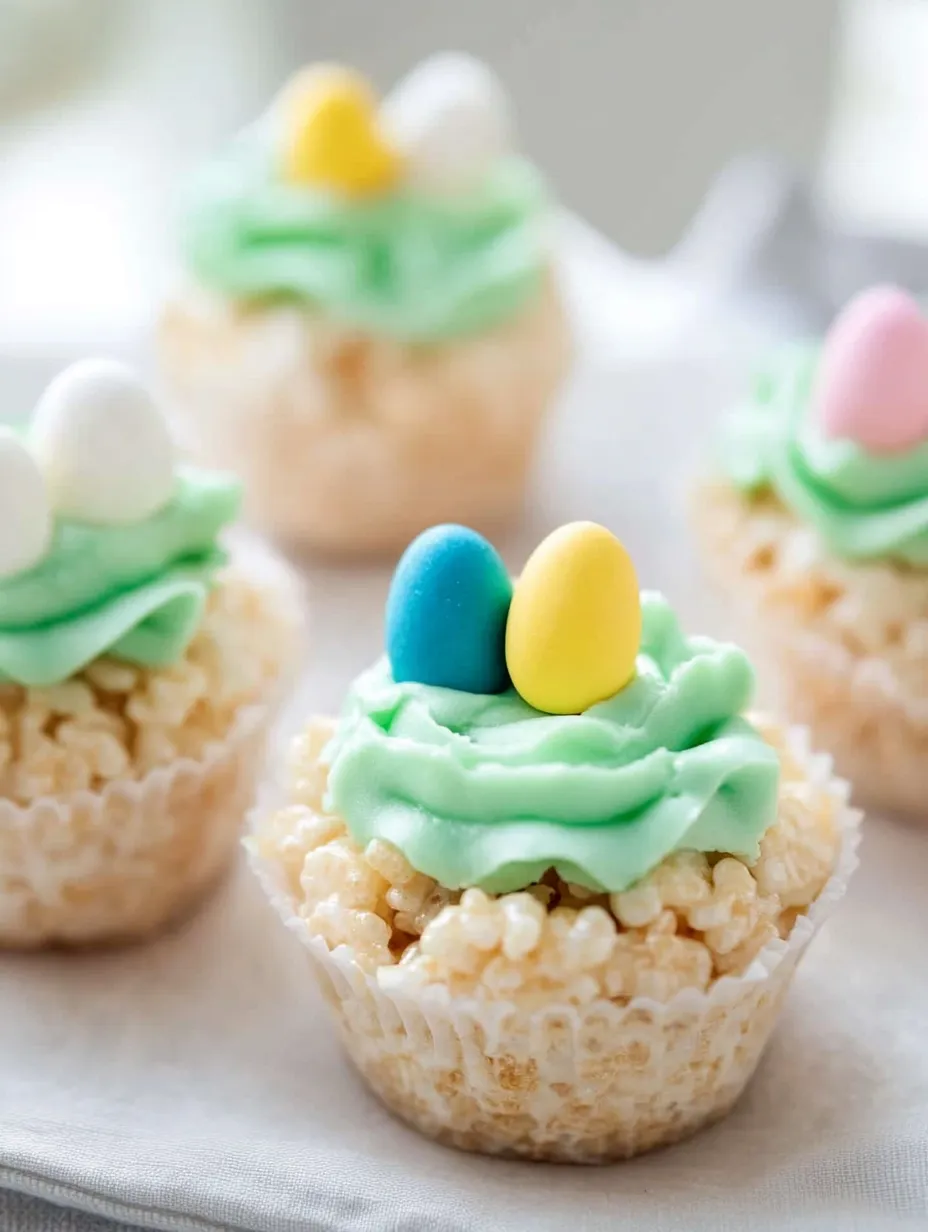
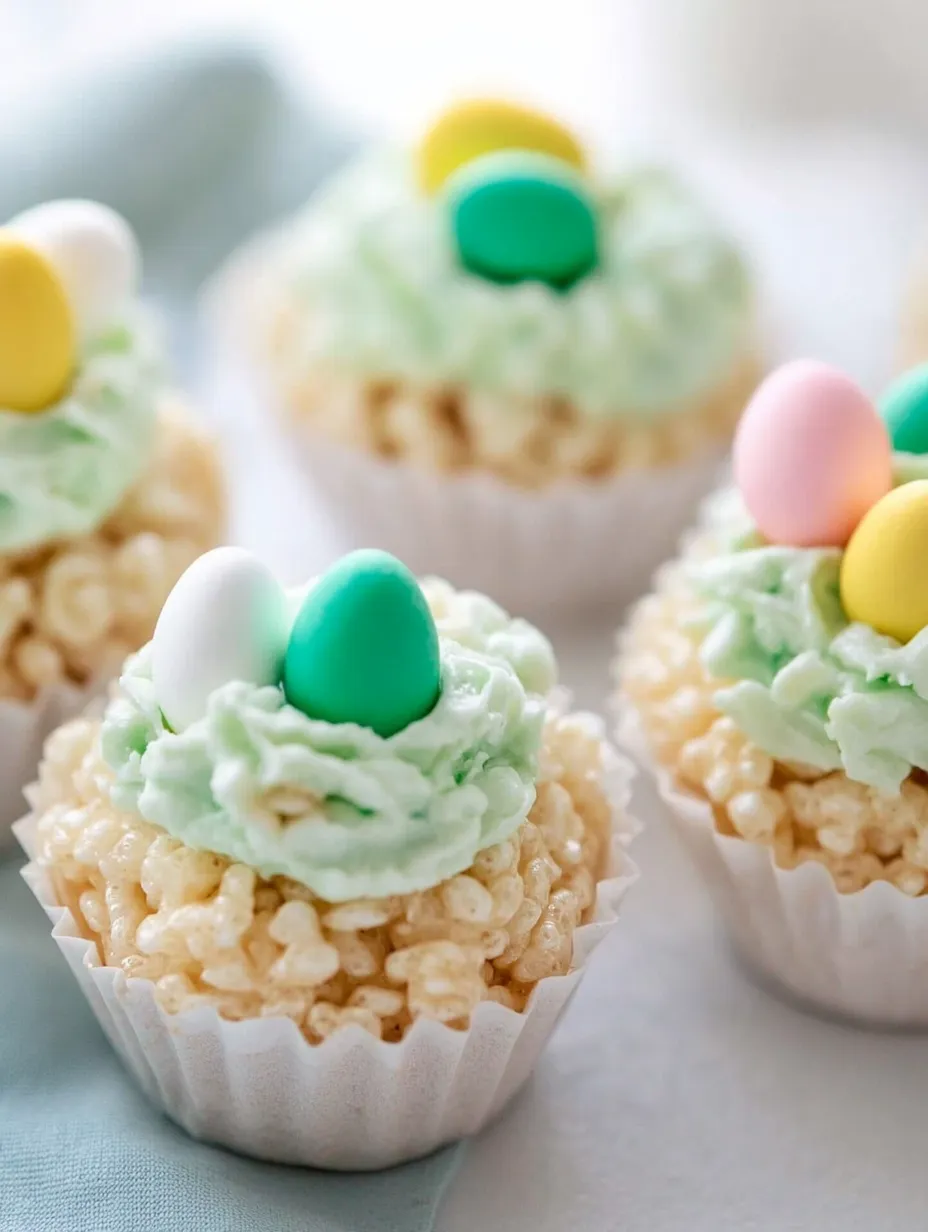
I stumbled upon these cute little treats while hunting for alternatives to the usual chocolate eggs and jelly beans for our family Easter get-together. These crunchy marshmallow nests with buttercream grass toppings and candy eggs mix the comforting taste of Rice Krispie goodies with a fun spring look. They'll wow guests at any Easter spread but don't take much work – exactly what I want in a holiday treat when there's tons of other cooking to do.
I made these for our family egg hunt last Easter when my sister brought her kids over. My little 7-year-old niece wanted to help with everything, especially putting those candy eggs in each nest just so. After we finished the hunt, I couldn't stop smiling watching the kids eat these treats with green frosting all over their faces. The easiest recipes often make the most lasting family memories.
Key Elements
- Marshmallows: You need fresh ones here. That old open bag from last year won't cut it. Big or mini sizes both melt well, so use whatever you've got.
- Rice Krispies cereal: This gives you that signature light snap and texture. Off-brands work too, just make sure they haven't gone stale.
- Unsalted butter: Adds a nice richness and stops everything from sticking. Don't skimp on buttering your tools - these get super sticky.
- Easter egg candies: Small chocolate eggs with candy coating look most like real eggs, but you can use jellybeans too. Those speckled malt balls really nail that "robin's egg" effect.
- Buttercream basics: Real butter makes the frosting taste so much better. You can tweak how much powdered sugar you add based on how firm you want your grass.
- Green food coloring: The gel type gives you bright "grass" without making your frosting runny. I add a tiny bit of yellow with the green for that perfect springtime shade.
 Save
Save
Making Process
- Get your tins ready:
- Coat cupcake pans with plenty of butter or cooking spray. Even non-stick pans need this step - these treats grab onto everything unless well greased. Having your pans set up first lets you move fast when needed.
- Soften your mixture:
- Put marshmallows and butter in a big microwave-safe bowl. Heat in 30-second blocks, stirring after each one. Keep an eye on them since marshmallows puff up a lot when heated. They're done when totally smooth with no chunks.
- Mix your base:
- Add Rice Krispies to your melted marshmallow mix, folding carefully but completely until all pieces get coated. Don't dawdle as the mix hardens quickly. A buttered spatula helps keep the sticky stuff off your tools.
- Form the nests:
- Scoop the warm mix into your greased cupcake wells. Press down in the middle with wax paper to make a nest-like dip. The paper stops the mix from sticking to your fingers.
- Let them firm up:
- Give the nests about 30 minutes to set. They'll become solid enough to hold shape but stay nicely chewy. If you rush this part, you'll have trouble getting them out of the pans.
- Make your frosting:
- Beat room temp butter until it's fluffy. Mix in vanilla, milk, and half the powdered sugar until smooth. Slowly add the rest of the sugar until it's the right thickness for piping. Drop in green coloring bit by bit until you get that perfect grass color.
- Put it all together:
- Fill a piping bag with your green frosting, using a grass tip or small round tip. Pipe it onto the cooled nests in random patterns like grass or twigs. Put candy eggs into the frosting right away before it starts to harden.
The first batch I tried, I made the rookie mistake of using paper liners thinking they'd help. Total disaster! The treats stuck completely to the paper. Now I just butter the pans really well and use a small spatula to gently lift each nest out. Another trick I've learned is to warm my measuring cup before scooping marshmallows – they slip out so much easier. These little shortcuts make everything go smoother when you're making multiple batches for bigger parties.
Display Ideas
Make these nests the star of your Easter dessert table by setting them on a tiered stand with fresh flowers and scattered jelly beans around them. The different heights look amazing and guests will snap photos before they start eating. For a casual Easter brunch, use them as edible place cards – just stick a small name flag in each one. Kids go crazy finding these in their Easter baskets, especially when wrapped in clear cellophane tied with pastel ribbons. They also go great alongside spring cupcakes or cookies for a mix of sweet treats.
Fun Variations
Switch to Cocoa Krispies for chocolate nests that look stunning with pastel candy eggs on top. My family's chocolate lovers can't get enough of this version. For extra color, try Fruity Pebbles to make speckled nests that look like artistic birds made them. Adding a little orange or lemon zest to the marshmallow mix brings a fresh zing that cuts through the sweetness. Adults might enjoy a splash of Bailey's in the buttercream for a grown-up twist that's still playful.
Keeping Fresh
Store your finished nests in one layer in an airtight container at room temp. They'll stay good for 2-3 days, though the Rice Krispie part will get a bit harder over time. Don't put them in the fridge or they'll turn rock-solid and lose their appeal. If you're planning ahead, make the nests and store them plain, then add the frosting and candy eggs a few hours before serving. During hot weather, keep them in the coolest spot in your kitchen away from the sun so the frosting doesn't melt or slide off. A shallow box with a tight lid works perfectly for taking them to parties.
 Save
Save
I've brought these Rice Krispie nests to school events, family parties, and even grown-up Easter brunches. There's something about how cute they look that makes people of all ages smile. My neighbor Tom always says he's "not really into sweets" but somehow eats at least two every year at our neighborhood Easter potluck. It's pretty special when simple ingredients come together as something that looks fancy enough for a holiday but barely takes any time to make. That perfect balance of low effort and high reward is why I keep making this recipe year after year, with everyone asking if I'll be bringing "those cute little nests" again.
Recipe FAQs
- → Can I prep these nests early?
- Sure thing! Make them a day or two ahead and store in a sealed container at room temp. Add frosting and candies right before serving for best results.
- → Why are my nests turning out too hard?
- Pressing too firmly or overcooking marshmallows can make them hard. Apply light pressure when shaping and watch the marshmallows closely while melting.
- → Can I swap homemade buttercream for store-bought frosting?
- Of course! Pre-made vanilla frosting works perfectly. Just mix in green food coloring to suit your theme—it’s a speedy and festive trick!
- → How can I remove the nests from the pan easily?
- Grease the pan beforehand, then carefully run a butter knife around the edges and twist to loosen. If they stick, let them sit at room temp for a few more minutes.
- → What candy options work best for eggs?
- Mini chocolate eggs are perfect, but jelly beans, pastel M&Ms, Cadbury eggs, or mini Jordan almonds also look great. Pick egg-shaped or small pieces that fit the nests.
- → Tips for getting that nest look?
- After adding the mix to the cupcake pan, press the center with your thumb or a greased spoon to make a dip. Wax paper over your fingers works too!