
 Save
Save
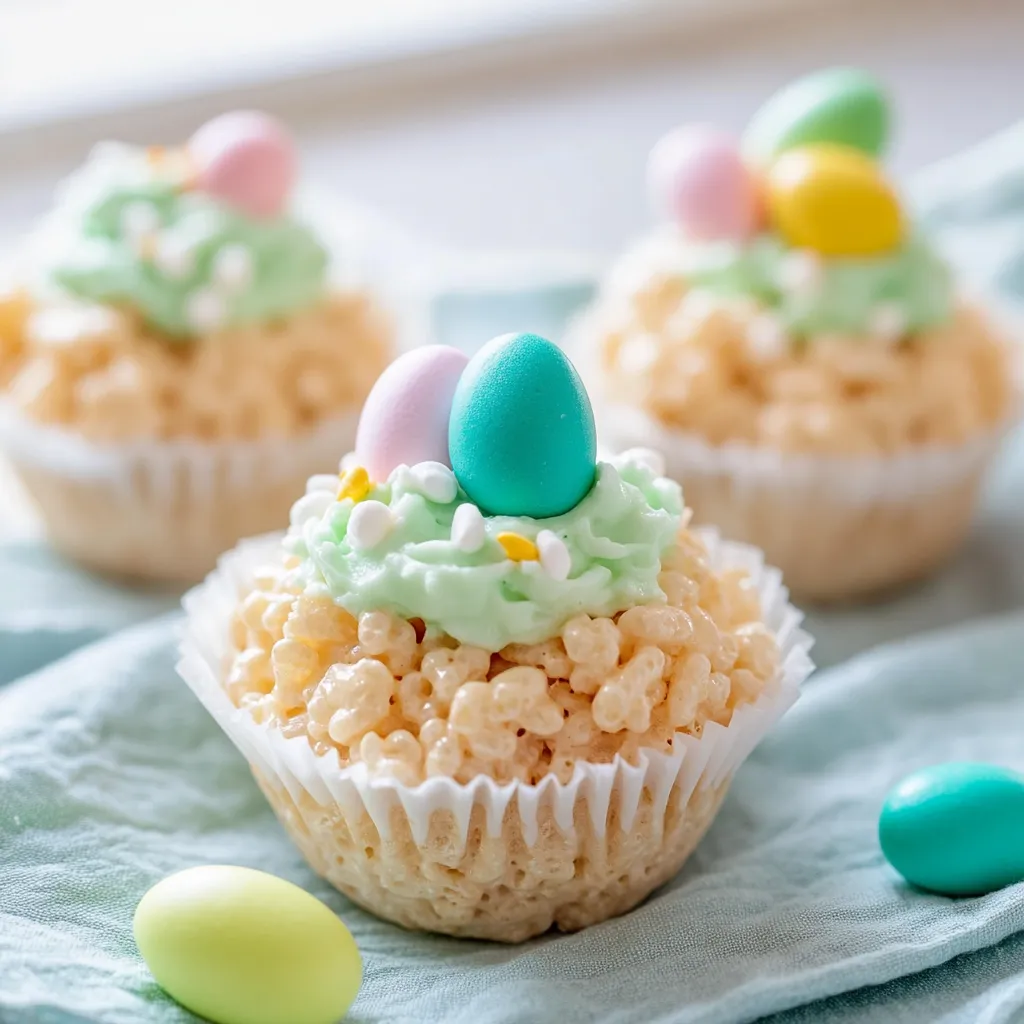
Every Easter I whip up these Rice Krispie nests, and they always wow everyone at our family get-togethers! That chewy marshmallow base paired with smooth frosting and candy eggs makes such a cute spring treat that looks super fancy but doesn't take much work at all.
Last Easter, my picky sister-in-law even asked how to make them after our family brunch. That's when I knew they were a real winner!
Ingredients List
- Rice Krispies cereal: This forms our nest structure. Any puffed rice brand will do the job nicely.
- Marshmallows: Make sure they're new - old ones make the treats too hard. Smaller marshmallows melt quicker if you've got them.
- Butter: Gives that yummy base flavor. I pick salted butter for extra taste.
- Powdered sugar: This makes the frosting that looks like "grass" on our nests.
- Green food coloring: The gel type works best for bright color without making your frosting runny.
- Easter egg candies: Mini Cadbury eggs are my go-to, but you can use Robin's eggs, M&Ms, or even small jelly beans!
 Save
Save
My Cooking Process
Soft, Chewy TreatsTo get really tender Rice Krispie treats, don't melt your marshmallows too much. I heat them in the microwave for 30 seconds at a time, giving them a stir between each burst until they're just melty. Cooking them too long makes them tough.
Creating Nest ShapesI coat the back of a spoon with cooking spray before pushing the mixture into muffin tins. This stops it from sticking and helps me make that little dip in the middle for a true nest look.
Getting the Grass LookFor the most realistic nests, I use a grass tip (#233) when piping the green frosting. Don't have one? No problem - a regular sandwich bag with a tiny corner cut off works too - just pipe in circles to fake the grass texture.
Putting It All TogetherI wait about 30 minutes for the nests to cool fully before adding any frosting. If you frost them while they're still warm, your pretty green grass might just melt away.
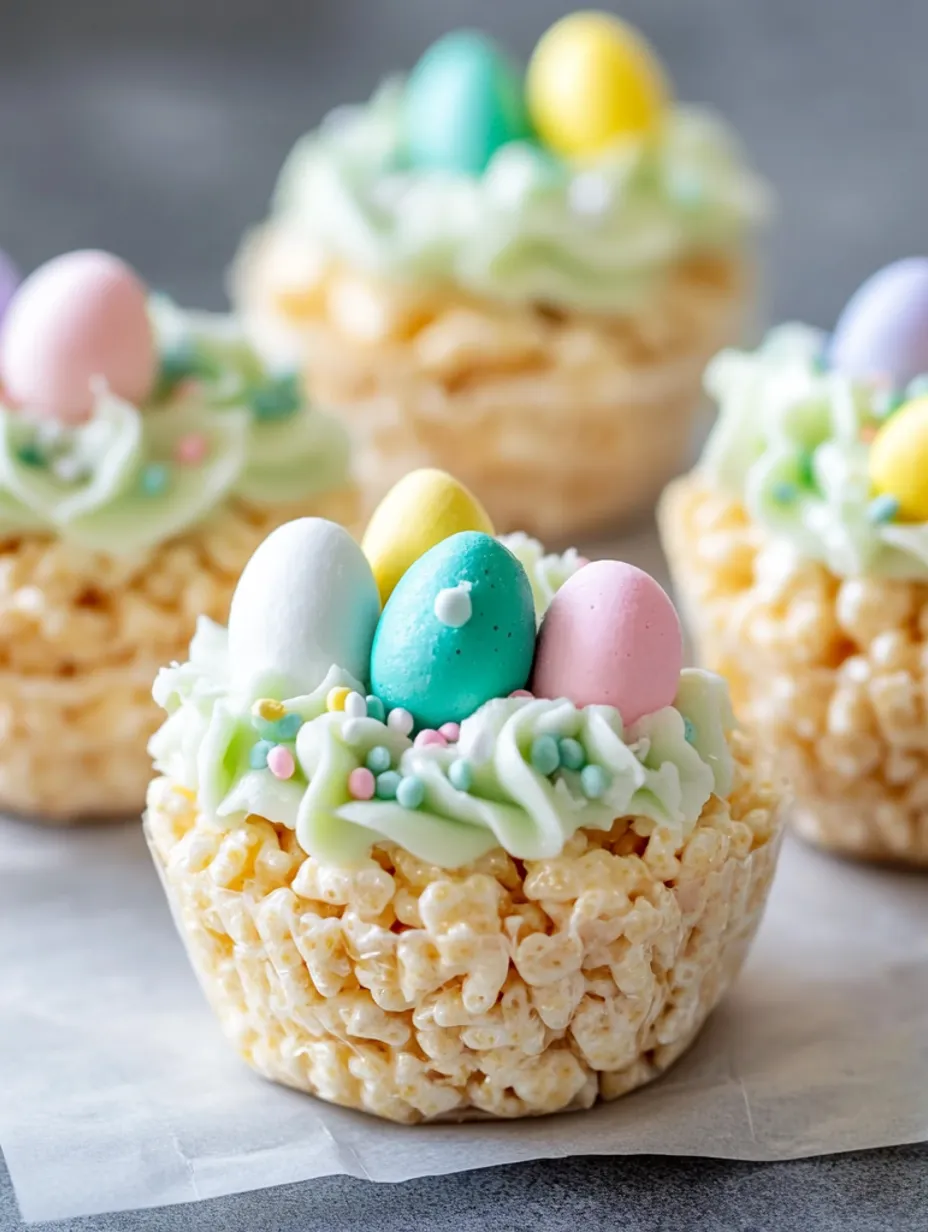
I started making these tiny muffin tin nests after years of just doing flat trays of Rice Krispie treats cut into squares. The individual cups aren't just cuter - they're way easier for people to grab and eat, especially for smaller kids!
Ways to Serve
These look amazing lined up on a platter for your Easter meal. Sometimes I put them on green paper grass for extra pop. When I'm doing a full dessert spread, I place them next to other spring goodies like light-colored macarons or decorated cookies.
Switch It Up
You can use Cocoa Krispies for brown nests. Add a tiny bit of mint to the frosting for a refreshing change. Skip the frosting and drizzle colored white chocolate instead. Mix a spoon of sprinkles into your cereal mix for funfetti-style nests.
Keeping Fresh
They'll stay good in a sealed container for about 2 days. I put wax paper between layers if I need to stack them. If I'm planning ahead, I'll make the plain nests and freeze them, then thaw and add the frosting on serving day.
 Save
Save
Expert Advice
- Damp hands make working with the sticky mix much easier
- Try adding a tiny splash of almond extract to your frosting for amazing flavor
- Using little paper liners makes taking them out and serving so much simpler
These cute Rice Krispie nests have become such a big deal in our house that my children start bugging me about them as soon as Easter candy shows up in stores! There's something magical about that classic Rice Krispie flavor combined with the fun spring look. And since they're so easy to make, even my youngest can join in, creating those special holiday memories that stick around long after the treats are gone!
Recipe FAQs
- → Can these nests be prepared ahead of time?
- Sure! Make them 1-2 days early. Keep them fresh by storing in a sealed container, and decorate with frosting and eggs right before serving.
- → What are the right Easter candies to use?
- Mini chocolate eggs (like Cadbury ones), jelly beans, or M&M's in springtime colors all work well. Just choose small candies that will sit nicely in the nests.
- → Is pre-made frosting a good idea?
- Totally fine! Grab a can of white frosting, add green coloring, and you're good to go. It's quicker and still looks adorable.
- → What's the trick for shaping nests in the pan?
- While the mix is warm and sticky, press it into the center and up the sides of each section using a spoon or your hands (use wax paper if needed).
- → What frosting tip gives the best grass look?
- The multi-opening grass tip (like Wilton #233) works best. Without one, make tiny lines with a smaller round tip or texture plain frosting with a fork.