
 Save
Save
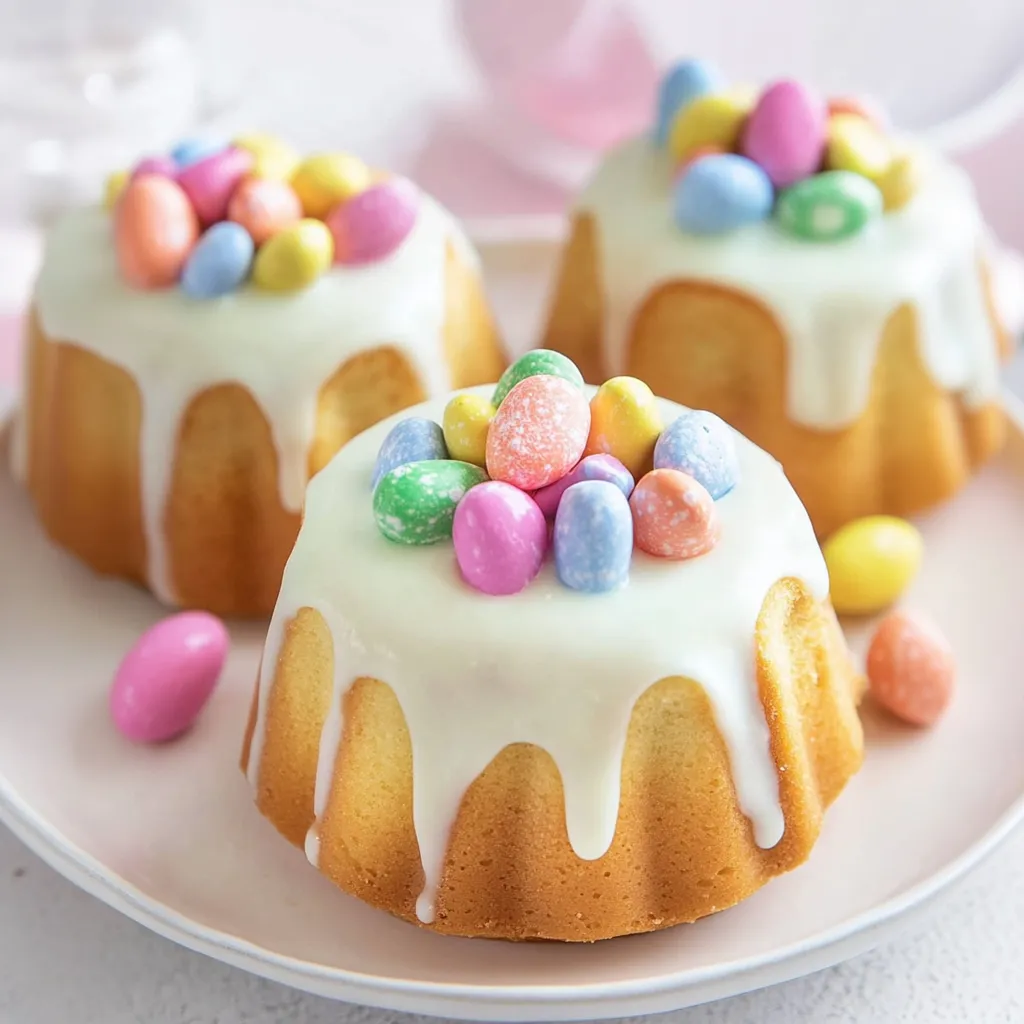
I whipped up these hidden-treasure mini Easter bundt cakes by chance last spring when I was looking for something cute and seasonal for our family get-together. When guests slice into these adorable little bundts and discover the candy-filled middle, there's always this amazing moment of surprise. They've now become our go-to Easter treat, and making them brings just as much happiness as watching people's reactions.
The first time I baked these, my niece was my kitchen helper, and she couldn't contain her excitement as we stuffed the centers with colorful candy. She was practically bouncing with impatience until dessert time when everyone could see the hidden surprise. It's funny how the easiest treats often make the biggest splash, particularly with the little ones.
Basic Components
- Cake mix - Your time-saving friend that gives reliable results every time
- Mini bundt pan - Gives you those cute individual cakes with perfect centers
- Easter candy - The hidden gem that makes everyone smile
- Basic glaze - Just enough sweetness to balance the cake without going overboard
- Gel food coloring - Turns your glaze into those pretty Easter shades
 Save
Save
Baking Process
- Pan Prep Magic
- Really coating your mini bundt pan with butter and flour is key for getting those cakes out cleanly. I've learned that butter works way better than spray for these pans. Make sure you get into every little ridge. Then dust with a light coating of flour over the butter. My first attempt I rushed this step and my cakes broke apart when I tried to take them out. Now I spend extra time on this prep work, and they pop out perfectly.
- Mixing Your Batter
- You can totally go homemade or boxed for this recipe, but I usually grab a box for speed and reliability. I always throw in one extra egg beyond what the box says for a sturdier cake that works better for this trick. I also mix a bit longer than suggested to work in more air so they rise evenly in the bundt shapes. Sometimes I pour in a splash of vanilla, even with white or vanilla mixes, just for more flavor.
- Timing Your Bake
- These little cakes cook faster than what your box directions say. I start peeking about 5-7 minutes early, looking for the edges to pull away slightly and the tops to bounce back when I press them gently. Cook them too long and they'll be dry. Not long enough and they'll sink when filled. Let them sit in the pan about 10 minutes before flipping onto a rack - that's the sweet spot for getting them out intact.
- Evening Out Bottoms
- Cutting off that tiny bit from the bottom totally changes how they look. I use a bread knife and slice just enough to make a flat base. This stops them from wobbling and helps them stand up straight, showing off their pretty bundt pattern. I save these little cake scraps - they're great for snacking or making into cake balls later!
- Picking Perfect Candy
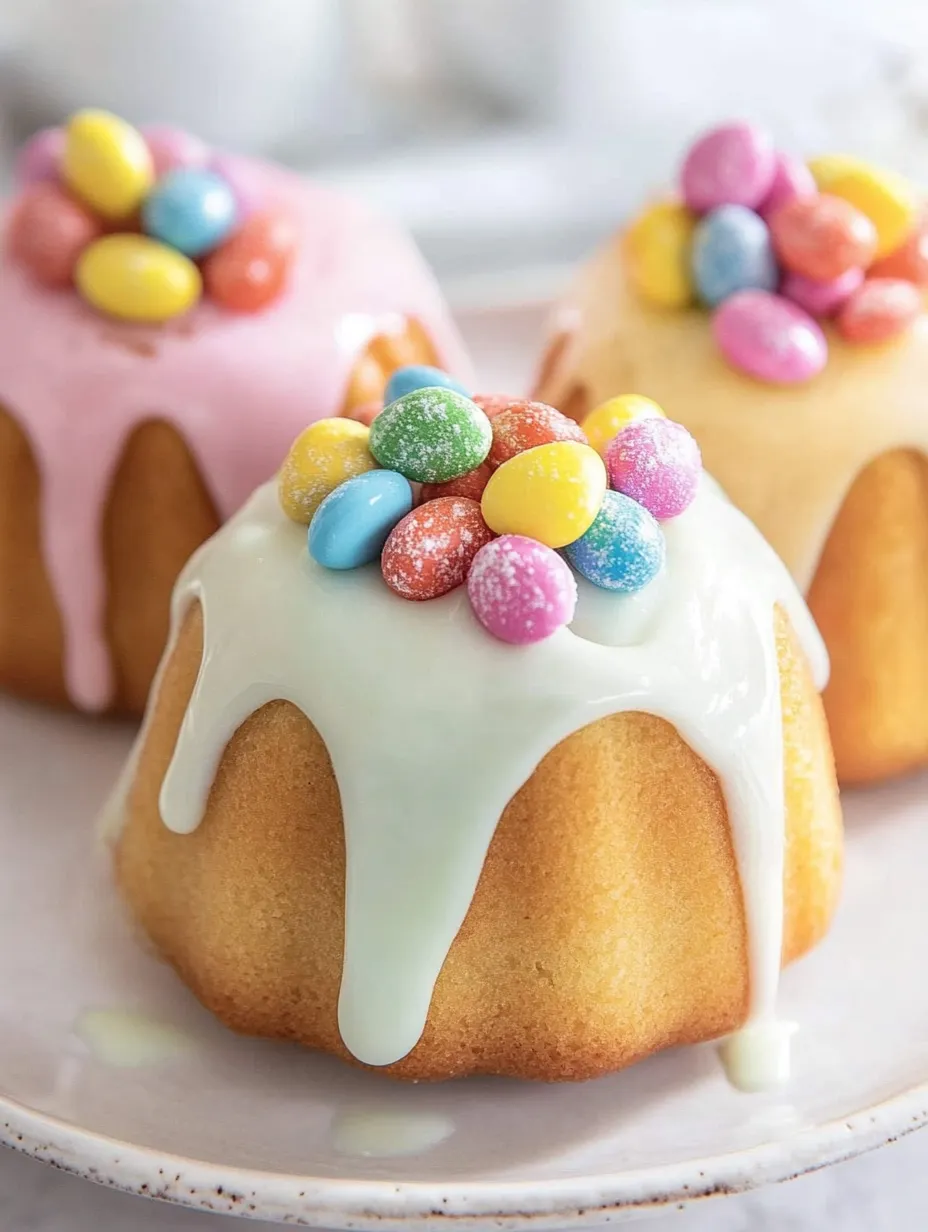
- The candy you choose affects both looks and taste. I go for bright options that aren't too tough to chew - mini chocolate eggs, jelly beans, pastel M&Ms, and tiny chocolate bunnies all work great. I stay away from anything with caramel or nougat since they're too chewy with cake. Using different colors and sizes makes the reveal more exciting. Sometimes I match candy colors with the glaze colors for a pulled-together look.
- Pouring Your Glaze
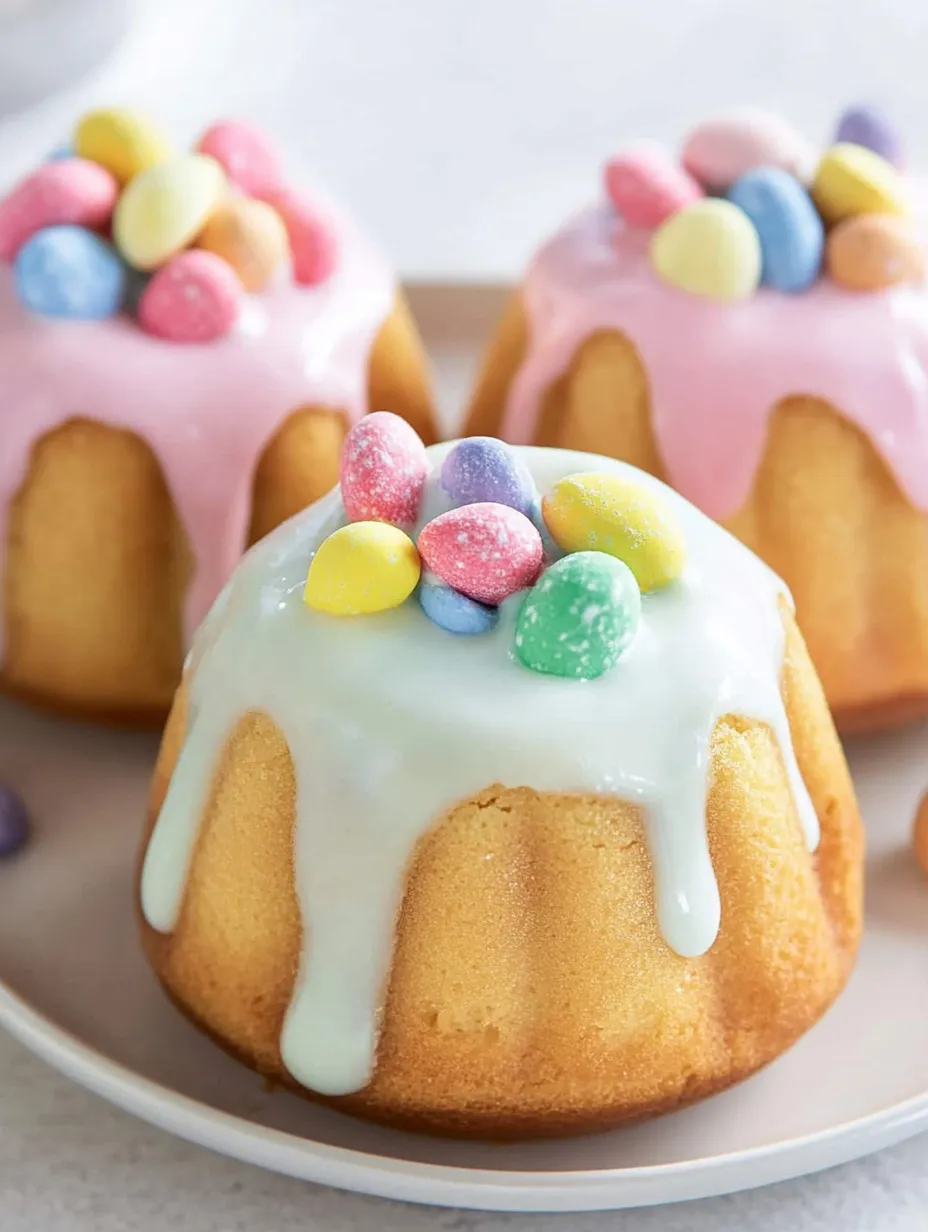
- Getting the glaze right makes all the difference - too runny and it slides right off, too thick and it won't flow nicely around the ridges. I always start with less milk than needed and add tiny splashes until it's just right - thick but pourable. When I glaze them, I pour in circles around the top ridge, letting it naturally flow down. I'm super careful not to get glaze in the center hole so the candy surprise stays hidden. For multiple colors, I'll either do sections or drizzle different colors over a base for a festive look.
Even my father-in-law, who rarely shows excitement about anything, broke into a genuine grin when he cut his cake and candy tumbled onto his plate. When you can catch someone completely off guard with dessert, you know you've got a keeper.
Tasty Combinations
These fun cakes go great with a cup of coffee or tea for an Easter afternoon snack. If you're doing brunch, they add a pop of color next to your fresh fruit platter. After a big Easter dinner, they're light enough not to overwhelm. My kids always ask for a small scoop of vanilla ice cream alongside theirs, which goes really well with the sweet cake and candy mix.
Fun Alternatives
Switch things up with different cake flavors like lemon or strawberry. You can adapt for other holidays too - try red and green candies for Christmas, little hearts for Valentine's Day, or spooky treats for Halloween. Add color to the cake batter for slices that pop against the glaze. Last Easter I tried swirling different colored batters together, and the rainbow effect made the cakes even more exciting when cut open.
 Save
Save
I've brought these hidden-treasure mini Easter bundt cakes to countless family parties, school functions, and Easter celebrations, and they always cause a stir. There's something truly special about watching someone cut into what looks like a simple glazed cake only to have bright candy spill out onto their plate. My kids now help me make them every Easter, carefully choosing their favorite candies and decorating each cake with their own unique style. Sometimes the recipes we remember most aren't the fanciest ones but those that bring a touch of magic and wonder to our gatherings, building traditions we all look forward to year after year.
Recipe FAQs
- → Can these cakes be prepped earlier?
- Sure thing! Bake them 1-2 days prior, but leave the candy and glaze until closer to serving to keep them fresh.
- → Which candies are best to use inside?
- Go for small ones like jelly beans, mini chocolate eggs, or pastel M&Ms. Skip sticky or melty options.
- → What if I don't own a mini bundt pan?
- A muffin tin works great for mini versions. Or, try a standard bundt pan for a big surprise cake instead.
- → Can I swap the cake flavor?
- Totally! Lemon, strawberry, or any favorite cake mix works well. Match flavors with your candy if you’d like!
- → How can I stop them from sticking to the pan?
- Butter and flour every surface well or use baking spray with flour to make sure they pop out cleanly.
- → Can the glaze colors be changed up?
- Absolutely! Mix soft shades like pink, blue, or yellow using gel coloring for a festive, pastel look.