
 Save
Save
I found this M&M cookie pizza idea when I was scrambling for a fun, colorful treat for my boy's birthday party that wouldn't eat up my whole day. The mix of that gooey, soft cookie bottom with melted chocolate and bright candies makes an awesome dessert that looks fancy but only takes half an hour to whip up. It's now what we turn to whenever we want a quick sweet treat that still feels extra special for celebrations.
My kid's classmate happened to drop by while this was cooling, and she couldn't take her eyes off all those bright M&Ms. She took one bite and instantly grabbed her phone to snap a picture for her mom. It's funny how the easiest treats often make the biggest splash, particularly with the younger crowd.
Basic Components
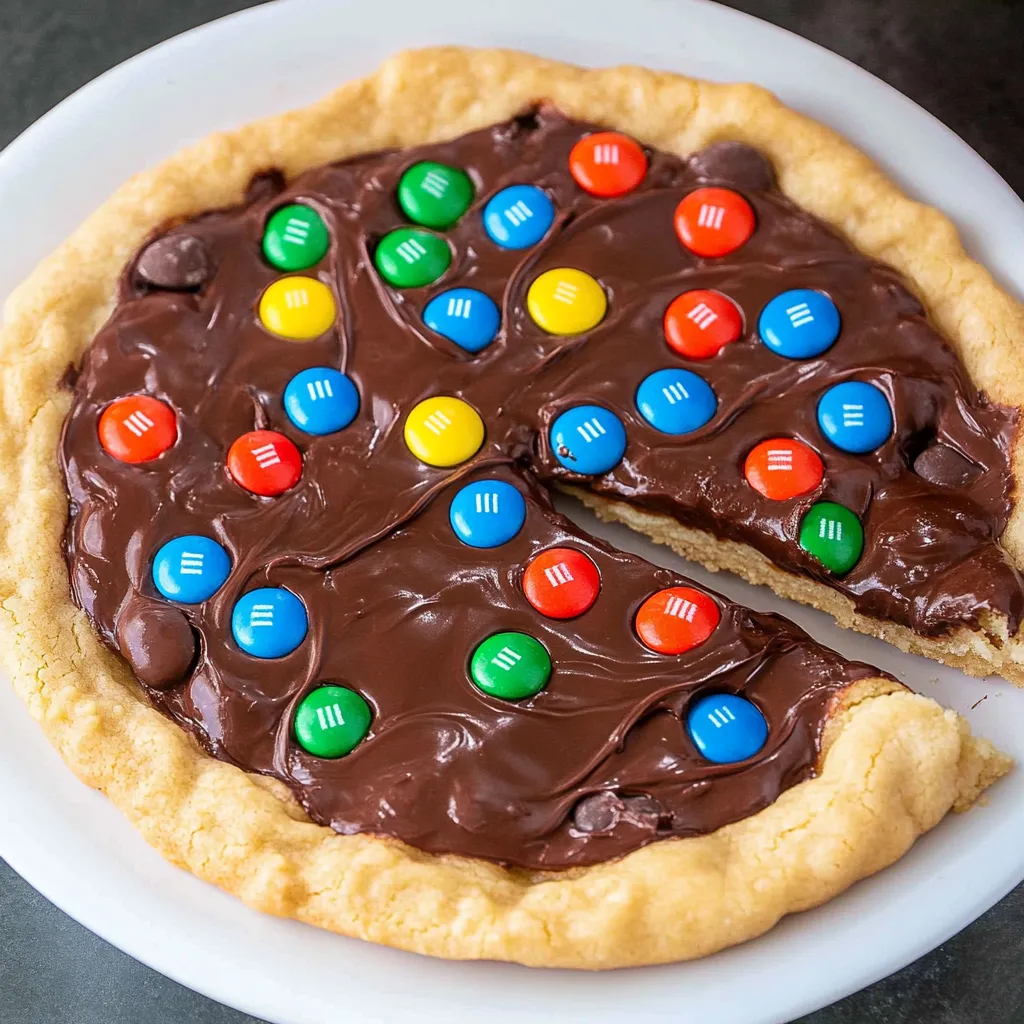
- M&M candies: Their hard outer shell brings both bright colors and a nice crunch against the soft cookie base
- Melted butter: Gives a deeper taste than room temperature butter in this easy-mix cookie dough
- Brown sugar: Brings that wonderful chewy texture and hints of caramel flavor
- Milk chocolate chips: Turn into a smooth coating that helps stick the extra M&Ms on the top
- Cast iron skillet: Not food but crucial for getting those perfectly crispy edges
 Save
Save
Tasty Creation Steps
- Getting Your Pan Ready
- Using parchment paper might seem like a bother, but it's so worth it for easy serving. I draw around my skillet on the paper, cut the circle out, then push it into the pan. The first time I tried this, I skipped the paper and had to dig out pieces of stuck cookie. Now I make the parchment go up the sides a bit to create little handles for lifting. If your pan is really well-seasoned, you can just grease it heavily, but parchment never fails me.
- Dough Making Tricks
- This cookie uses melted butter instead of creamed, which makes it denser and chewier - just right for this type of dessert. Let your melted butter cool down a bit before mixing with sugar so it won't cook your egg. I stick with a regular spoon rather than an electric mixer; too much mixing can make your cookie tough, and it's so simple to stir by hand. When you add the flour mixture, just mix until you can't see white anymore for the softest texture.
- Candy Placement Strategy
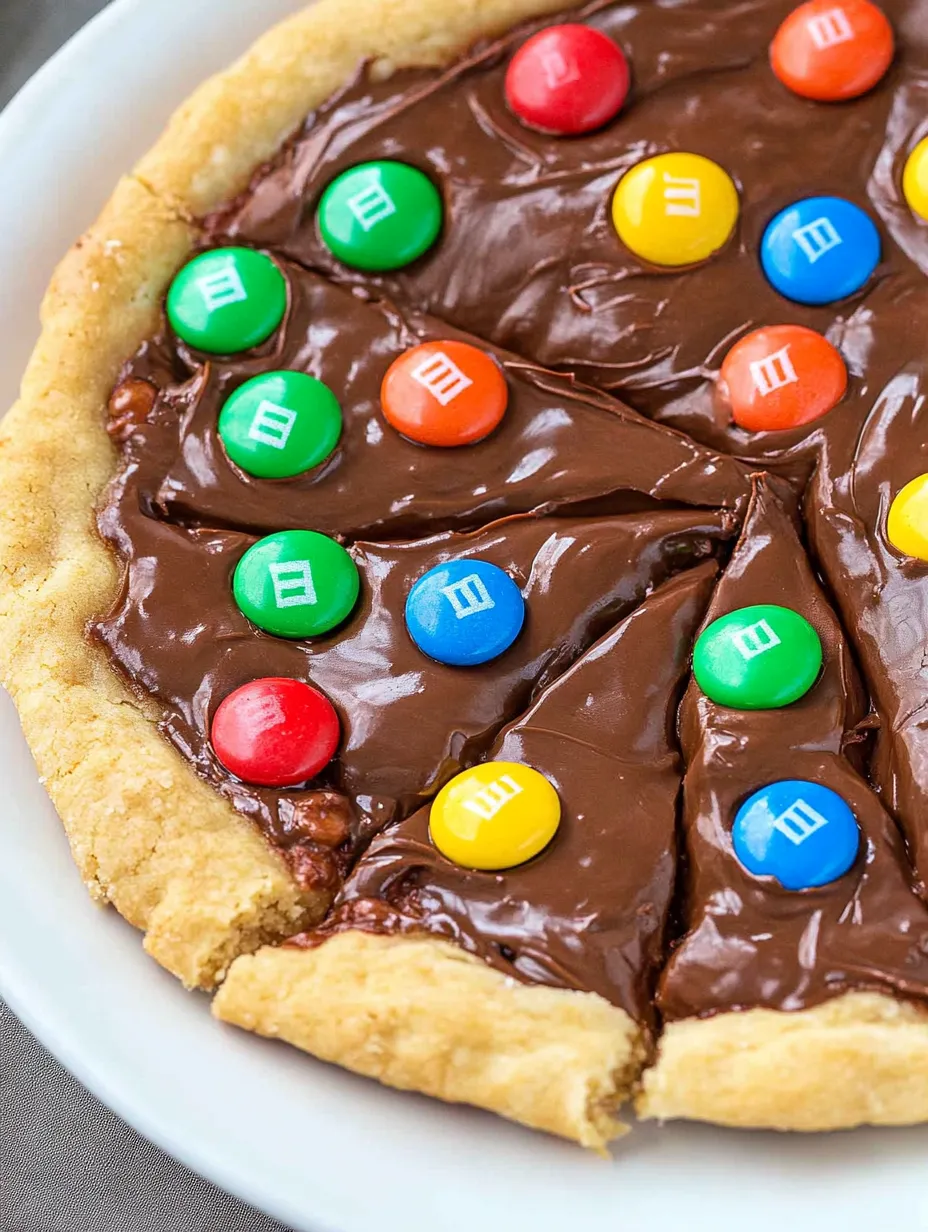
- Splitting the M&Ms between inside the dough and on top gets you color throughout and a pretty decorated surface. When you fold them into the dough, be gentle so you don't crack the shells and leak color into your cookie. I sometimes keep aside specific colors to make patterns on top - great for sports team colors or holiday themes. Seasonal colored M&Ms make it super festive with almost no extra work.
- Cooking Time Know-How
- Keep a close eye on this cookie while it bakes - timing changes based on your oven and pan. Look for edges turning golden while the middle still looks a bit soft. The cookie keeps cooking after you take it out from leftover heat. I start checking at 13 minutes, though 15 usually works perfectly in my oven. Remember that cast iron holds heat, so your cookie will keep cooking a little even after it's out.
- Chocolate Spreading Technique
- Melt your chocolate in short bursts to avoid burning it. That first 30-second melt then 15-second intervals with stirring between makes perfectly smooth chocolate every time. I've learned milk chocolate tastes best here - dark chocolate can be too strong, and white chocolate gets too sweet. Spreading chocolate while the cookie is still warm helps it go on evenly, but waiting those 10 minutes makes sure your cookie won't fall apart while you're spreading.
- Final Decorating
- Push the rest of your M&Ms into the warm melted chocolate so they'll stick properly. I try to work fast here, spreading the colors evenly across the top. That 15-20 minute rest afterward is key - it lets your cookie finish cooling and the chocolate firm up, so slicing is much neater. If you're in a rush, stick it in the fridge for 5-10 minutes to speed things up.
My guy, who usually skips dessert, grabbed a second piece of this cookie pizza without me saying a word. There's just something about that classic cookie taste mixed with candy that gets everyone excited, no matter how old they are.
Delicious Companions
Add vanilla ice cream to make this bright treat even more special. For birthday celebrations, top each slice with ice cream and stick a candle in the middle. On movie nights, we enjoy smaller pieces with cold milk for that classic cookie experience. My children love eating it after school with some apple slices on the side to balance out the sweetness.
Fun Twists
Switch it up with different candy toppings like cut-up Reese's cups or Snickers for new flavors. Try white chocolate chips instead of milk chocolate and pick holiday-colored M&Ms for seasonal parties. Throw in a spoonful of sprinkles to the dough for a birthday cake vibe. Last summer, I tried adding half a cup of tiny marshmallows on top during the final minutes of baking, making a s'mores-inspired version that vanished even quicker than the original.
 Save
Save
I've baked this M&M cookie pizza for everything from school parties to family movie nights, and it always brings out the smiles. There's something special about mixing chewy cookie, smooth chocolate, and bright candy that both kids and grown-ups can't resist. My little girl now asks for this instead of cake on her birthday, which I think shows just how good it really is. It's funny how the simplest treats often become the family favorites, making memories around our table that last way longer than the dessert itself.
Recipe FAQs
- → What if my skillet is a different size?
- No problem! If it's a 10-inch skillet, increase the amount of ingredients by 1.5x. For a 12-inch one, double everything. Keep in mind baking time may change—check earlier with thinner cookies and add time to thicker ones.
- → Can I switch out the M&Ms for something else?
- Definitely! Throw in Reese's Pieces, peanut butter cups, or chunks of chocolate. You can even add nuts or dried fruit to mix things up.
- → When’s the cookie pizza done baking?
- You'll know it's ready when the edges turn golden and the top is set but still kinda soft in the middle. It'll keep cooking a bit as it cools, so take it out earlier if you want it gooey.
- → Can I make this ahead of time?
- Sure can! You can prep the dough, stick it in the fridge, and bake up to a day ahead. Let the dough sit for 15 minutes before pressing it into the skillet. Once baked, keep it in an airtight container at room temperature.
- → Should I use parchment paper in the skillet?
- It helps when removing the finished cookie, but you don’t need it if your skillet’s seasoned well. If skipping parchment, grease the skillet with butter or spray so it doesn’t stick.