
 Save
Save
I whip up these no-bake peanut butter cups every couple weeks - they've kept me from splurging on delivered sweets countless times! What's awesome is they come together in just minutes using stuff already sitting in my cupboard. My little ones think they're getting something special, while I know they're basically munching on souped-up oatmeal.
A few weeks back when my sister popped in unexpectedly with her children, I grabbed these from the freezer and suddenly became the most amazing aunt around. The youngsters had zero clue they were eating something relatively good for them!
Tasty Ingredients
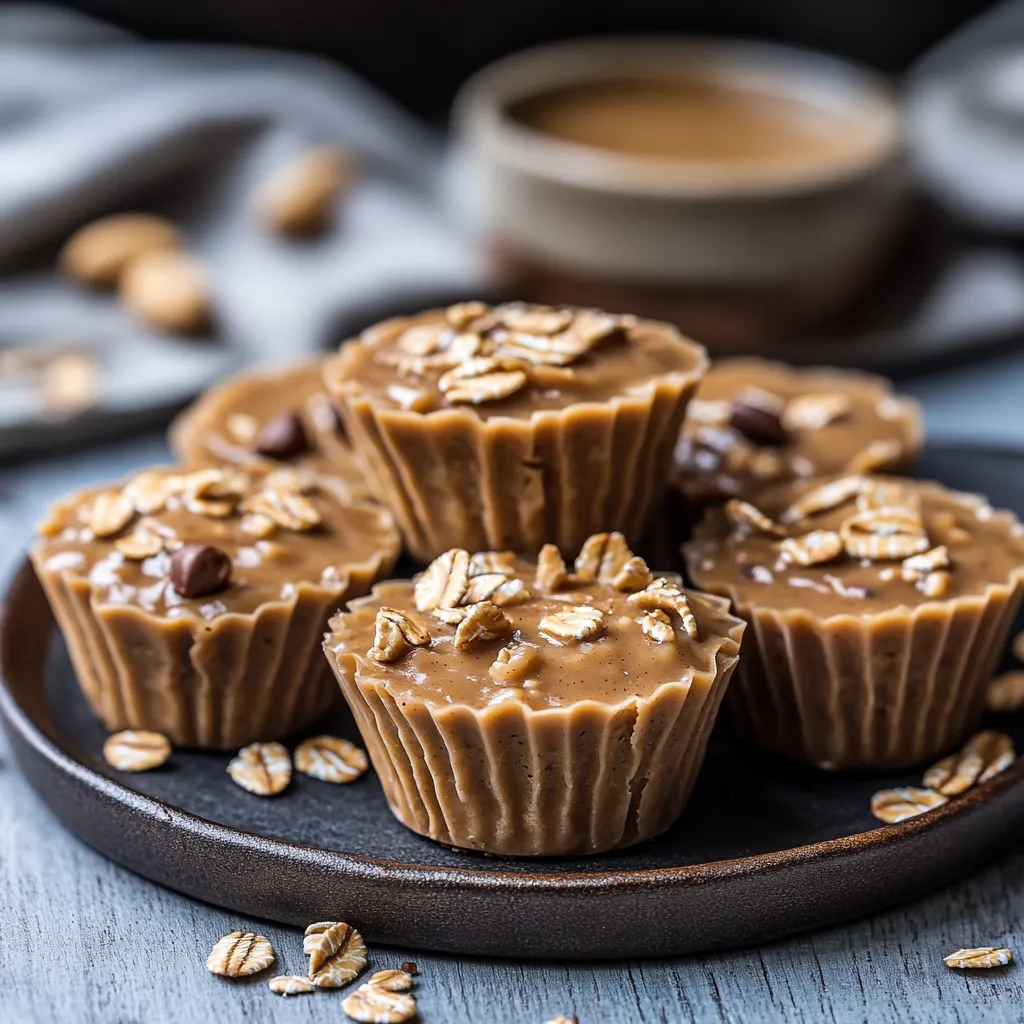
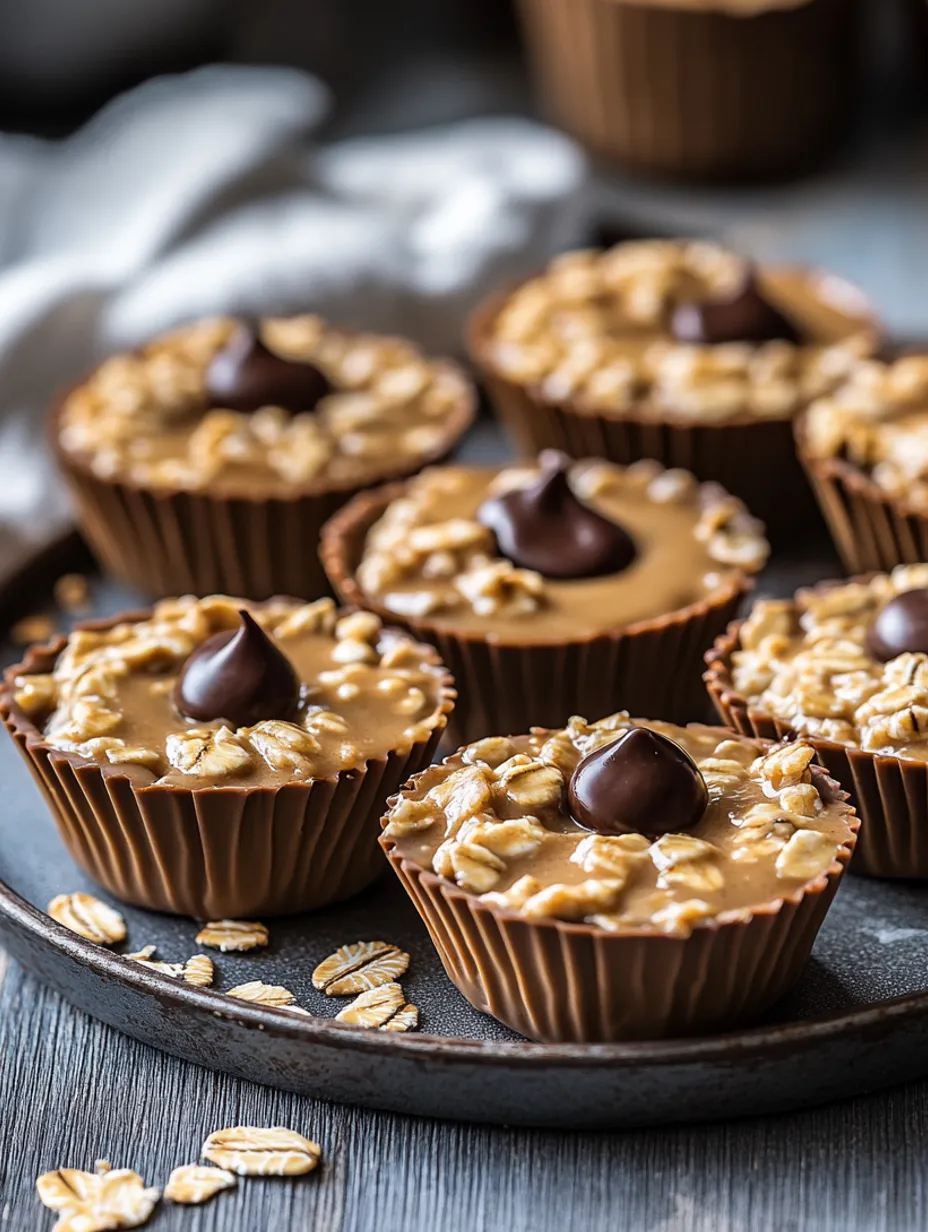
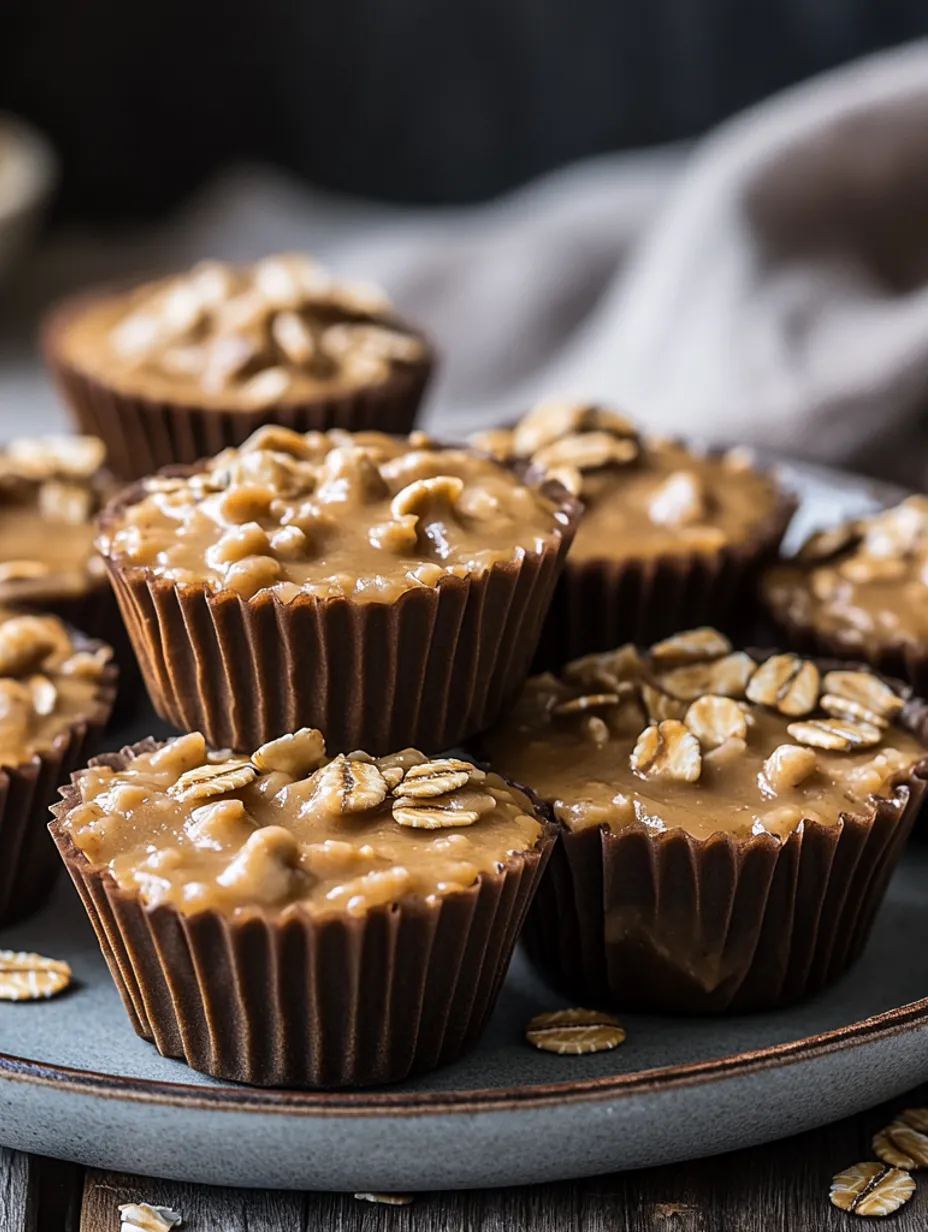
- Rolled oats: The sturdy foundation that makes these substantial. I grab old-fashioned oats for better texture, though quick oats can save the day when needed.
- Natural peanut butter: The runny type from the organic section works wonders. Its natural oils bind everything without needing extra fats.
- Honey or maple syrup: Both do the job nicely. Honey creates more stickiness, while maple brings a richer flavor profile.
- Dark chocolate chips: These are essential! They transform these from "healthy bites" to "genuine treats." Their slight bitterness perfectly counters the sweetness.
- Vanilla extract: Just a tiny bit adds richness and dimension. Completely optional but totally worth adding if available.
- Salt: Only add if your peanut butter doesn't have any. That sweet-salty balance makes these totally irresistible.
 Save
Save
Simple Instructions
Mixing EverythingI toss all ingredients except chocolate chips into a bowl and mix with a wooden spoon. If my peanut butter's too thick, I pop it in the microwave for 15 seconds. You'll know it's ready when it sticks together when you squeeze it.
Shaping The CupsI've learned that putting paper liners in a mini muffin tin makes cleanup super easy. For pushing the mixture down, a teaspoon back works amazingly to shape that cup form. Make sure to press down firmly - they'll stay together better.
Chocolate Drizzle SecretWhen melting chocolate, I never go beyond 15 seconds without giving it a stir. The warmth will keep melting the chips, and you really don't want it to harden up wrong. I use a tiny spoon to drizzle it across each cup in zigzags - looks impressive with barely any work!
Cooling TimeThey need at least 60 minutes in the fridge to set up right. Sometimes I get antsy and toss them in the freezer for 20 minutes instead. But that's just between us.
I came up with this idea during a nighttime sweet tooth attack when I wanted treats but didn't feel like baking or going shopping. I looked through my pantry and was so thrilled with the results that they've become a standard in my snack lineup!
Tasty Pairings
Store these in your freezer for a harder texture that lasts longer in your mouth - perfect for kids who gulp down snacks. Pair with strawberries or banana chunks for a more complete treat. When friends come over, put each cup in a tiny cupcake wrapper and arrange on a plate with fresh mint for a fancy look that hides how easy they were to make.
Customization Options
Throw in a spoonful of chia seeds for extra nutrients and an interesting crunch. Replace half the peanut butter with almond butter for different flavors. Try pushing a fresh raspberry on top before adding chocolate for a fruity kick. Dust with flaky sea salt right after the chocolate goes on for a fancy touch.
Keeping Fresh
These stay good in the fridge for seven days, but honestly, they rarely hang around that long at my place. To keep longer, freeze them flat until hard, then move to a container or freezer bag. They soften in about 10 minutes at room temp, but I actually like them partially frozen - they're like tiny peanut butter cookie dough chunks that way!
 Save
Save
Clever Shortcuts
- Don't have mini muffin pans? Try regular-sized ones for bigger portions, or shape into balls for grab-and-go bites
- Mix a spoonful of coconut oil with the chocolate chips for a topping that breaks with a satisfying crack
- If mix feels too crumbly, add another spoonful of peanut butter; if too sticky, toss in more oats
These little treats have become my go-to alternative to store-bought snacks. They're filling enough to actually curb hunger, unlike many "healthy" desserts that leave you searching for more. My favorite reaction came from my husband who asked if they were "store-bought peanut butter cups" - he couldn't believe something this quick could taste so delicious!
Recipe FAQs
- → Can I swap the peanut butter?
- Absolutely, almond or cashew butter are great alternatives!
- → How long will these last?
- Keep them in the fridge for about a week or freeze for longer freshness.
- → Can I toss in extras?
- Totally, mix in things like coconut flakes, chia seeds, or some chopped nuts.
- → Is this good for vegans?
- It can be if you choose maple syrup instead of honey and ensure the chocolate is dairy-free.
- → Do quick oats work here?
- Sure, they'll make a softer texture, but they still work fine!