
 Save
Save
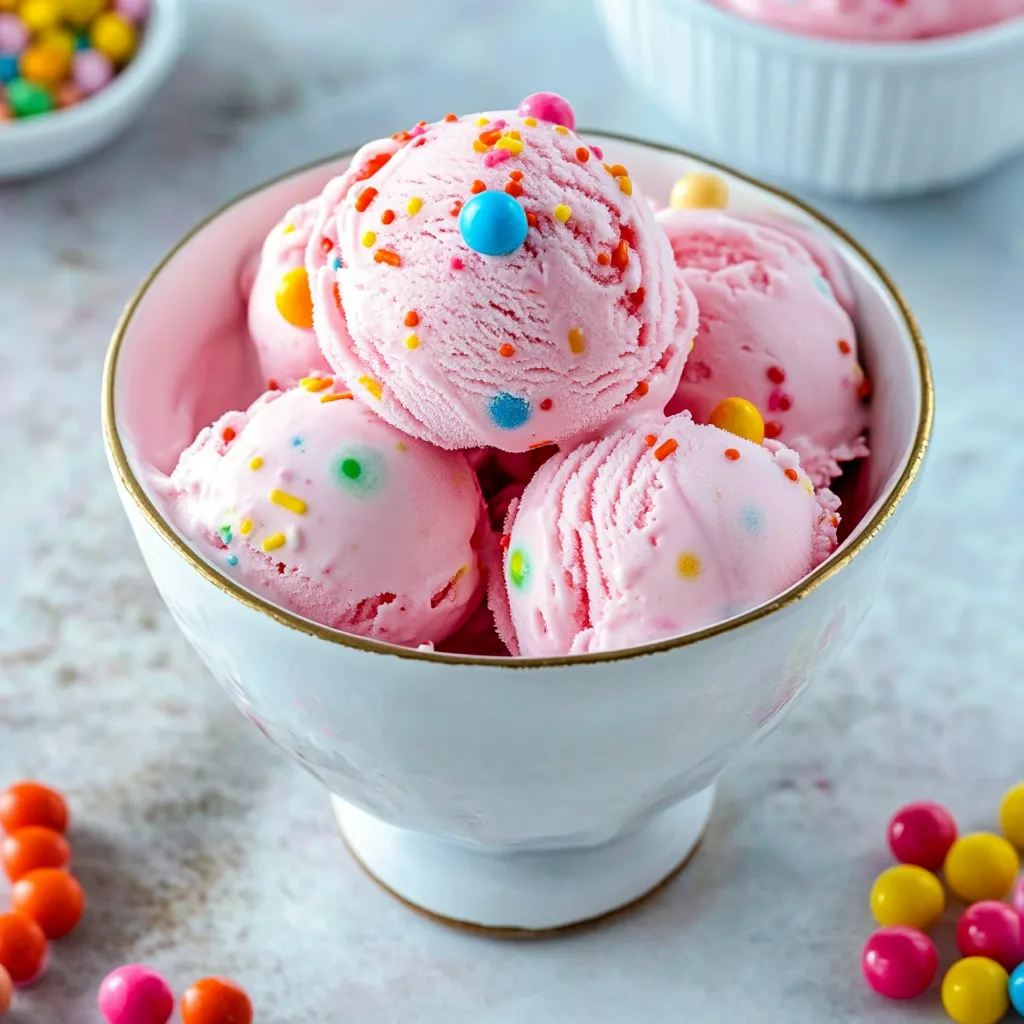
I whipped up this bubblegum ice cream creation one summer while planning my daughter's party. The bright pink color mixed with that classic bubblegum taste makes an amazing frozen treat that looks fantastic and brings back childhood memories. It's now our family's favorite for any event where we need something fun and festive.
Last month at our family get-together, my nephew's face lit up when he tried this. "It's just like real bubblegum!" he shouted before asking for another helping. It's funny how the easiest recipes often make the biggest splash, particularly with the younger crowd.
Basic Components
- Whole milk and heavy cream - These form the rich base of any quality homemade frozen dessert
- Bubblegum flavoring - So much simpler than trying to get taste from actual gumballs
- Food coloring - Gives you that eye-catching pink shade everyone expects
- Confetti sprinkles - They add fun pops of color and a bit of crunch
- Actual gumballs - Perfect for topping and reinforcing the theme
 Save
Save
Delightful Preparation
- Bowl Freezing
- Never skip this crucial first step - your ice cream maker bowl absolutely needs to be frozen solid. I just store mine in the freezer all the time so it's ready whenever I need it. My first ice cream attempt was a disaster because I only froze the bowl for a few hours and got a liquid mess. These days I make sure it's in the freezer for at least 24 hours before making anything, which totally transforms the final texture.
- Base Mixing
- Getting the sugar completely melted into your liquids is the secret to smoothness. I stir for at least 2-3 minutes, even when everything looks mixed, to avoid any grainy bits later. The mix of whole milk and heavy cream gives just the right fat level - I've tried just heavy cream but it came out too rich, while low-fat milk made it too icy. This blend hits the sweet spot.
- Flavor Balance
- The bubblegum flavoring packs a punch, so I start with less than called for, taste test, and add more if needed. You might wonder why there's vanilla in bubblegum ice cream, but it actually fills out the flavor and stops it from tasting fake. Don't forget that tiny bit of salt - it makes the sweetness pop and adds complexity. I've left it out before and definitely noticed something was missing.
- Color Development
- For that true bubblegum look, I put the food coloring in slowly and check as I go. Remember your color will look lighter once it's frozen than when it's liquid. I shoot for something that seems a bit too bright in the bowl, which will cool down to perfect pink when frozen. Gel colors work best since they don't water down your mix. If you want a more natural option, try a bit of beetroot powder, though your pink won't be as bold.
- Churning Process
- Always follow what your ice cream maker manual says. Mine usually takes about 20-25 minutes to reach that soft-serve stage. One trick I've learned is getting your mixture really cold before it goes into the machine, which speeds things up and makes smaller ice crystals for better texture. I throw in the sprinkles near the end so their colors don't bleed throughout but still get mixed in properly.
- Freezing Method
- A wide, flat container works better than a deep one since it freezes more evenly. I always put plastic wrap right on top of the ice cream before adding the lid to stop ice crystals. While 4 hours in the freezer works, leaving it overnight is even better for perfect scooping. Just let it sit out briefly before serving so it's not too hard but still holds its shape.
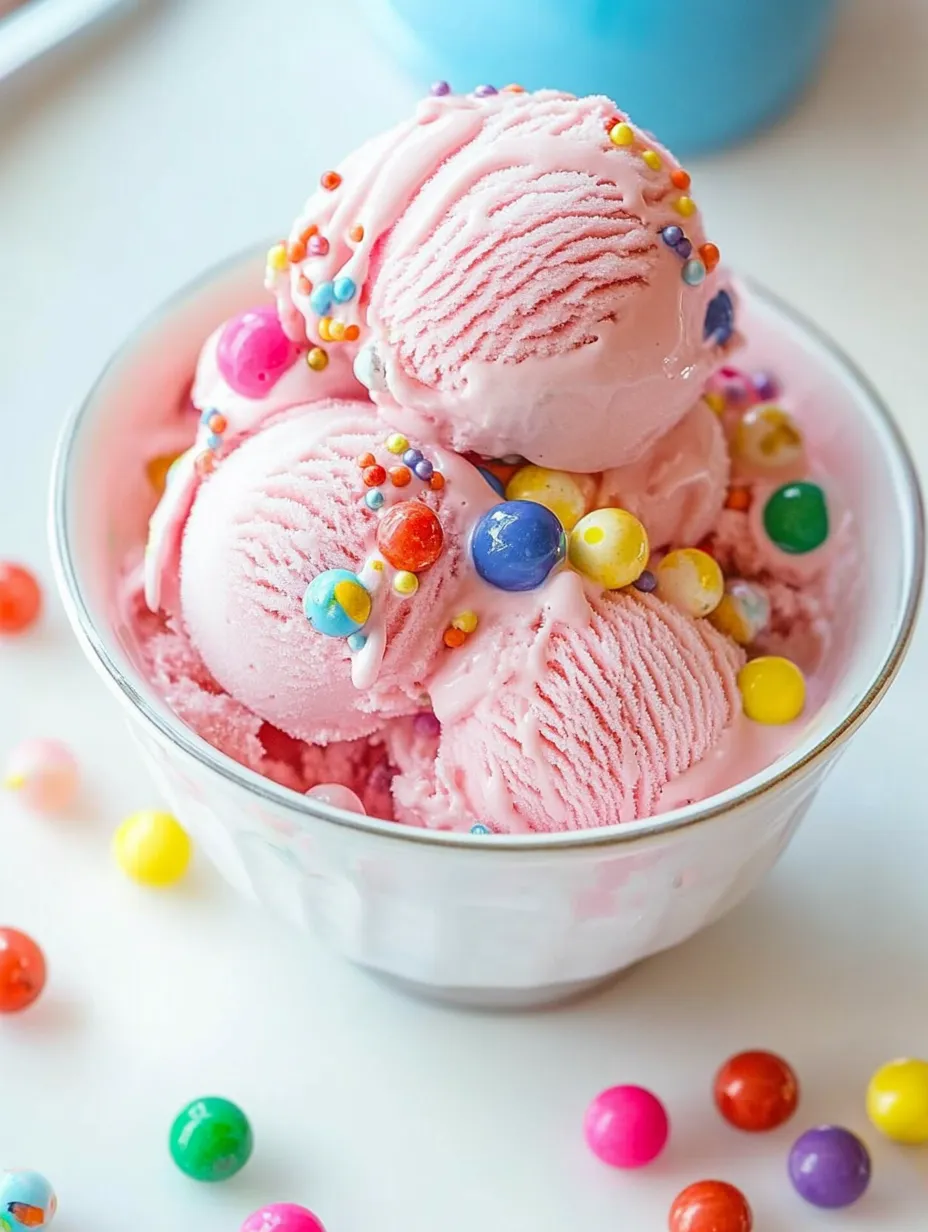
My health-conscious sister-in-law couldn't resist after one taste and immediately wanted my recipe. "Sometimes you just have to indulge," she laughed. There's something about that nostalgic bubblegum flavor that seems to awaken everyone's inner child.
Tasty Companions
This fun ice cream goes great with simple shortbread cookies for an easy dessert combo. At birthday parties, I serve it alongside vanilla cupcakes or cake for a pretty color contrast. During summer gatherings, I often set up a topping station with chocolate sauce, caramel, and extra sprinkles so guests can dress up their own scoops. My kids can't get enough of it in a cone topped with extra gumballs for the complete experience.
Tasty Twists
Mix in some marshmallow fluff for a cotton candy-inspired version. Swap the sprinkles for tiny white chocolate chips if you want a different texture. For a grown-up twist that's still playful, add a few drops of prosecco flavoring with the bubblegum for a "bubbly bubblegum" treat. Last year, I tried creating layers with strawberry sauce in a bread pan to make "bubblegum strawberry swirl" that everyone at our neighborhood cookout couldn't stop talking about.
 Save
Save
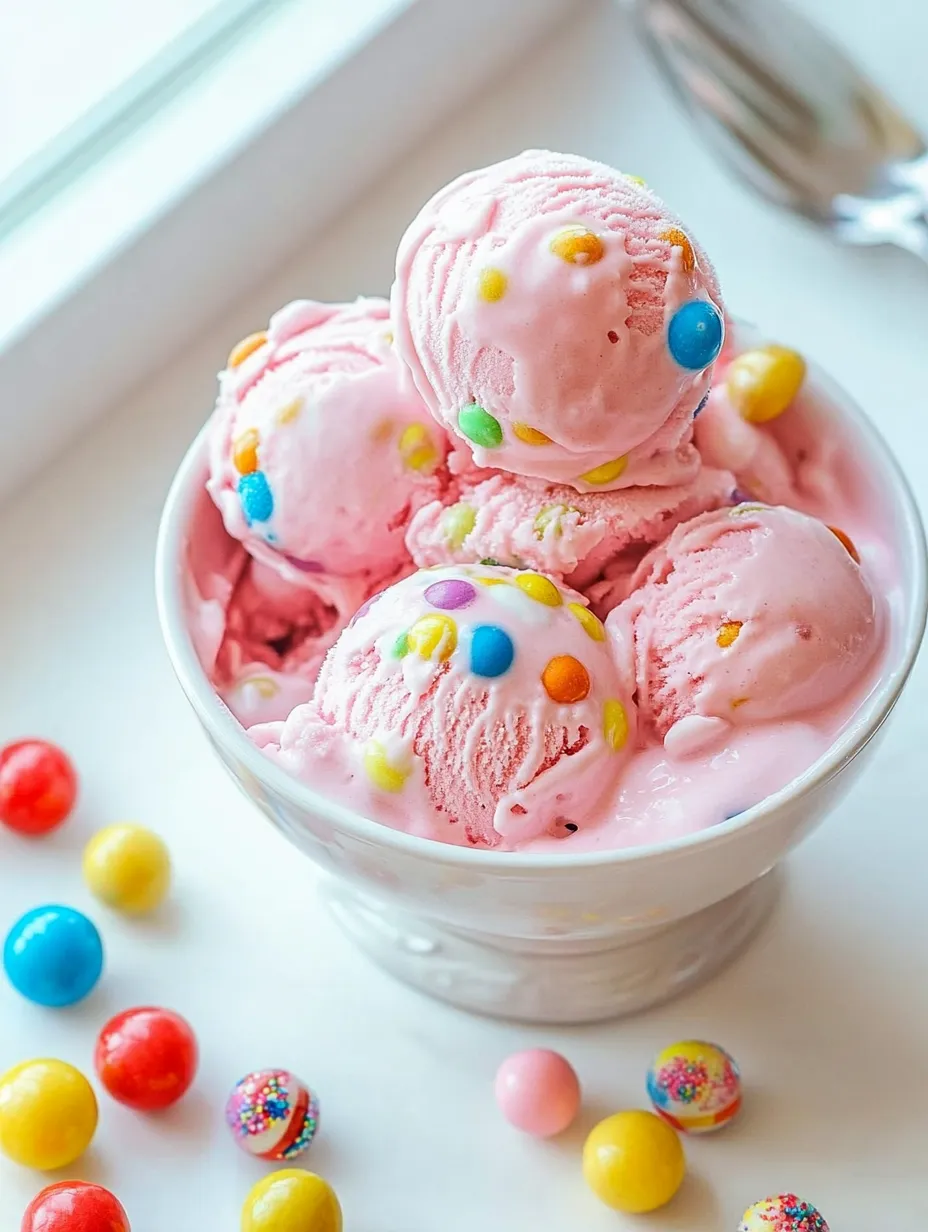
I've made this bubblegum treat for everything from casual summer hangouts to big birthday bashes, and it always brings smiles. There's something special about seeing both kids and adults get excited when they spot that bright pink color, then watching their faces light up at the familiar taste. My daughter now asks for it on her half-birthday and even for made-up celebrations, which I think is the best review any recipe can get. Sometimes the desserts we remember most are the ones that take us back to being kids again, if only for a few sweet bites.
Recipe FAQs
- → Can I make this without an ice cream maker?
- To skip the ice cream machine, whip heavy cream until it’s thick. Fold in sweetened condensed milk mixed with bubblegum flavor and coloring. Freeze it as usual.
- → Where do I buy bubblegum flavoring?
- Check local baking supply shops, craft stores with baking sections, or online retailers like Amazon. Look for brands like LorAnn Oils or Frontier Co-op for the best quality.
- → Is it possible to use real bubblegum instead?
- Yep! Heat 2 cups of milk with around 1 cup of bubblegum pieces until hot, then let it sit for 30 minutes off the heat. Strain out the gum bits and continue with the steps. The flavor is milder this way, though.
- → Why won’t my dessert freeze properly?
- Make sure your ice cream maker was cold enough (at least 24 hours in the freezer). Chill ingredients first, avoid excess sugar or alcohol, and don’t overfill your machine.
- → What’s a natural alternative to food coloring?
- Beet powder, freeze-dried strawberry or raspberry powder, or a splash of cranberry juice work great for a natural pink color. The result won’t be as bright but still looks nice.