
 Save
Save
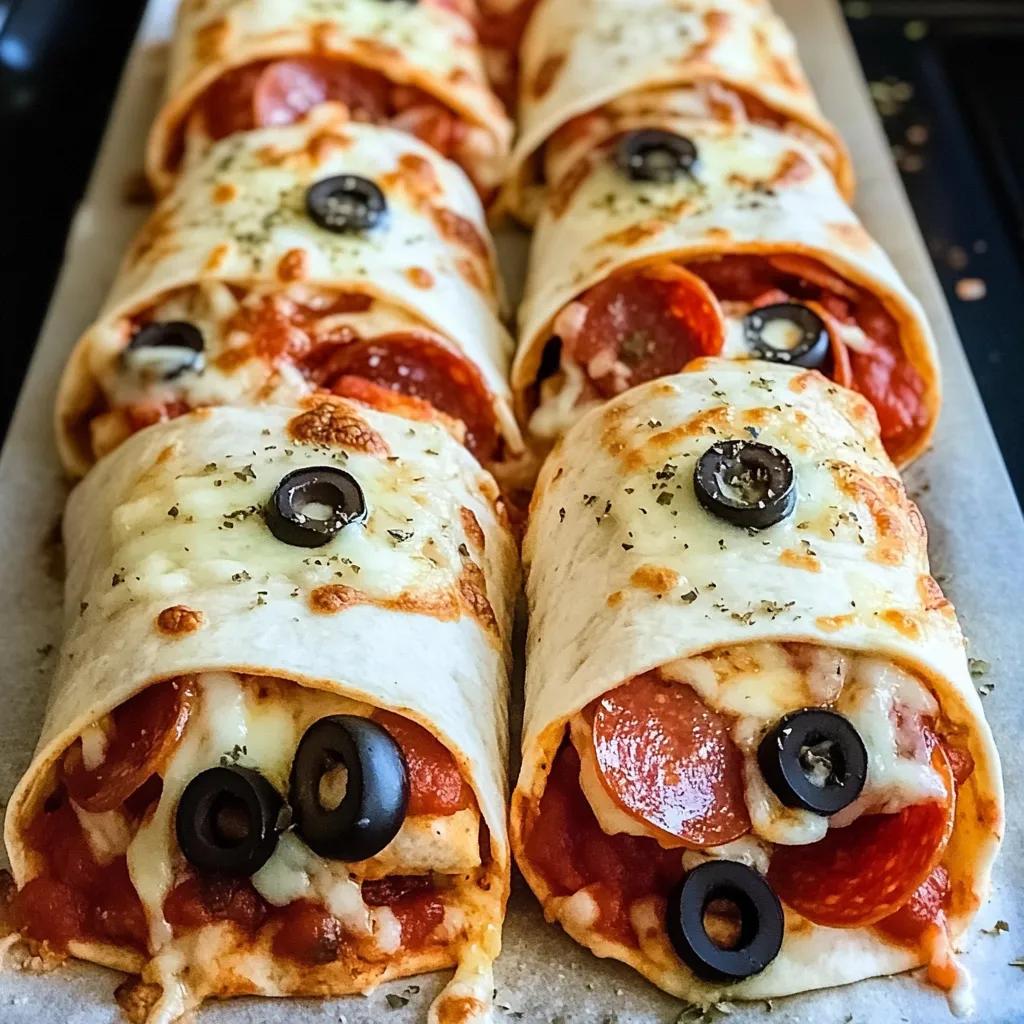
These baked pizza wraps are a weeknight dinner revelation - transforming simple tortillas into crispy, cheesy pizza-like bundles. With just a few pantry staples and 30 minutes, you can create these handheld versions of everyone's favorite Italian dish.
After serving these at countless family dinners, they've become our most requested easy meal. The combination of crispy exterior and melty pizza fillings wins over even the pickiest eaters.
Key Ingredients
- Burrito-size flour tortillas - Creates the perfect crispy exterior
- Pizza sauce - Brings authentic pizza flavor
- Shredded mozzarella - Provides the signature cheese pull
- Pizza toppings - Customize with your favorites
- Italian herbs - Adds classic pizza seasoning
 Save
Save
Assembly Method
- Choosing Tortillas
- Large flour tortillas work best, as they provide ample space for fillings. Warm slightly if needed to increase pliability. The flour variety crisps better than corn for this application.
- Sauce Distribution
- Spread sauce thinly and evenly, leaving a border to prevent leaks. About 1/4 cup per wrap provides ideal coverage without sogginess.
- Adding Toppings
- Finely chop toppings to prevent tears. Layer cheese both under and over toppings for better binding. Pre-cook high-moisture vegetables to avoid soggy results.
- Rolling Method
- Fold sides in first, then roll bottom up tightly like a burrito. Place seam-side down for secure baking.
- Oil Application
- Brush exterior lightly with olive oil for optimal crisping and golden color. A thin, even coat using a pastry brush works best.
- Baking Guidelines
- Bake at 375°F until golden and crisp, typically 10-12 minutes. Allow brief resting time before cutting.
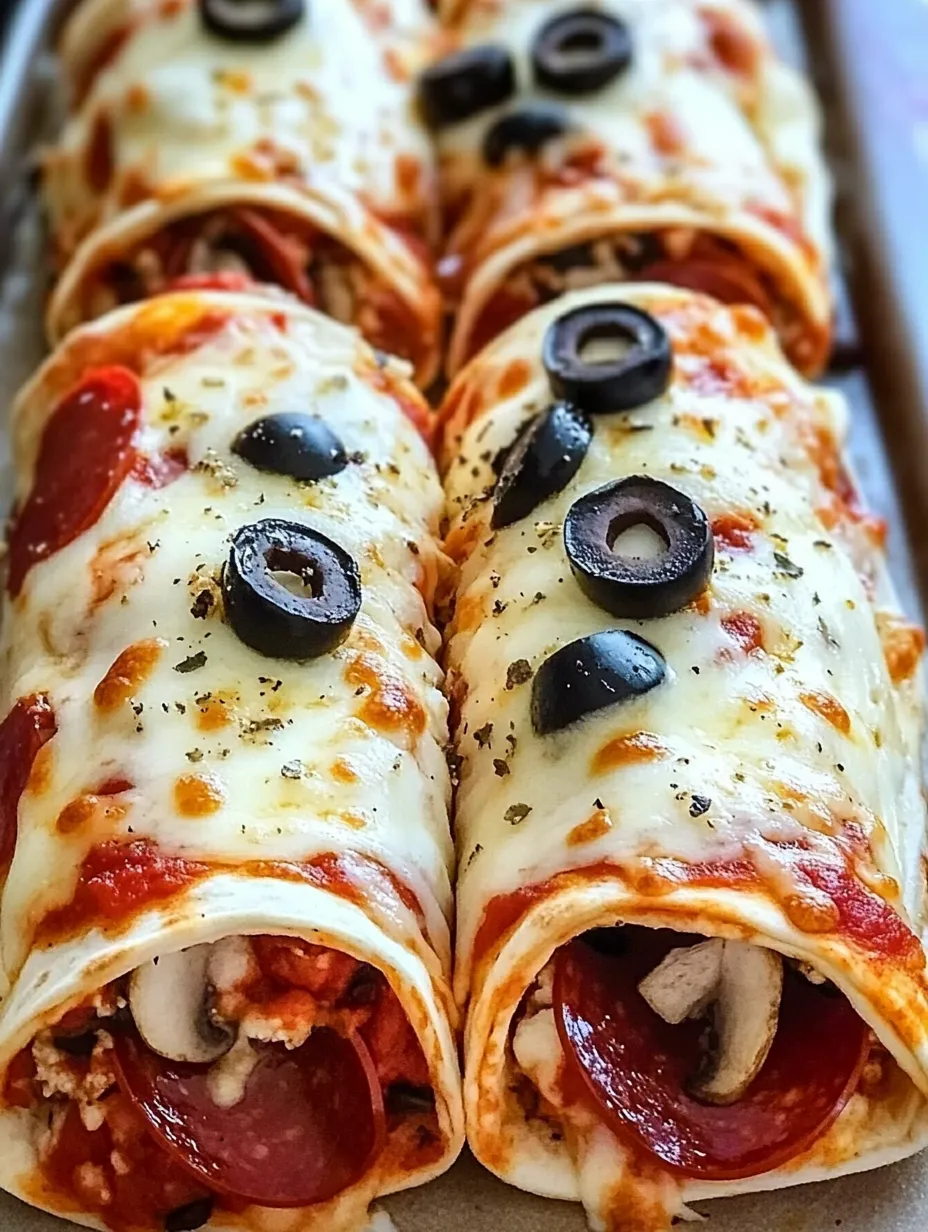
The versatility of these wraps makes them perfect for feeding varied tastes. Each family member can customize their fillings while keeping the basic technique the same.
Serving Suggestions
These pizza wraps pair perfectly with a crisp garden salad. Cut into smaller portions for party appetizers, or pack in lunch boxes. They maintain their appeal even at room temperature.
Recipe Variations
Create breakfast versions with eggs and bacon, dessert variations using Nutella and fruit, or explore global flavors like Mediterranean with feta and olives. The basic technique adapts beautifully to countless flavor combinations.
 Save
Save
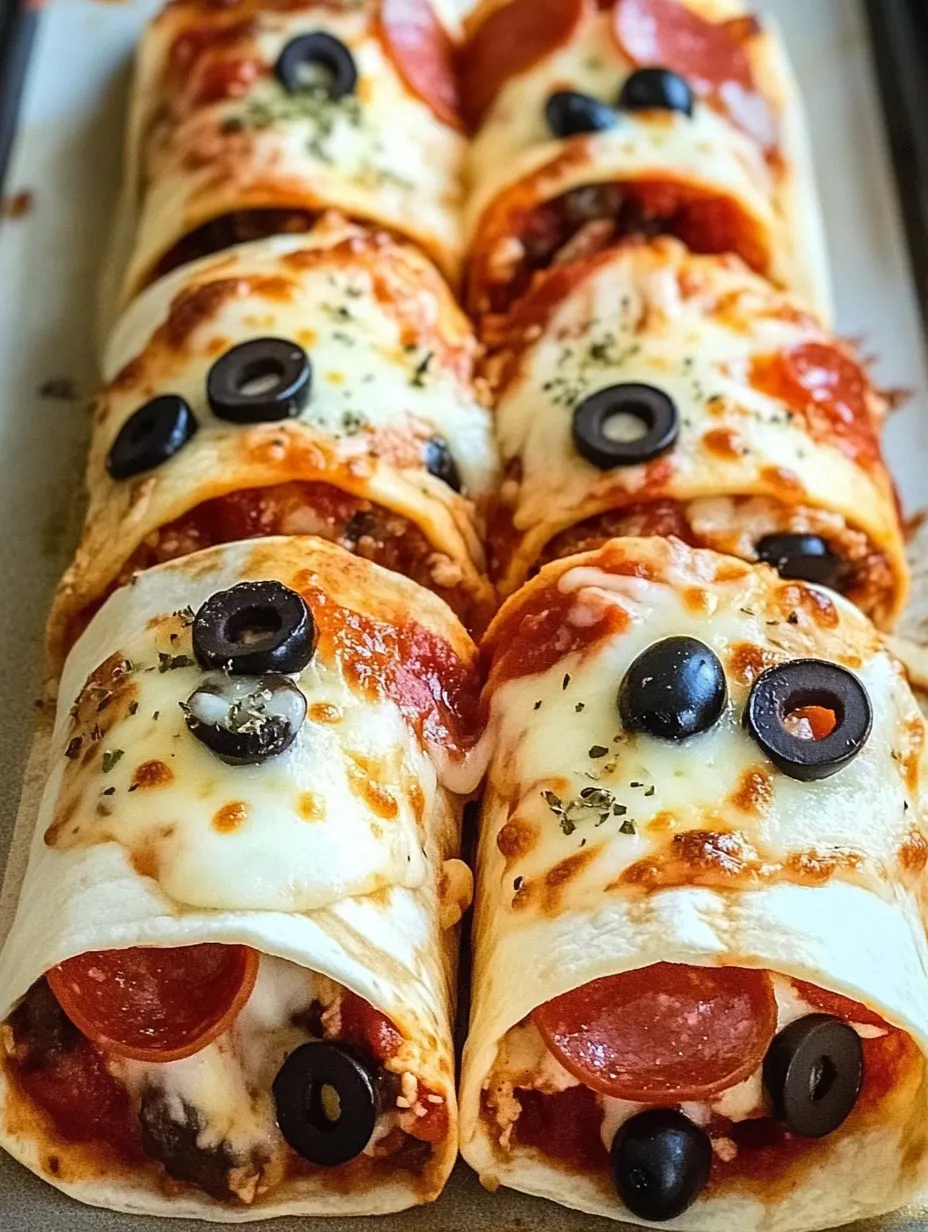
These pizza wraps have become a reliable solution for busy weeknights, casual entertaining, and kid-friendly cooking projects. Their combination of familiar flavors and creative presentation makes them a welcome addition to any recipe collection.
Recipe FAQs
- → Can I get these ready ahead of time?
- Sure thing! You can prep everything and keep the wraps stored in the fridge up to a day before baking. Just coat with olive oil before baking, and add a few extra minutes if they’re still cold.
- → Is freezing these wraps an option?
- Yes, they keep really well frozen! Roll them up, wrap each in plastic wrap, and store in a freezer-safe bag for up to 3 months. To bake, just pull them out, brush with oil, and pop them in the oven straight from frozen for about 18-20 minutes.
- → What else can I add in these wraps?
- Loads of choices—try ham, cooked sausage, bell peppers, bacon, pineapple, or spinach. Want to mix up the cheese? Use provolone, mozzarella blends, or cheddar. Just avoid overfilling to prevent messes while baking.
- → How can I stop the wraps from unrolling in the oven?
- Place the wraps seam-side on the baking tray, so the filling weighs them down. Toothpicks also work well, but don’t forget to take them out before eating. Another trick? Wet the tortilla edge before folding—it’ll hold tighter.
- → Can I make these gluten-free or low-carb?
- Yes! Gluten-free wraps work, or try low-carb tortillas. For an even lighter option, use lettuce leaves instead (but lower the cooking time). Keep in mind different wraps might change the crispness or texture.