
 Save
Save
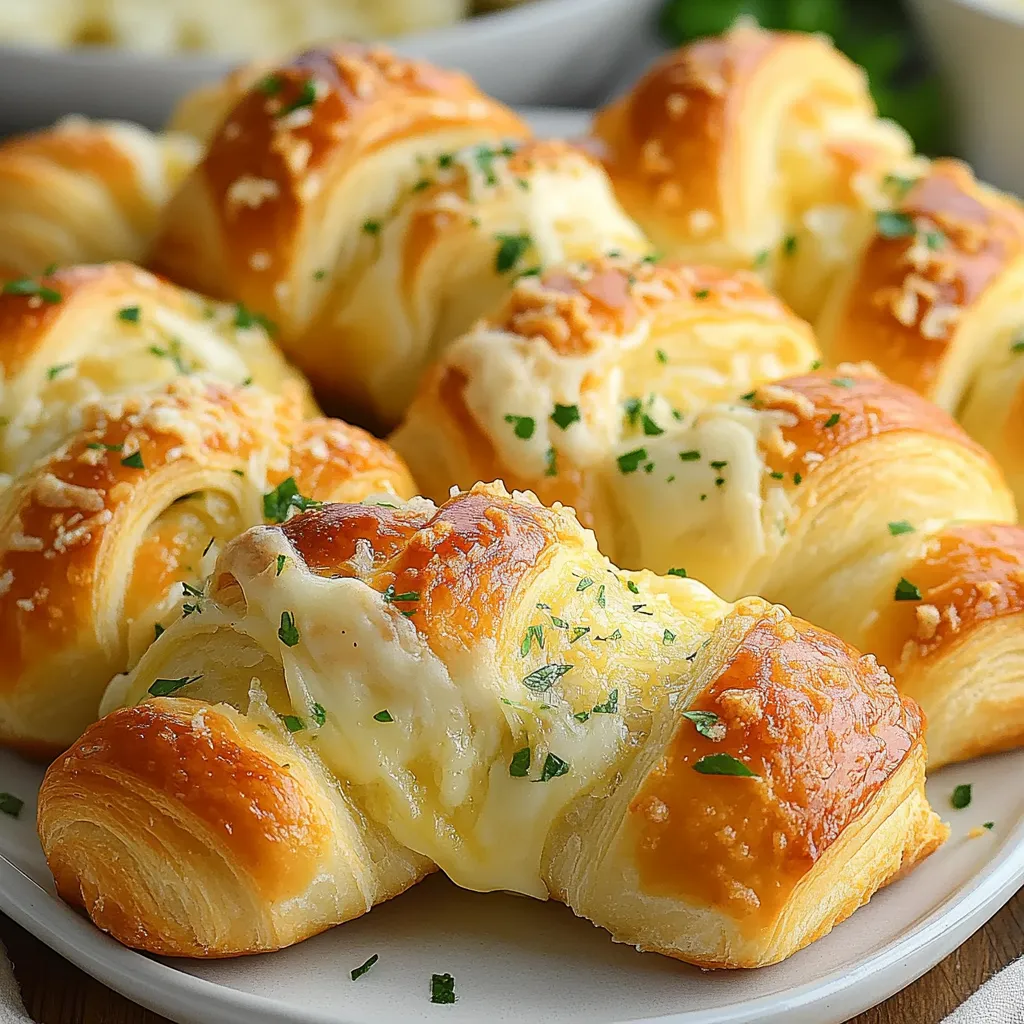
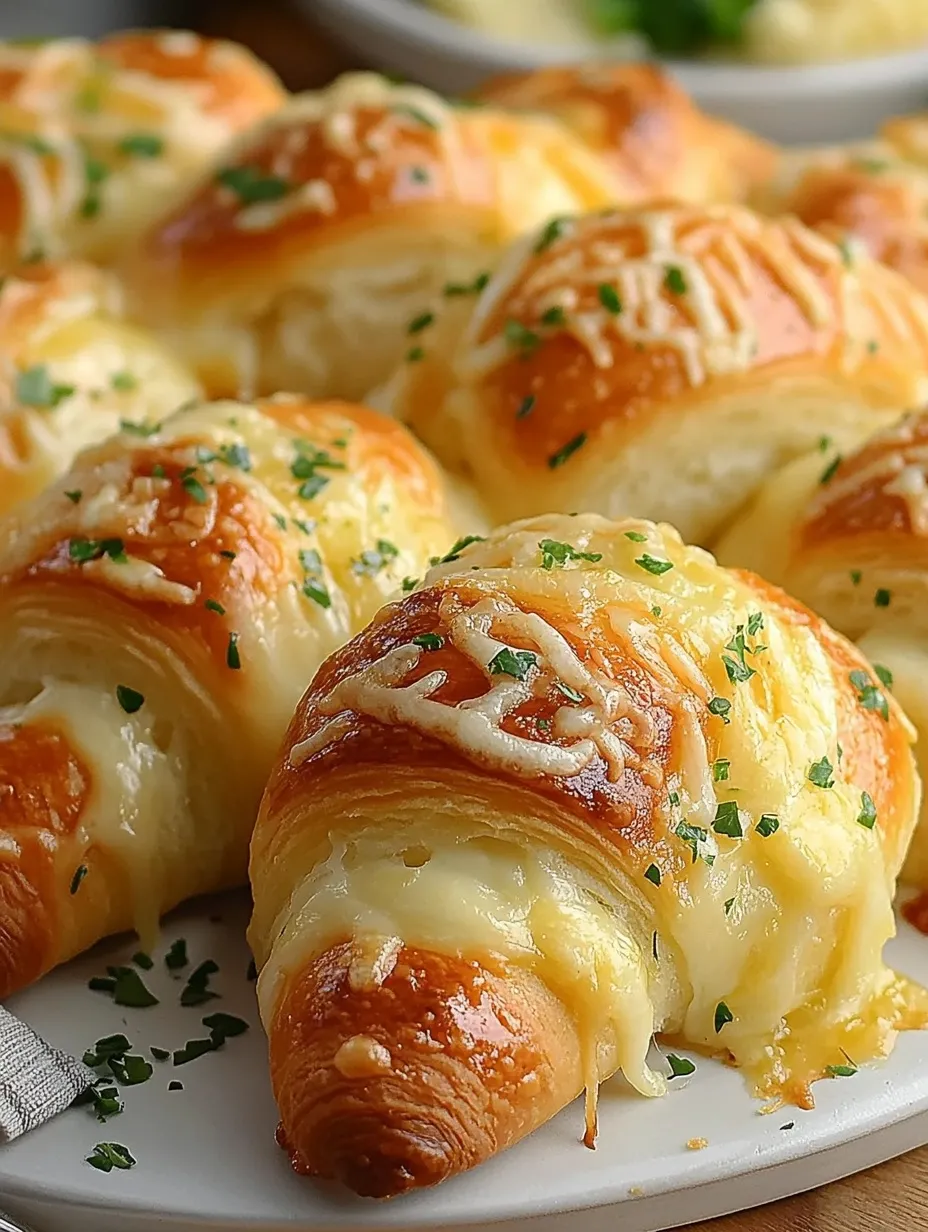
cheesy garlic crescent rolls
Crescent roll dough turns downright craveable when you load it up with gooey cheese and loads of garlicky flavor. Fluffy, buttery, and super simple—this tricked-out version makes any meal feel like something special, even on hectic nights.
We make these during our family’s Sunday night get-togethers. The kids get a kick out of rolling dough and showering it with cheese. When the smell of garlicky butter hits, everyone shows up at the table hungry.
Irresistible Ingredients:
- Crescent roll tubes (chilled) - Go for the flaky butter ones—they make the best base
- Regular unsalted butter - A good butter makes these taste rich and extra yummy
- Garlic cloves plus garlic powder - Crunchy fresh garlic packs a punch, and powder keeps the garlicky taste in every bite
- Cheddar and mozzarella cheese - They melt and stretch together like a dream; shred them yourself if you can
- Parsley flakes (dried) - A little green plus gentle flavor—just make sure it isn’t stale
Simple How-To:
First, preheat your oven (most packages say 375°F). Set your oven rack in the middle. Put a sheet of parchment on your tray to keep things from sticking.
Melt butter till it’s smooth but not super hot. Finely mince the garlic—tiny bits are best. Stir it together with garlic powder, onion powder, and parsley. Give it a sniff—it’ll smell amazing but shouldn’t knock you over.
Unroll the dough on a cool, clean counter. If it gets sticky, pop it in the fridge for a few minutes to chill it down. Pull it apart along the dotted lines into triangles, but don’t squish them.
Slather each triangle with your garlic butter, making sure you hit all the way to the tips. Hang out for a minute so it soaks in.
Dust each piece generously with cheese but leave a bit empty on the edges. Pat down the cheese so it sticks—this keeps it from falling out while you roll.
 Save
Save
My grandma always insisted on cheese that wasn’t straight from the fridge—it melts much better. I loved watching her toss a little more cheese on top at the end. That’s a core memory from being in her kitchen.
Easy Dough Rise Tricks:
After you set the shaped rolls on your tray, give them 5 minutes to relax. The dough gets fluffier in the oven if it isn’t rushed. Steam from the melting butter makes the inside so soft and airy.
The Right Oven Heat:
If you want a crisp outside but still want that cheesy, soft middle, oven heat is key. Start with a hot oven so your rolls get golden, but don’t overbake. That’s how you get the best of both worlds.
Serving Up Fresh:
These are best next to hearty meals like beef stew or lasagna. That punchy garlic and cheese cuts through rich sauces, and all those buttery layers are brilliant for soaking up extra gravy or sauce.
The more I make these, the more I realize simple rolls are usually the biggest hits. A few good ingredients and you end up with something everyone loves. You don’t have to get fancy for really good food.
Tweak Your Flavor:
Play with the herbs if you want. Like a Mediterranean vibe? Toss in oregano and basil with your butter mix. Or, use super finely chopped fresh herbs—just watch that they don’t burn.
Rolling Like a Pro:
You’ll get the hang of rolling with practice. Start at the big end, roll up tight but gentle so nothing busts out. Cheese falling out? Just tuck it back as you roll. That way every bite has just the right mix.
Keeping Them Fresh:
They’re at their best when fresh, but you can totally keep them tasty for days. Pop them in a closed container with bits of parchment between each one. If you wanna warm them up, wrap in foil and bake at 300°F for a few minutes—keeps them soft instead of tough.
 Save
Save
Plan-Ahead Wisdom:
You can make your garlic butter up to three days early
Shape your rolls and chill on baking trays till they’re rock hard
Sack up the frozen ones—they’ll keep great in bags for three months
I love making extra and freezing half. When things get crazy, I can grab some from the freezer and bake them off. Nothing easier than that.
More Savvy Chef Advice:
Put a dish of hot water in the oven underneath for the softest rolls
If you like extra-crispy tops, brush on melted butter right before they finish baking
Let them cool on a rack so the bottoms stay nice and crisp, not soggy
No matter how many versions I try, cheesy garlic crescent rolls are always a winner. The simplest food, made with love and a little patience, usually gets all the compliments. Whether it’s just your family or a whole crew, these always hit the spot.