Delicious Garlic Herb Chickpea Crackers

Featured in Food That Makes People Think You've Got Life Figured Out.

These crispy, herby snacks use chickpea flour for a protein-packed, gluten-free option that's way better than store-bought crackers.
Clare Recipes
Updated on Mon, 10 Mar 2025 16:05:26 GMT
Savory Garlic Herb Crackers Pin it
Savory Garlic Herb Crackers | recipesclare.com

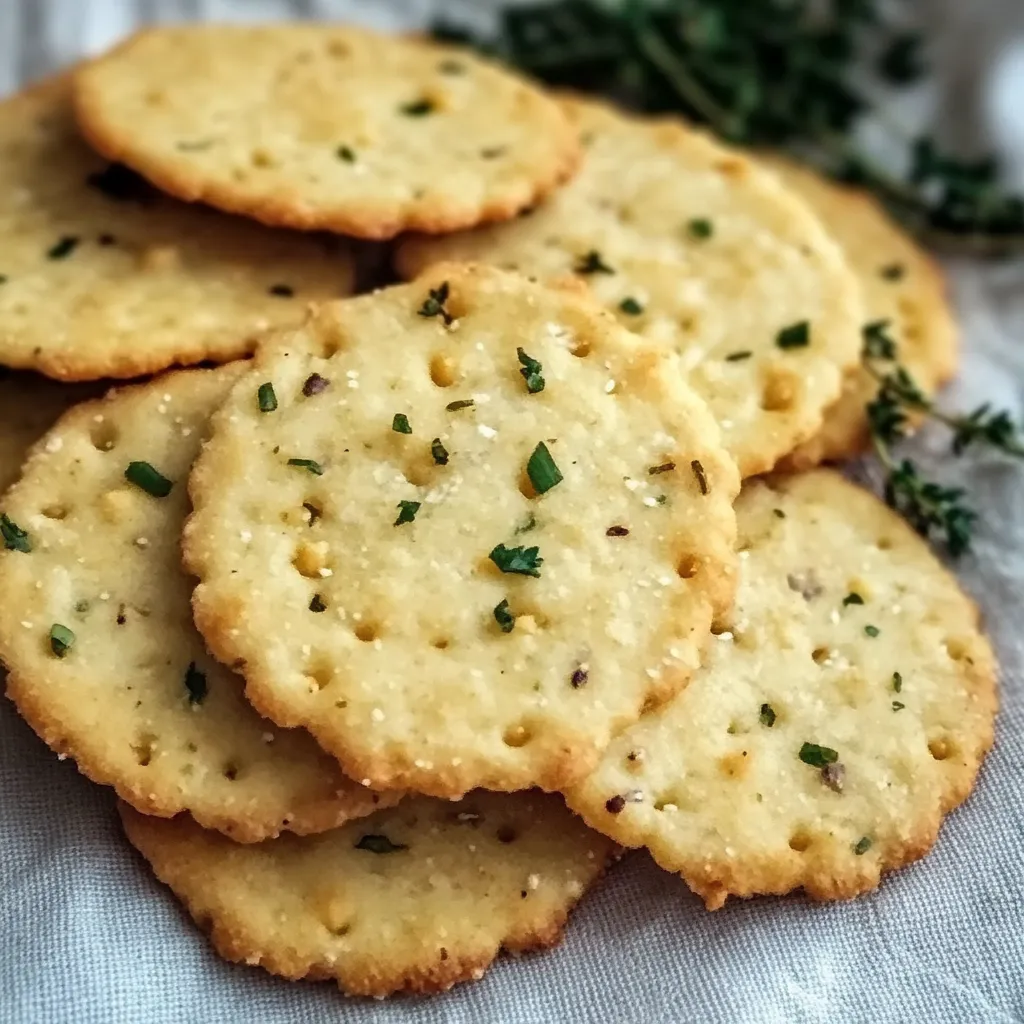
These homemade garlic and herb chickpea flour crackers have become my signature snack recipe. The nutty flavor of chickpea flour combined with aromatic herbs creates crispy crackers that rival expensive artisanal varieties. Best of all, they're simple to make and cost a fraction of store-bought options.

The wonderful aroma that fills the kitchen while these bake never fails to draw people in. Their crispy texture and savory herb flavors make them irresistible straight from the cooling rack. Even skeptics are won over after the first bite.

Key Ingredients

  • Chickpea flour: The foundation that provides protein and nutty flavor
  • Dried herbs: A blend of rosemary, thyme and oregano
  • Garlic powder: For savory depth without burning
  • Olive oil: Creates crispy texture and rich flavor
  • Salt and pepper: Enhances all the flavors
Garlic and Herb Chickpea Flour Snack Crackers Homemade Pin it
Garlic and Herb Chickpea Flour Snack Crackers Homemade | recipesclare.com

Essential Techniques

Making the Dough
The key is achieving play-dough consistency - pliable but not sticky. Add water gradually until the texture is just right. Too much water leads to sticky dough that requires extra flour, throwing off the flavor balance.
Rolling Method
Use parchment paper above and below the dough to prevent sticking without extra flour. Roll to an even 1/8 inch thickness for consistent baking. The parchment makes transferring to baking sheets effortless.
Scoring the Crackers
Create clean score lines with a pizza cutter before baking. Light indentations are sufficient - complete cuts aren't necessary. Make 1.5-inch squares for snacking or experiment with different shapes.
Baking Process
Watch carefully as chickpea flour can burn quickly. Check at 12 minutes, with total bake time usually 15-17 minutes. Edges should be golden while centers firm up. Rotate pan if needed for even browning.
Cooling and Crisping
Allow crackers to cool completely - this develops their signature crunch. They'll seem soft when first removed but become perfectly crisp once cooled.
Storage Method
Store in airtight glass containers to maintain crispness. A quick reheat in a low oven restores any lost crunch. For gifting, package in parchment-lined paper bags.

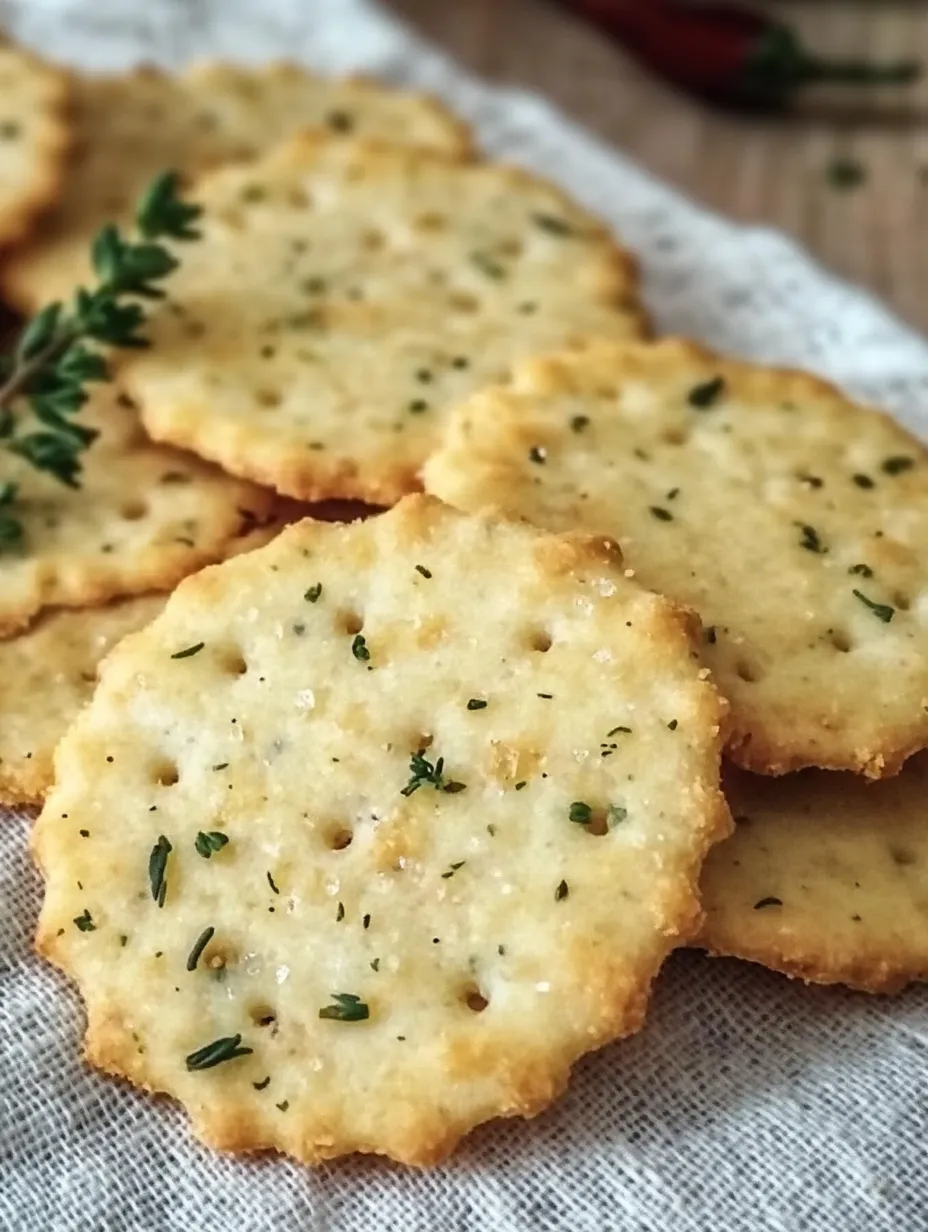
The ultimate seal of approval came when these crackers became requested snacks for family gatherings. Their wholesome ingredients and satisfying crunch make them a hit with health-conscious snackers and food lovers alike.

Serving Suggestions

These crackers pair beautifully with dips like hummus or creamy goat cheese. They hold up well to hearty spreads without breaking. Serve them alongside soups, on cheese boards, or enjoy them plain as a satisfying snack.

Recipe Variations

Experiment with smoked paprika for earthiness, za'atar for Middle Eastern flair, or grated parmesan for rich umami flavor. Fresh herbs like rosemary can replace dried ones for intense aromatics. The base recipe welcomes creative seasoning combinations.

Garlic and Herb Chickpea Flour Snack Crackers Recipe Pin it
Garlic and Herb Chickpea Flour Snack Crackers Recipe | recipesclare.com

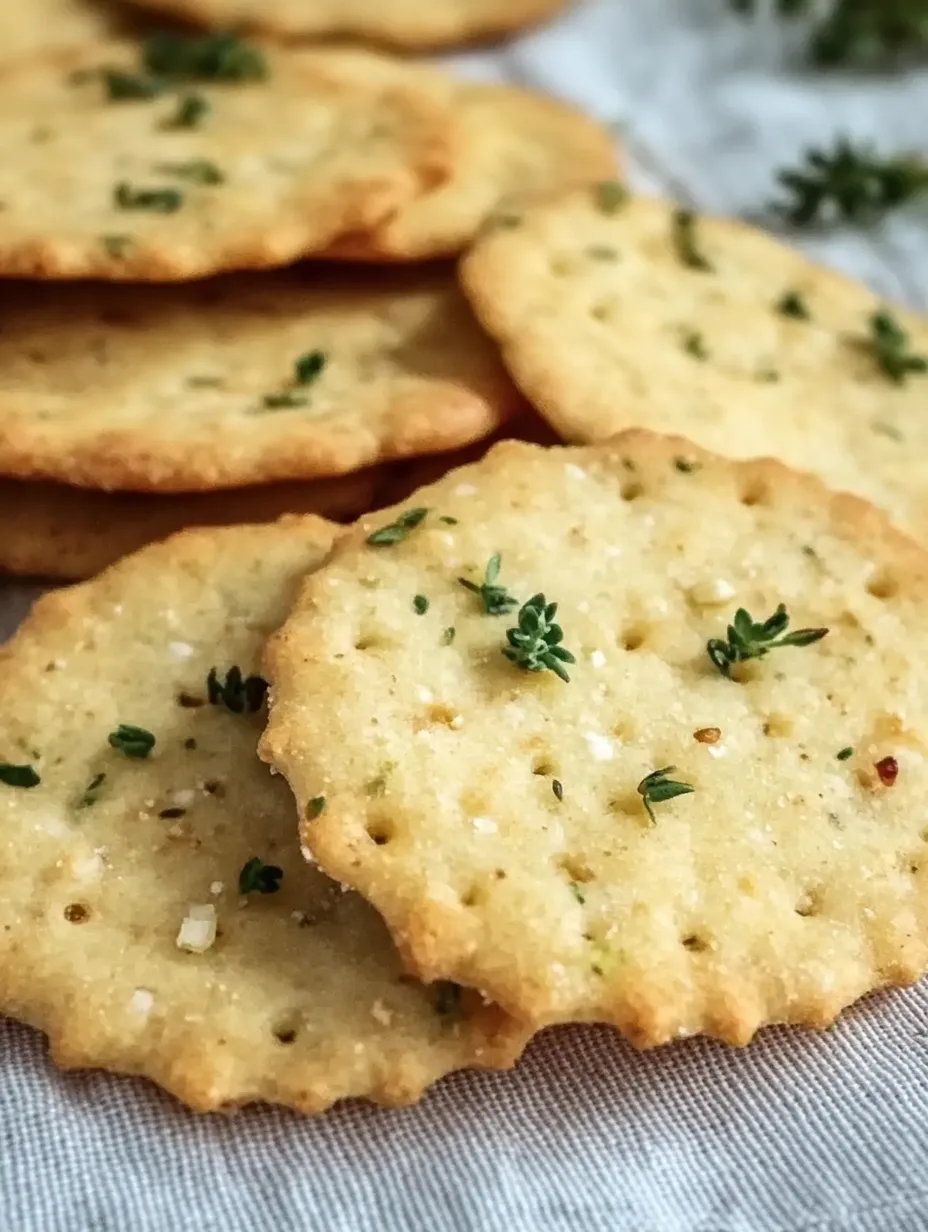
This recipe has evolved into a kitchen staple, loved for both everyday snacking and special occasions. The simple process yields impressive results that showcase how wholesome ingredients can create truly memorable food. The satisfaction of making these crackers from scratch makes them taste even better.

Frequently Asked Questions

→ Is chickpea flour and besan the same thing?
They are! Chickpea flour, also called gram flour, is known as besan in Indian cooking. It’s naturally gluten-free and has a mild, nutty flavor that works great in this recipe.
→ Can I try swapping in different spices or herbs?
You bet! This recipe is super flexible. Go for cumin and smoked paprika for a Spanish vibe, za’atar for something Middle Eastern, or even add some nutritional yeast for a cheesy twist.
→ Why aren’t my crackers crunchy?
If they’re soft, they might need to bake longer. Roll the dough really thin (around 1/8 inch) and make sure the edges are golden when you pull them out of the oven. Let them cool completely too—they crisp up as they sit.
→ How do I keep homemade crackers fresh?
They’ll last about a week when stored in a tightly sealed container at room temp. If they seem to lose their crunch, pop them in a 300°F oven for 5 minutes to refresh them.
→ Are these strong enough for dipping?
Totally! They’re sturdy enough for hearty dips like guacamole or hummus and pair well with soft cheeses. You can even snack on them solo!

Savory Chickpea Flour Crackers

A crunchy and savory snack made with chickpea flour, olive oil, garlic, and herbs. Easy to make, packed with protein, and perfect alongside your favorite dips or spreads.

Prep Time
20 Minutes
Cook Time
45 Minutes
Total Time
65 Minutes

Category: Party & Snacks

Difficulty: Intermediate

Cuisine: Mediterranean

Yield: 6 Servings (Roughly two dozen crackers)

Dietary: Low-Carb, Vegan, Vegetarian, Gluten-Free, Dairy-Free

Ingredients

→ Cracker Dough

01 1 cup (120g) of chickpea flour, also called besan
02 1/2 cup (120ml) of water
03 2 tablespoons of olive oil
04 1 teaspoon of dried herbs, such as oregano, rosemary, or thyme
05 1 teaspoon of garlic powder
06 1/2 teaspoon of salt
07 1/4 teaspoon of black pepper

→ Optional Toppings

08 Extra dried herbs
09 Flaky salt
10 Sesame seeds
11 A drizzle of more olive oil to brush on top

Instructions

Step 01

Start by heating your oven to 350°F (175°C). Arrange the rack in the center to make sure your crackers bake evenly. Place a sheet of parchment paper on a baking tray, leaving a bit hanging over the edges so you can easily lift it later.

Step 02

In a medium bowl, blend the chickpea flour, herbs, garlic powder, salt, and pepper with a whisk. Try to get rid of any clumps in the flour while you're at it. If it’s too lumpy, you can sift the flour first.

Step 03

Make a small hole in the center of your dry mix. Pour in the olive oil and half the water. Start stirring with a spoon or spatula, adding the rest of the water a little at a time until you have a dough that’s smooth and sticks together without dry spots.

Step 04

If the dough feels a bit dry, add a tiny splash of water until it comes together. If it’s too sticky, sprinkle in some extra flour. Aim for a texture that’s solid but moldable, sort of like play-dough.

Step 05

Move the dough onto a clean counter or board lightly dusted with chickpea flour. Knead for about 30 seconds—just until it’s smooth. The dough should be slightly sticky but shouldn’t cling to your hands.

Step 06

Put the dough between two pieces of parchment paper to stop it from sticking. Use a rolling pin to flatten it to about 1/8 inch (3mm) thickness, keeping it even all over.

Step 07

Peel off the top piece of parchment. Using a pizza cutter, sharp knife, or pastry wheel, cut the dough into shapes you like—squares, diamonds, or rectangles all work great.

Step 08

If you want, brush the surface lightly with olive oil or water. Sprinkle on any toppings like sesame seeds, coarse salt, or more herbs. Gently press the toppings into the dough so they stick better.

Step 09

Slide the parchment with the prepared dough onto your baking tray. Pop it in the warmed oven and bake for 15-20 minutes. Start checking around 12 minutes—you want the edges to be a golden-brown color and the crackers to feel firm when touched.

Step 10

Take the tray out of the oven and let the crackers sit right there to cool completely. They’ll crisp up as they cool. If you want them extra crunchy, turn off the oven, leave the door slightly open, and let the crackers sit inside for 10-15 more minutes.

Step 11

Once they’re totally cooled, break the crackers into their pre-cut shapes. Keep them in a sealed container at room temperature. They’ll last about a week.

Notes

  1. The crackers will harden as they cool, so don’t worry if they seem soft straight out of the oven.
  2. Because chickpea flour contains more protein, it browns faster than regular flour. Watch closely after the 12-minute mark!
  3. Want super crispy crackers? Keep the dough thin—around 1/8 inch works best.
  4. If the crackers feel soft after a couple of days, refresh them in the oven at 300°F (150°C) for about 5 minutes.

Tools You'll Need

  • Baking tray
  • Parchment paper
  • Mixing bowl
  • Whisk
  • Wooden spoon or a spatula
  • Rolling pin
  • Pizza cutter, knife, or pastry wheel
  • Pastry brush (optional, for adding toppings)

Allergy Information

Please check ingredients for potential allergens and consult a health professional if in doubt.
  • Uses chickpeas, which are part of the legume family and may trigger allergies.

Nutrition Facts (Per Serving)

It is important to consider this information as approximate and not to use it as definitive health advice.
  • Calories: 85
  • Total Fat: 4 g
  • Total Carbohydrate: 9 g
  • Protein: 3 g