
 Save
Save
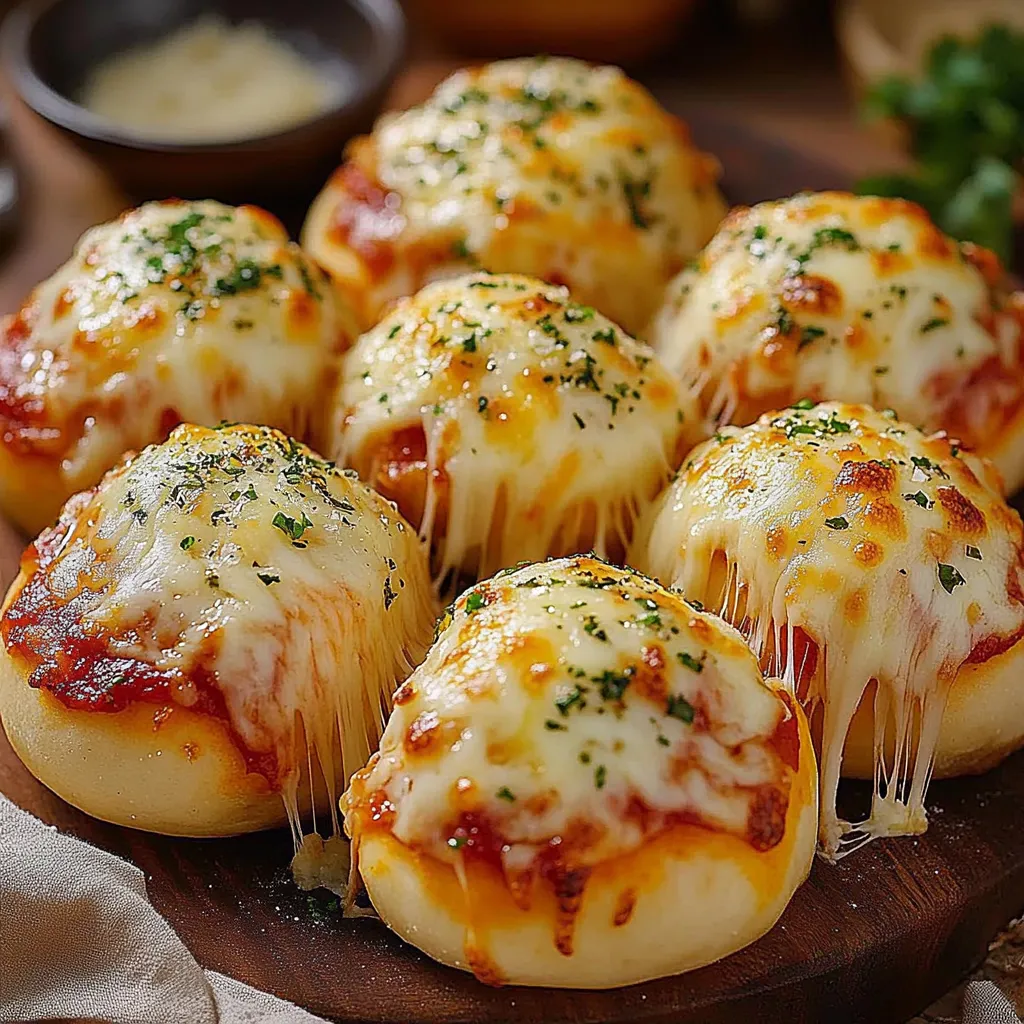
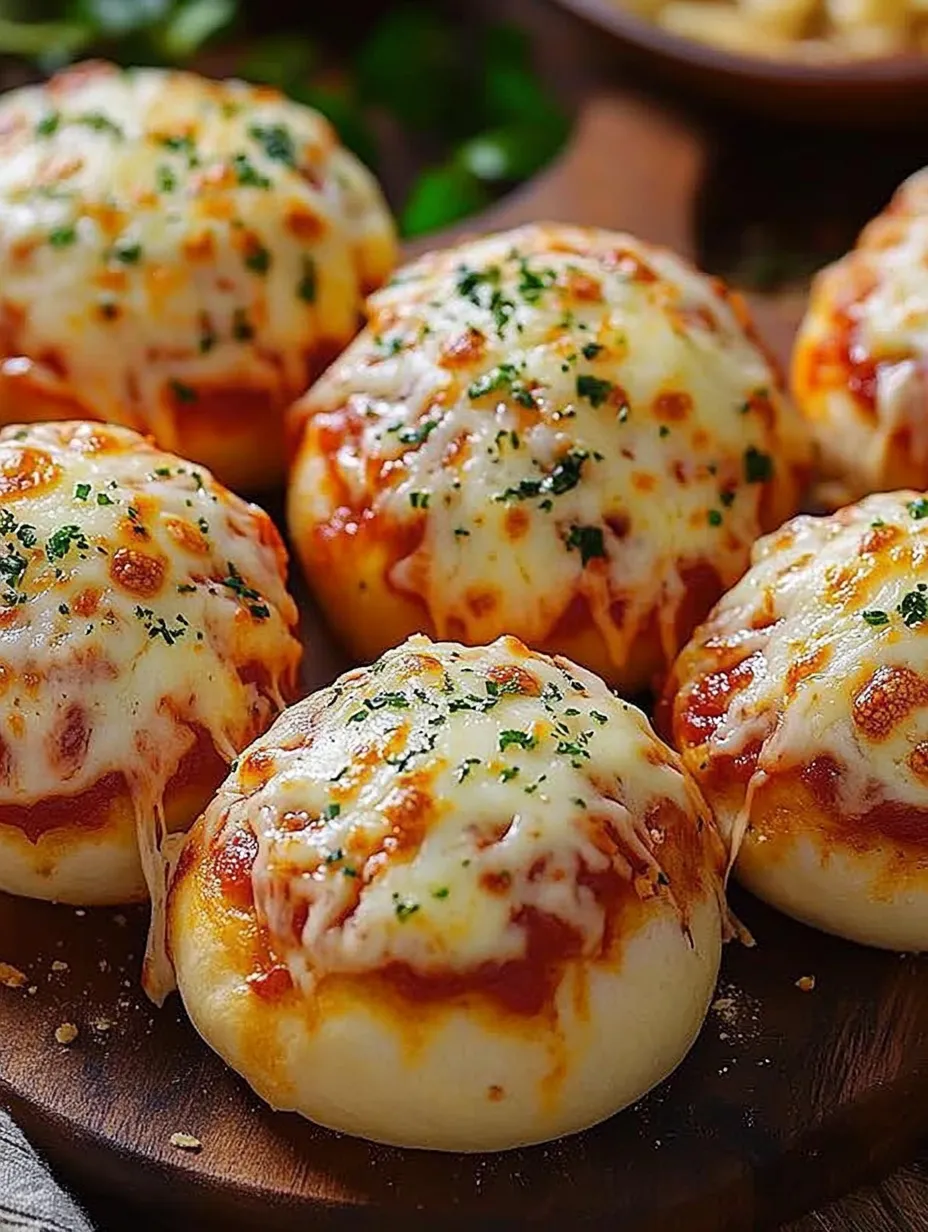
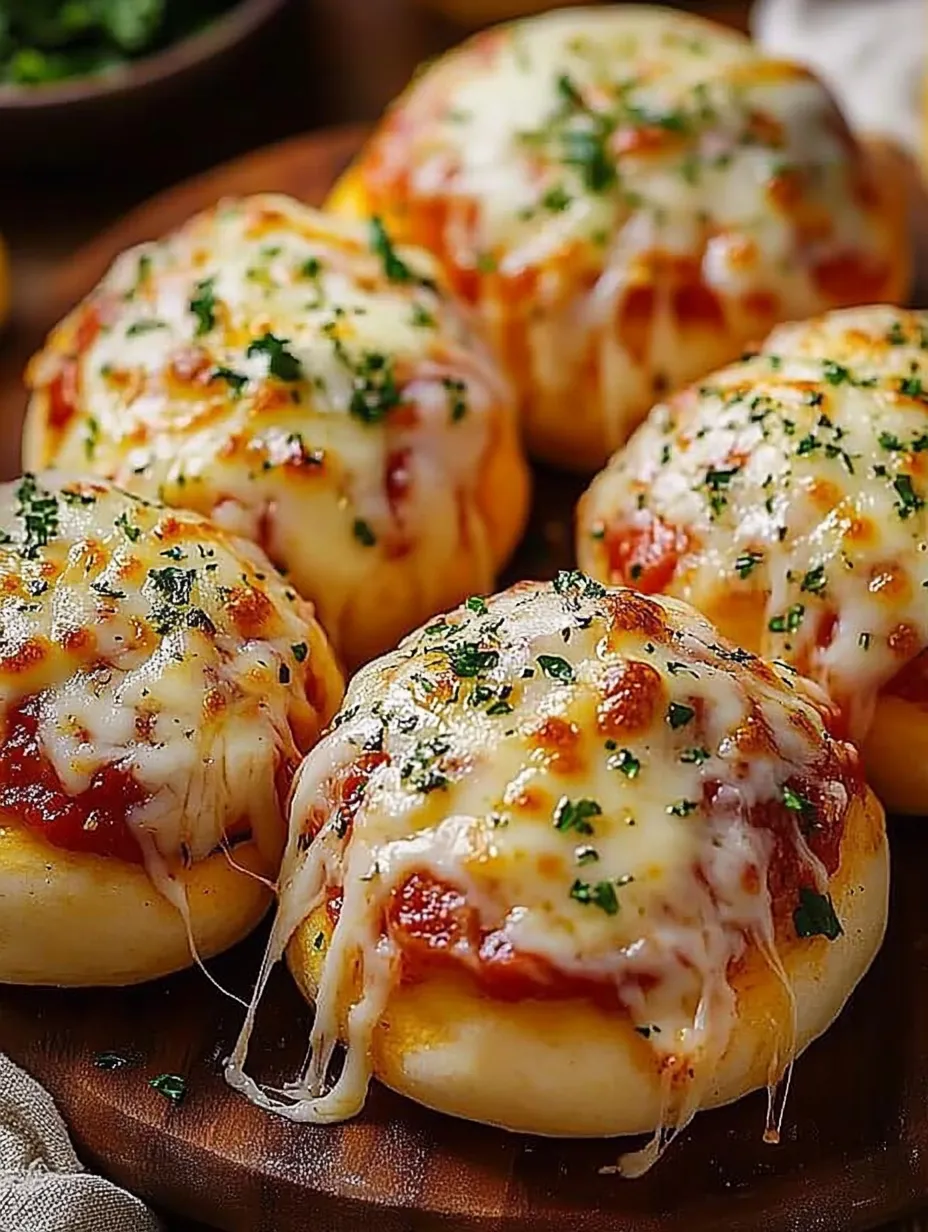
I came across this pizza bombs idea during a casual hangout with pals last year. The mix of puffy biscuit dough, melty cheese, and tasty pepperoni makes these little morsels vanish in no time flat. They've become what I reach for when I want a snack that wows a crowd without keeping me stuck cooking all day.
When I first whipped these up, my sister's kid was staying over. That hungry teenager gobbled up seven before anyone could go back for more. That's when I knew I'd hit on something special!
Basic Components
- Refrigerated biscuit dough - A handy shortcut that gives you a pillowy outer layer
- Pizza sauce - Brings that authentic pizza kick without any fuss
- Mozzarella cheese - Makes the middle all melty and stretchy
- Mini pepperoni - Adds a punch of flavor and tucks in nicely
- Italian seasoning - The mix of herbs that makes everything taste better
 Save
Save
Tasty Bomb Assembly
- Dough Shaping
- I've learned that using my fingers to flatten each biscuit works way better than a rolling pin, which tends to make them too skinny. I go for roughly 4-inch circles with the middle slightly thicker than the edges, which stops the stuffing from bursting out. A bit of flour on your fingers helps if things get sticky. My first try, I made them too thin and filling broke through while baking. Now I know to keep them thick enough to hold all that yummy stuff inside.
- Stuffing Strategy
- With these bombs, you're better off not overstuffing. Just a teaspoon of sauce and tablespoon of cheese hits the sweet spot - too much and you'll have a messy leak. I put everything right in the middle, leaving plenty of edge space for closing up. I cut regular pepperoni into tiny bits instead of using whole slices for better flavor in every bite, plus it makes sealing much easier.
- Closing Trick
- This part can't be skipped if you want to avoid cheese explosions in your oven. I pull all the edges toward the middle, kind of like making a little pouch, then pinch hard to lock it up. Sometimes I give the gathered spot a little twist for extra security. After that, I roll it gently in my hands to make it nice and round. Putting them seam-down on the pan gives extra protection against any leaking.
- Butter Touch
- A good coating of melted butter before they go in the oven does three things: helps the seasoning stick, gives them a beautiful golden look, and makes the outside taste amazing. I make sure to get butter all over for even browning. Sprinkling on Italian seasoning and Parmesan doesn't just add flavor - it makes them look fancy too, hinting at what's waiting inside.
- Cooking Approach
- I start looking at them around the 12-minute mark, watching for that perfect golden-brown color. They should puff up nicely and feel firm when touched, but not too dark. If you're using a muffin tin instead of a flat pan, they might need a minute or two longer. Leaving some room between them on a baking sheet lets them brown evenly all around, though they do look cute snuggled together in a muffin tin.
- How To Enjoy
- These taste absolutely incredible when they're still warm and the cheese inside is all gooey and stretchy. You've got to have extra pizza sauce for dipping - it's a must that adds moisture and more flavor that works perfectly with the bombs. I like putting them on a big plate with a small bowl of dipping sauce in the middle, sometimes with a sprinkle of fresh basil or oregano on top for a pop of color.
My man usually doesn't care much about appetizers, but he actually asked me to make these for our last movie night. There's just something about that combo of soft dough, zingy sauce, and melted cheese that gets everyone excited, no matter how old they are or what they normally like to eat.
Awesome Companions
Put these pizza bombs with a nice green salad and you've got dinner sorted. At parties, I lay them out with other finger foods like wings or veggie sticks. During big games, they sit nicely next to crowd-pleasers like loaded nachos or spicy buffalo dip. My kids gobble them up after school with some carrots and celery on the side.
Fun Twists
Mix it up with different stuffings like ham and pineapple for island vibes. Stick a small chunk of cream cheese in the middle for extra richness. Go all out with tiny bits of bell pepper, onion, and olives mixed with the pepperoni. During last year's Super Bowl, I tried making them with shredded chicken tossed in buffalo sauce instead of pepperoni, and the heat-lovers couldn't get enough.
 Save
Save
I've brought these pizza bombs to everything from lazy family TV nights to neighborhood get-togethers, and they always get snatched up fast. Something about those familiar pizza flavors packed into cute little bites just makes people happy. My little girl has started helping me make them, carefully sealing each one and proudly offering them to our visitors. Sometimes the recipes people love most are just simple, familiar foods with a fun twist that gets everyone involved in making them.
Recipe FAQs
- → Can I assemble these early?
- Sure! Put the bombs together a day ahead, keep them covered in the fridge, and butter and season them just before baking.
- → What else can go inside?
- You’ve got options! Try chopped sausage, ham cubes, olives, veggies, or even cooked bacon. Just chop small and don’t overfill.
- → Is homemade dough okay?
- Definitely! Section pizza dough or dinner roll dough into 8 pieces and follow the regular instructions.
- → Why is my cheese escaping?
- Be sure to completely seal the dough so there’s no gaps. Don’t go too heavy on the cheese, and set seam-side down on your baking pan.
- → How can I heat up leftovers?
- Toss them in the oven at 350°F for 5-7 minutes for the best texture. A quick microwave zap works too, but the dough might get chewy.
- → Can I freeze them?
- Yes! Freeze the dough bombs unbaked on a tray, then pop them in a freezer bag. Bake straight from frozen, adding a few extra minutes.