
 Save
Save
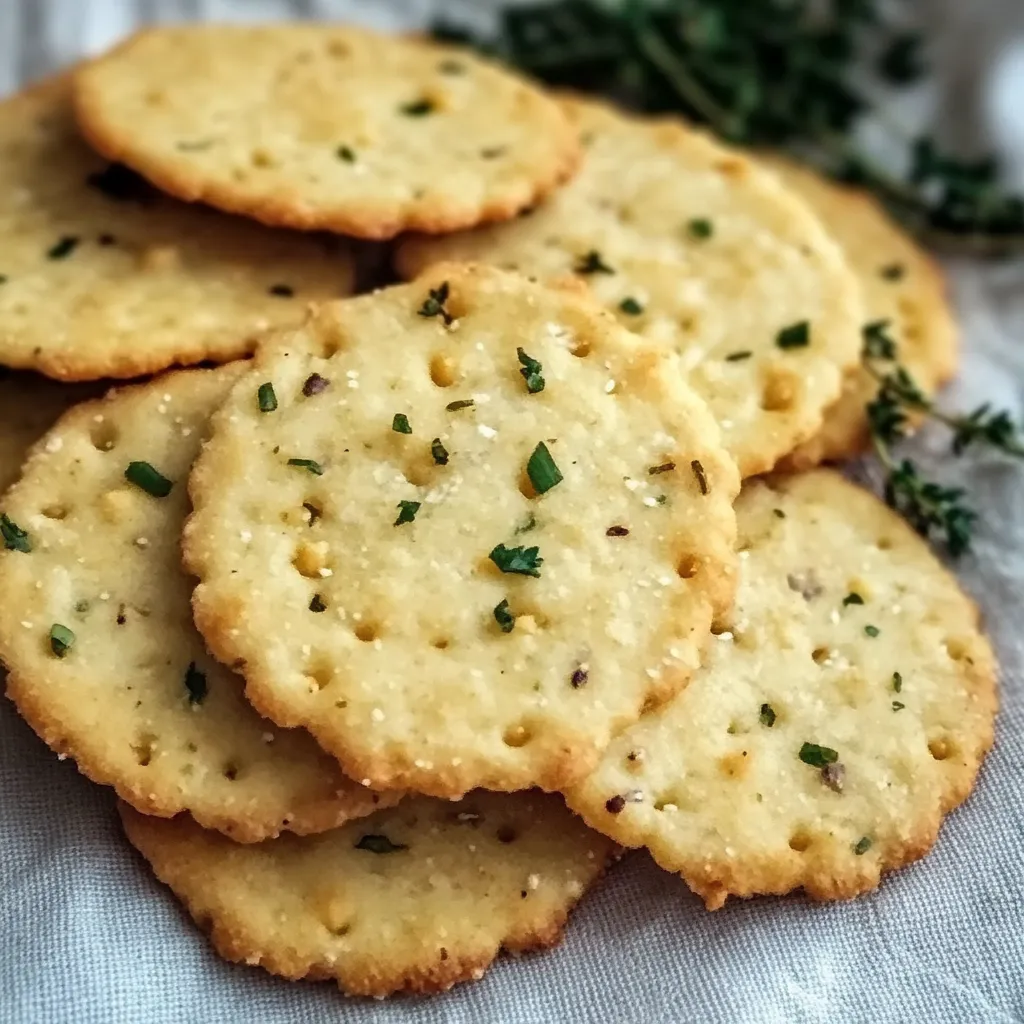
I found this chickpea flour cracker idea with garlic and herbs last year during my hunt for better snack choices when I got bored with store options. These tasty treats combine earthy herbs with the nutty chickpea base to make snacks that seem fancy but cost way less than boutique crackers. They've become what I grab whenever I need something with a satisfying crunch that won't make me feel guilty.
My next-door neighbor dropped by while these were sitting on the cooling rack, and couldn't resist the smell of herbs and garlic. She ended up eating three before asking me to share how I made them. She couldn't believe such basic stuff could turn out so much tastier than anything from the store. It's funny how the most basic recipes can turn everyday ingredients into something really special.
Basic Components
- Chickpea flour: Sometimes called besan, it brings a nutty taste and loads of protein
- Dried herbs: Mixing oregano, thyme, and rosemary creates that classic herb flavor
- Garlic powder: Gives that wonderful savory kick without burning like fresh garlic might
- Olive oil: Adds good fats and helps make those edges super crispy
- Salt and pepper: The basics that pull all the flavors together
 Save
Save
Making Your Crackers
- Getting The Dough Right
- Your dough needs to feel like play-dough – easy to handle but not sticky. I've learned to add water bit by bit instead of all at once. My first try, I dumped all the water in right away and got a sticky mess that needed more flour, which threw off the flavor. Now I start with just half the water and slowly add the rest until it feels just right.
- Smart Rolling Method
- Putting parchment paper below and above your dough is so smart – nothing sticks and you don't need extra flour that could dry things out. Push down evenly as you roll to keep the thickness the same everywhere. I shoot for about 1/8 inch thick for the best crunch. My first batch had thin and thick spots, so some burned while others stayed soft. Using parchment also makes moving the dough super easy.
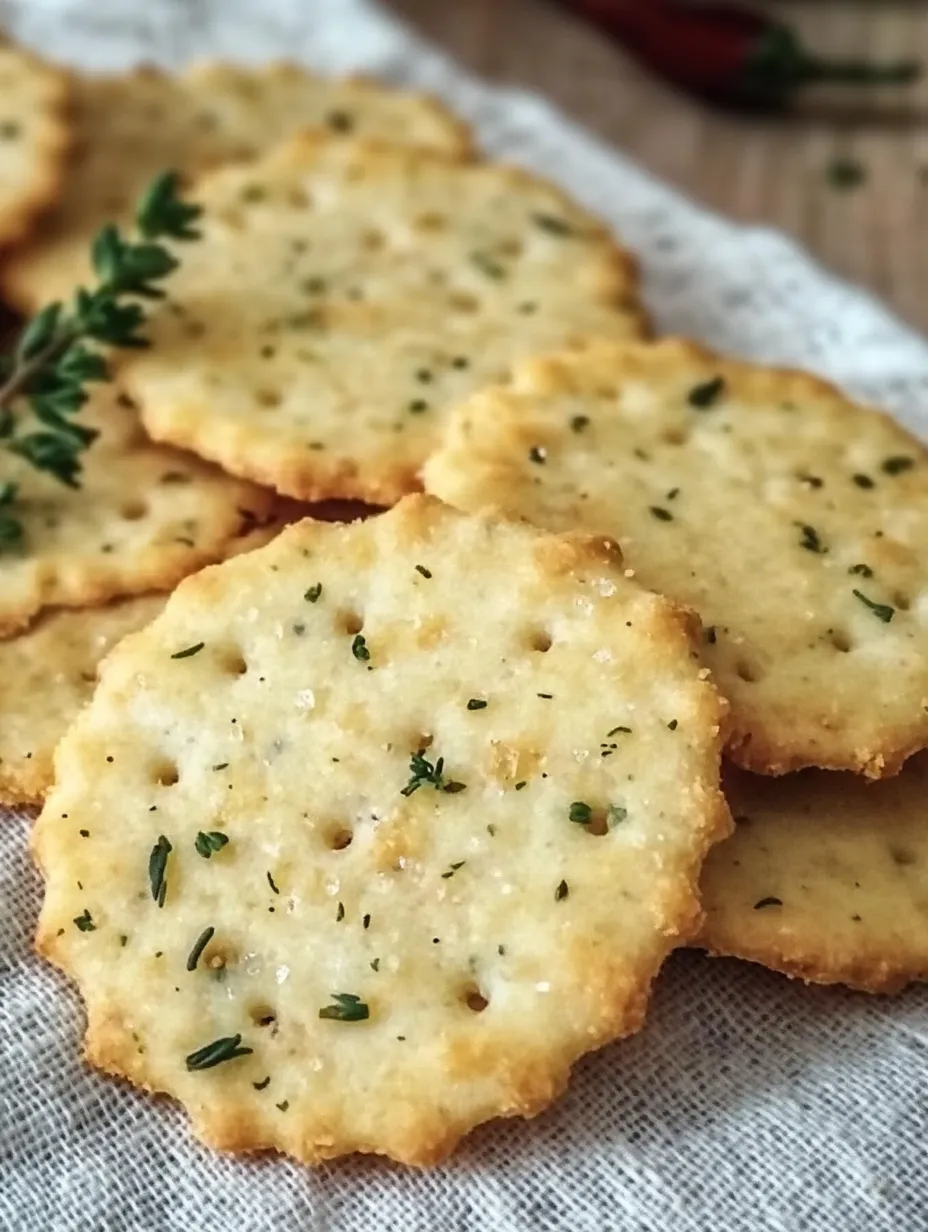
- Cutting Before Baking
- Making score lines before they go in the oven helps them break cleanly after cooling. A pizza cutter works great for this – it makes straight lines without pulling the dough. You don't need to cut all the way through, just make good marks. I usually go with 1.5-inch squares for snacking, but I've made tiny diamonds for cheese boards and bigger rectangles for dips too.
- Watching The Oven
- These need your attention while baking. The protein in chickpea flour means they can burn fast once they start browning. I peek at them around 12 minutes, and usually they're done between 15-17 minutes in my oven. Look for golden edges with firmer centers. If parts brown faster than others, turn the pan halfway through for more even baking.
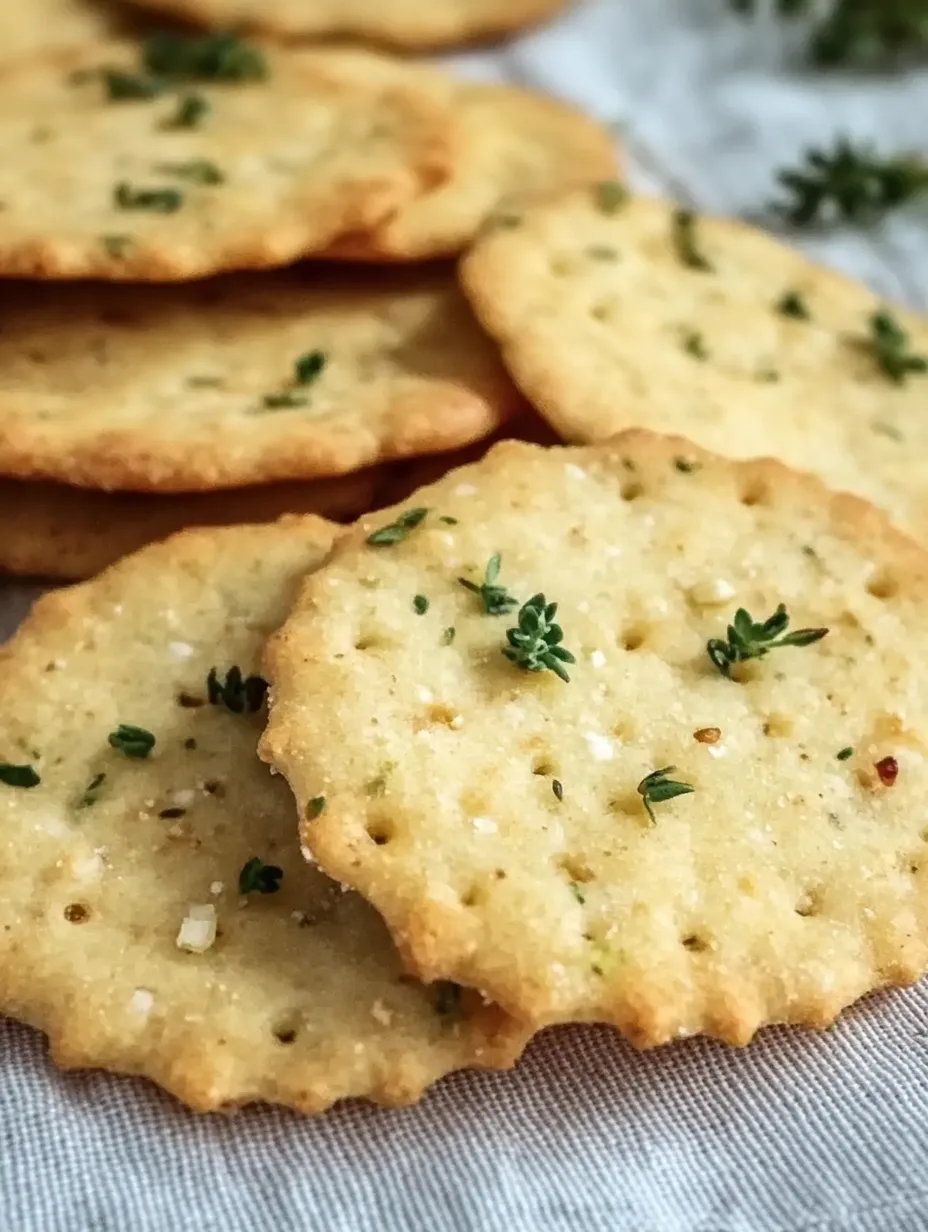
- Letting Them Cool
- Cooling isn't just waiting time – it's actually how they finish cooking. The crackers get much crispier as they cool down. First time around, I couldn't wait and tried them warm, and they were disappointingly soft. When I let the next batch cool completely, they transformed into perfect, crispy crackers. Now I make myself leave the kitchen while they cool so I won't grab them too soon!
- Keeping Them Fresh
- After they've cooled completely, put them in something airtight to stay fresh. If they get soft after a few days (though they rarely last that long at my house), a quick warm-up in a low oven brings back the crunch. I find glass containers keep them crispier longer than plastic ones. When I give them as gifts, I use paper bags with parchment inside – looks cute and keeps them protected.
My picky teenage boy, who normally goes straight for store-bought chips, actually asked me to make "those garlic crackers" again for his friends during study group. When a teenager picks homemade over processed stuff, you know you've got something good.
Tasty Companions
These crackers go great with hummus or baba ganoush for a protein-packed snack. When I have guests over, I put them on a cheese board with soft cheeses like brie or goat cheese, which taste amazing with the nutty flavor. They're sturdy enough to scoop up thick dips like spinach artichoke without breaking. My hubby loves eating them with his lunchtime soup, while I often grab a handful with some fruit when I need a quick afternoon pick-me-up.
Change It Up
Try adding a spoonful of smoked paprika for a touch of smokiness. Switch out the herb mix for everything bagel spice or za'atar for totally different flavors. Mix in some finely grated parmesan cheese to make them even more irresistible. Last month I tried using chopped fresh rosemary instead of dried herbs, which made pretty green specks throughout and smelled even more amazing.
 Save
Save
I've made these garlic and herb chickpea flour crackers so many times since I first found them, changing little things each time until they're just how I like them. What started as just a healthier swap for store crackers has become something my kitchen can't do without, and something friends always ask for. There's something really cool about turning a few basic ingredients into something so tasty and good for you. My daughter even makes these in her college apartment now and says serving them to friends instead of boxed crackers makes her feel like she's "adulting properly."
Recipe FAQs
- → Are chickpea flour and besan different?
- Nope, they're the same. Besan, commonly used in Indian cooking, is just another name for chickpea flour. It's gluten-free and has a lovely nutty taste, perfect for these crackers.
- → Can I switch up the herbs and spices?
- For sure! You can add any flavors you like. Go for Italian herbs and some nutritional yeast for a cheesy vibe, cumin and smoked paprika for something smoky, or za'atar for a Middle Eastern twist.
- → Why aren’t my crackers crispy?
- It's usually the bake or cool time. Make sure to roll them thin (around 1/8 inch), bake until the edges get a golden touch, and let them cool completely—they crisp up more as they cool!
- → How long will these crackers stay fresh?
- Keep them in a container with a tight lid at room temp, and they'll be good for about a week. If they start to lose their crunch, just pop them into a 300°F oven for 5 minutes to refresh.
- → What dips go with these crackers?
- They're perfect for scooping up hummus, guac, baba ganoush, or any favorite dip. They also pair great with soft cheeses or can be munched on their own as a protein-filled snack.