
 Save
Save
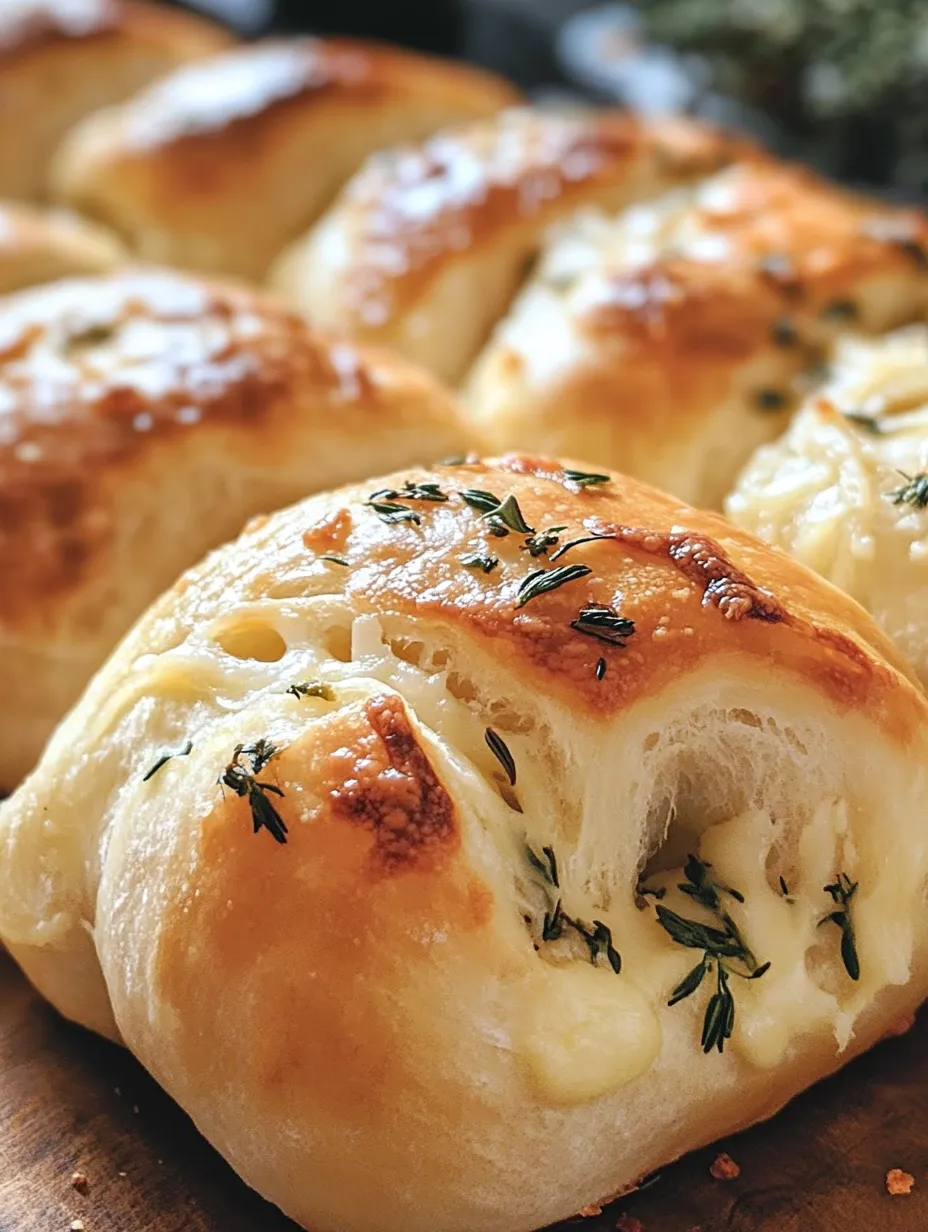
I found this sourdough herb and cheese roll idea during a cold stretch last year when my sourdough discard was piling up. Mix the sour tang with fragrant herbs and gooey cheese and you'll get these amazing rolls that could fool anyone into thinking you bought them at a fancy bakery. Now I make them whenever I need to turn a basic soup night into something worth talking about.
My next-door neighbor dropped in right as I pulled these from the oven, and she couldn't resist the smell. She stayed for coffee, took one bite, and immediately wanted both my starter and this roll method. It's funny how the straightforward recipes often leave the biggest impact.
Everyday Elements
- Sourdough starter - Fresh discard or active starter both turn out great
- Fresh herbs - Dried herbs spread their flavor all through the rolls
- Real cheese - Splurge on good cheese for tastier, meltier results
- Common kitchen staples - Just regular baking items plus your starter
- Maybe some garlic powder - Brings a mild savory kick that works well with the herbs
 Save
Save
Crafting Your Rolls
- Handling The Dough
- Your dough should feel soft and a bit tacky without sticking to everything. I've learned to pour in flour bit by bit for better texture control. Don't cut corners on kneading time - those full 8 minutes build the gluten network for that perfect chew. My first batch was too dense because I rushed this step. Now I knead until I can stretch a tiny piece thin enough to see through without it breaking.
- Taking A Break
- During that 4-6 hour rest, some real kitchen alchemy happens as the sourdough works to create flavor and texture. I often mix dough early in the day for dinner rolls, or make it at night and let it chill in the fridge for tomorrow. This slow process not only makes the rolls easier to digest but deepens that wonderful sour flavor. On hot days, check it sooner; in cold weather, it might need longer.
- Adding The Good Stuff
- Using soft butter in the filling helps everything stick together and adds a rich taste. I combine cheese and herbs with butter first before spreading it out for more even layers throughout each roll. When flattening the dough, I aim for roughly 14×10 inches - this creates just the right thickness. Too skinny and fillings burst out; too chunky and you miss those beautiful swirls.
- Creating The Spiral
- Roll up the dough firmly for well-defined layers. I start from the longer side and use my fingertips to keep everything snug as I go. For clean cuts, unflavored dental floss works wonders: slip it under, cross the ends above, then pull tight. Sharp knives work too but sometimes squish the rolls. I usually mark my log before cutting to keep sizes consistent.
- Second Growth
- This final rise can't be rushed - it's what makes your rolls fluffy inside. They should look noticeably puffier but not completely doubled. In my cool kitchen this might take the whole 2 hours, while summer heat speeds things up. I look for the rolls to just touch each other in the pan - this makes them rise up instead of out and creates those soft tear-apart sides.
- Oven Time
- The egg wash gives that gorgeous golden shine, and cheese on top gets wonderfully crispy. I sometimes throw foil over them halfway if they're browning too fast. They're done at around 190°F inside, but since not everyone has a thermometer, look for even golden color across the top. Let them sit briefly before serving so they don't flatten when pulled apart.
My husband typically skips bread before meals to save room, but he wolfed down three rolls before I even brought out the soup. There's just something about that mix of tangy dough, fragrant herbs, and melted cheese that breaks down all willpower, even from folks who usually watch their bread intake.
Tasty Companions
These rolls go perfectly with a chunky soup or thick stew to make a complete dinner. When friends come over, I put them in a basket with a cloth napkin to trap the warmth. They're also great on a cheese board as something more filling alongside your cheese slices and meats. My kids grab them for snacks after school, warmed up with a smear of butter.
Fun Twists
Switch up your cheese - try gruyere and thyme for French-inspired rolls. Mix in chopped sun-dried tomatoes or olives for a taste of the Mediterranean. Want a sweet version? Swap the savory stuff for cinnamon, sugar, and raisins. Last Thanksgiving, I tried adding finely chopped sage and rosemary into the actual dough instead of just the filling, and got super aromatic rolls that really complemented our turkey dinner.
 Save
Save
I've brought these sourdough herb and cheese rolls to everything from Tuesday family dinners to big holiday feasts, and they always get people talking. There's something almost magical in how those swirls of herbs and cheese peek through the golden top, promising tastiness in every bite. My daughter now helps me make them, carefully sprinkling cheese and herbs across the dough, building food memories that'll stick around long after the rolls are gone. Often the most meaningful dishes are just simple ingredients transformed by time and care into something that draws everyone to gather at the table.
Recipe FAQs
- → Can I make these with sourdough discard?
- Definitely! This is a fantastic way to use sourdough discard. Both active and discard starters work, but discard might need extra time to rise. Each gives a unique, delicious flavor.
- → Which cheese should I pick for these rolls?
- You’ve got options! Cheddar for boldness, mozzarella for that stretchy texture, and parmesan for nutty, salty bites. Mixing cheddar and mozzarella with a sprinkle of parmesan on top is unbeatable.
- → Is it possible to prep these rolls ahead of time?
- Sure! Get them ready up to the shaping step, then arrange in your baking dish, cover tightly, and pop in the fridge overnight. Bring to room temperature and let them rise for 1-2 hours before baking.
- → How do I know when my dough has risen enough?
- It should look puffier and about twice its original size. Try the poke test: press your finger into the dough about halfway down. If it doesn’t spring back instantly, it’s ready.
- → Can I freeze these rolls?
- Absolutely! Let them cool, wrap each in plastic, and store in a freezer bag for up to 3 months. Thaw at room temperature, then warm in a 350°F oven for 5-10 minutes or microwave for 30 seconds.