
 Save
Save
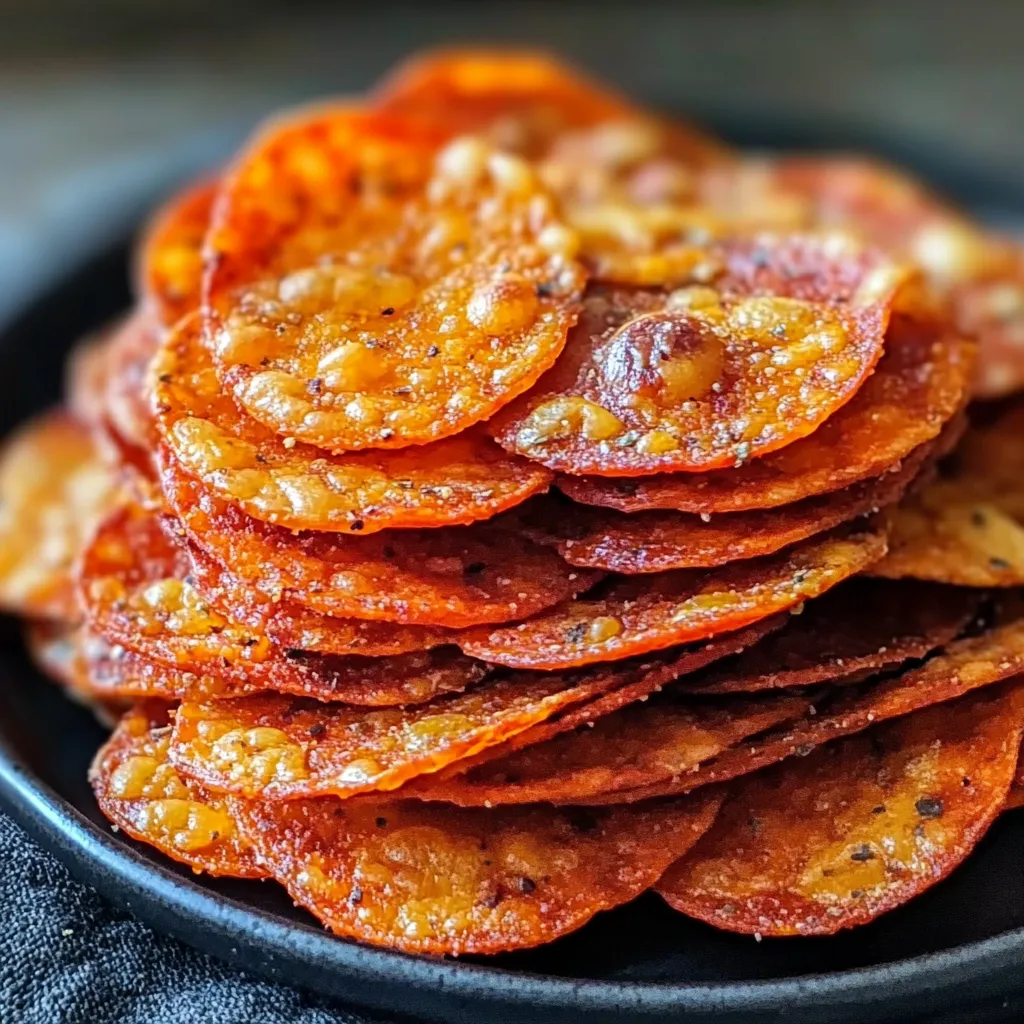
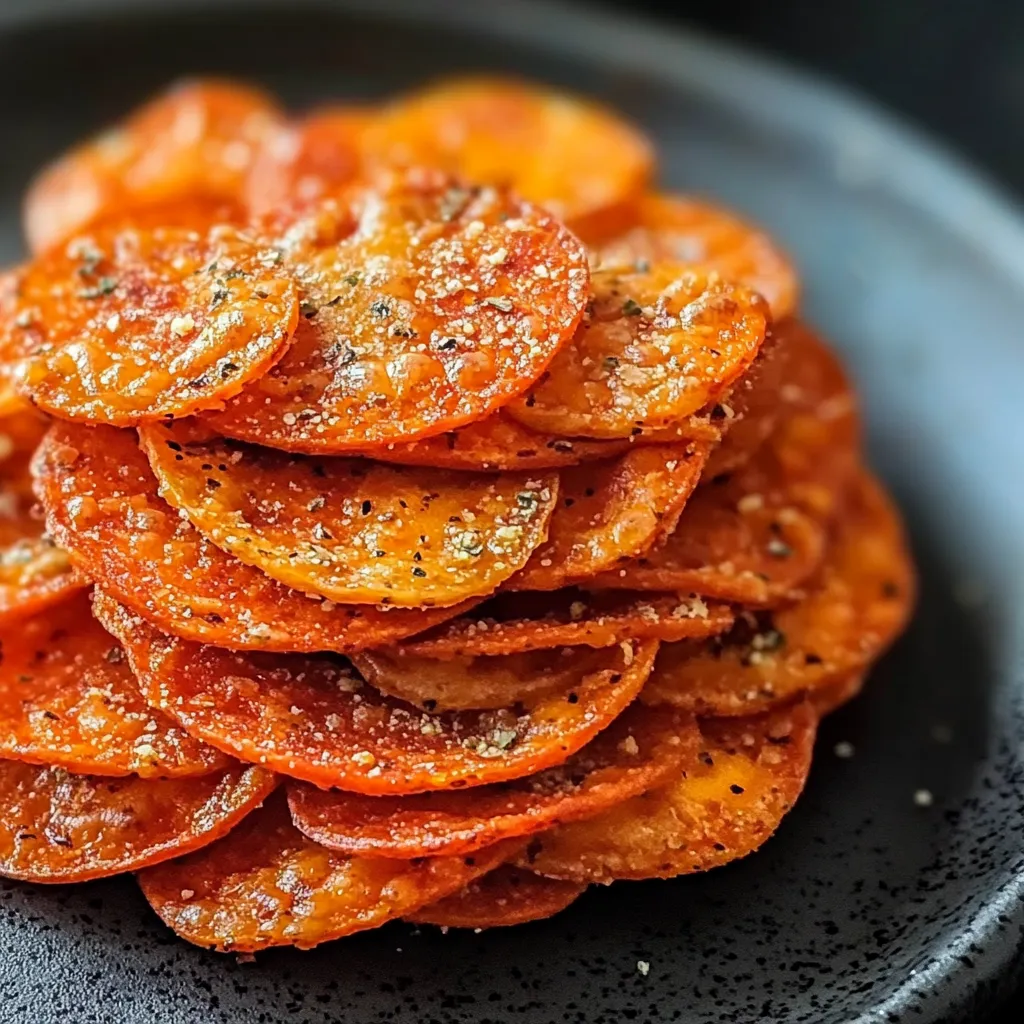
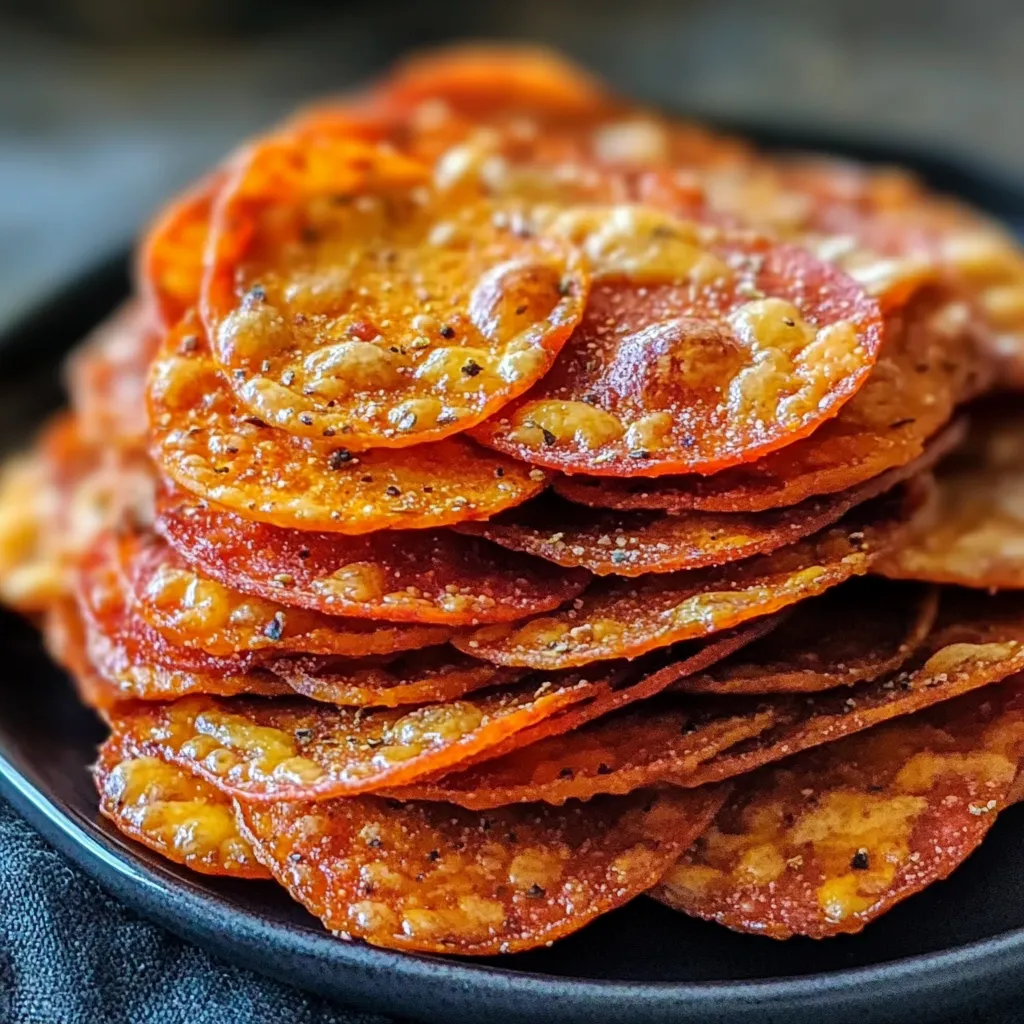
Turn just a few pantry staples into crunch heaven with these Pepperoni Cheese Crisps. Cheesy, salty, and packed with flavor, each piece is golden and totally addictive. All you need is a muffin tin and a handful of ingredients. That means you'll be snacking in no time—perfect for lazy TV nights or when company pops in.
Tried making these one evening for a game night snack. Once I tasted how the cheese bubbles around the pepperoni, I was hooked. Now my grandson asks for what he calls "pizza chips" every time he comes over.
Must-Have Ingredients:
- Mozzarella Cheese: Use the whole milk kind so you get that stretchy, milky flavor that pairs perfectly with the cheddar
- Cheddar Cheese: Go for sharp cheddar if you want extra cheesy oomph and the best melt. Shred it yourself if you can—the pre-shredded stuff doesn’t melt as well
- Pepperoni: Stick with classic pizza pepperoni—fatty slices get things crispy and keep them from sticking
How To Make Them:
- Wait just five minutes while your snacks cool off inside the muffin pan.
- Gives them time to set, making them perfectly crackly
- Let the cheese mixture rain down over each pepperoni slice,
- Keep it in the center and try a good heaping tablespoon per cup
- Blend your piles of shredded cheddar and mozzarella in a bowl
- This spreads the flavors out evenly, making every crisp awesome
- Start off by firing up your oven to 375°F (190°C)
- Put your rack in the middle so everything browns just right
- Lay a single pepperoni slice in each muffin cup,
- Press each one gently so it forms a cozy “cup” for the cheese
- Bake for 8-10 minutes and keep a close eye out
- Ideal crisps have nice golden edges and a slightly soft middle
 Save
Save
Sharp cheddar is my personal pick here. Growing up in Wisconsin, we ate a lot of cheese, and I learned that the sharper, the better. Those crispy little edges remind me of the crunchy cheese bits from my grandma's best grilled cheese sandwiches.
Try dunking these in cold marinara—nothing beats that hot-meets-cool combo. The whole thing gets even better when you see steam rising off the crisp as you dip it. Even my fussy eaters can't turn them down, especially right out of the oven with their favorite dipping sauce.
Storing and Serving Ideas:
Keep leftovers in a sealed container with paper towels at the bottom. The towels soak up extra oil and keep them crunchy. They'll last about three days in the fridge, but they're best if you eat them within a day. Skip the microwave—warm them up at 375°F for about 3 or 4 minutes and they'll get crispy again.
Switch It Up:
Get creative! Swap out pepperoni for prosciutto for a fancier snack, or go with turkey pepperoni for something lighter. Want to switch the flavor? Sprinkle on a pinch of Italian herbs or chili flakes before baking. At my place, we love sticking a small basil leaf in the cheese before it all goes in the oven.
If Things Go Wrong:
The big trick to keeping these from sticking is letting them cool off fully in the pan. If you rush it, the cheese gets gooey and falls apart. Also, don't forget to clean your tin well—leftover grease or crumbs cause real sticking trouble.
Chef-Approved Pointers:
Heat up your muffin tin for a couple minutes before adding pepperoni. That quick sizzle means less sticking
Blot the pepperoni dry first so you get the crunchiest results
Use a small cookie scoop to dole out the cheese so every crisp comes out the same size
 Save
Save
After making so many batches, I’ve realized these snacks are more than just something to nibble—they show what you can make when you keep things simple. Serve them at a party or enjoy a handful by yourself on the couch—they work every time. They bring together that salty crunch and cheesy pull. That’s why they’re always a hit, no matter what’s going on.
Recipe FAQs
- → How long will these last in the fridge?
- You can store them for up to 3 days! Reheat in the oven to make them crunchy again.
- → Can I experiment with other cheeses?
- Totally! Go for Parmesan or Monterey Jack. Just make sure it’s a hard cheese that melts nicely.
- → My crisps aren’t crunchy—what’s wrong?
- Bake them a minute or two longer but watch carefully so they don’t burn. Also, check the oven is set to 375°F.
- → Are these snacks keto-friendly?
- Definitely! They're low-carb, high-protein, and perfect for keto diets.
- → What if I don’t have a muffin tin?
- You can use a lined baking sheet instead, though they may spread out a little more.