
 Save
Save
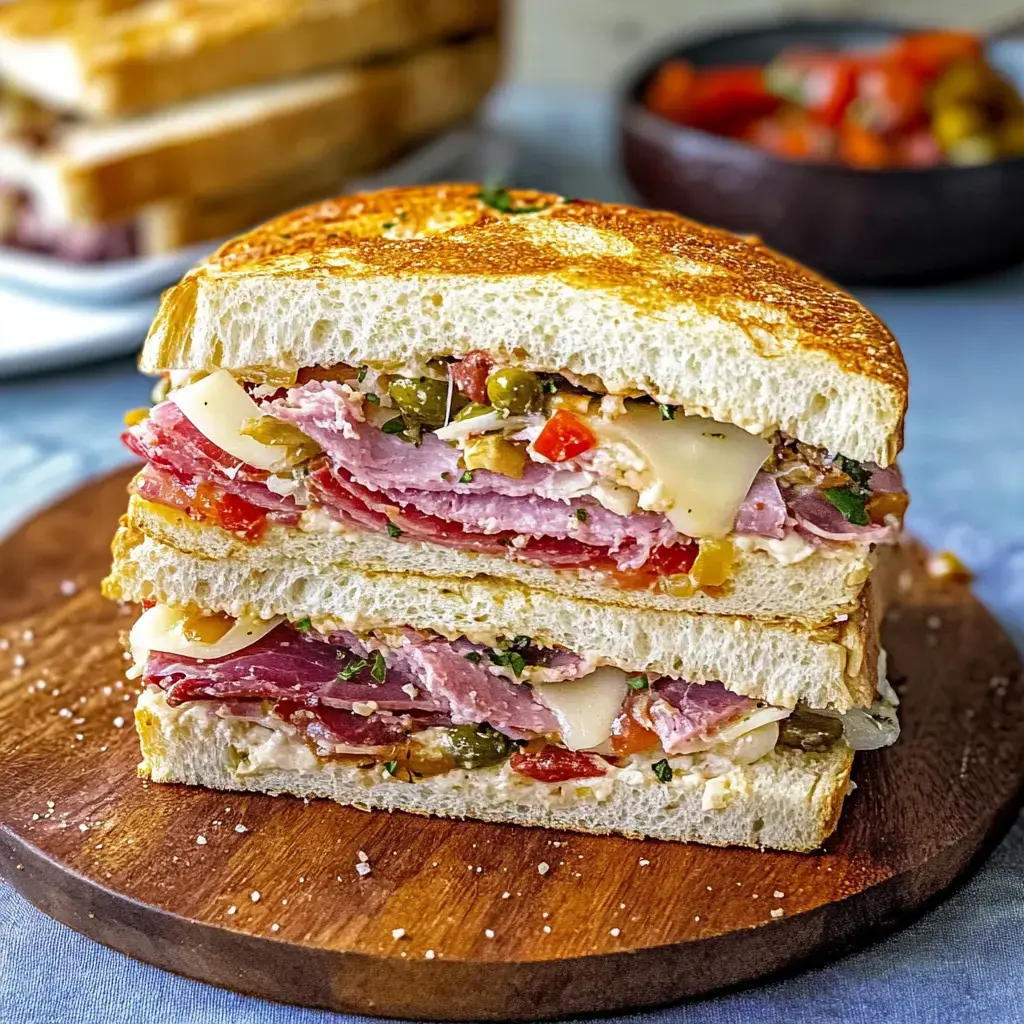
The very first time I had Muffaletta was down in New Orleans—I was hooked after bite one. Packed with loads of salty Italian meats, cheesy goodness, and the world’s best olive salad, it’s my secret weapon for every gathering. Whenever I slice one up, folks just can’t help but crowd around to watch all those vibrant layers come to life.
What Makes This Sandwich Unique
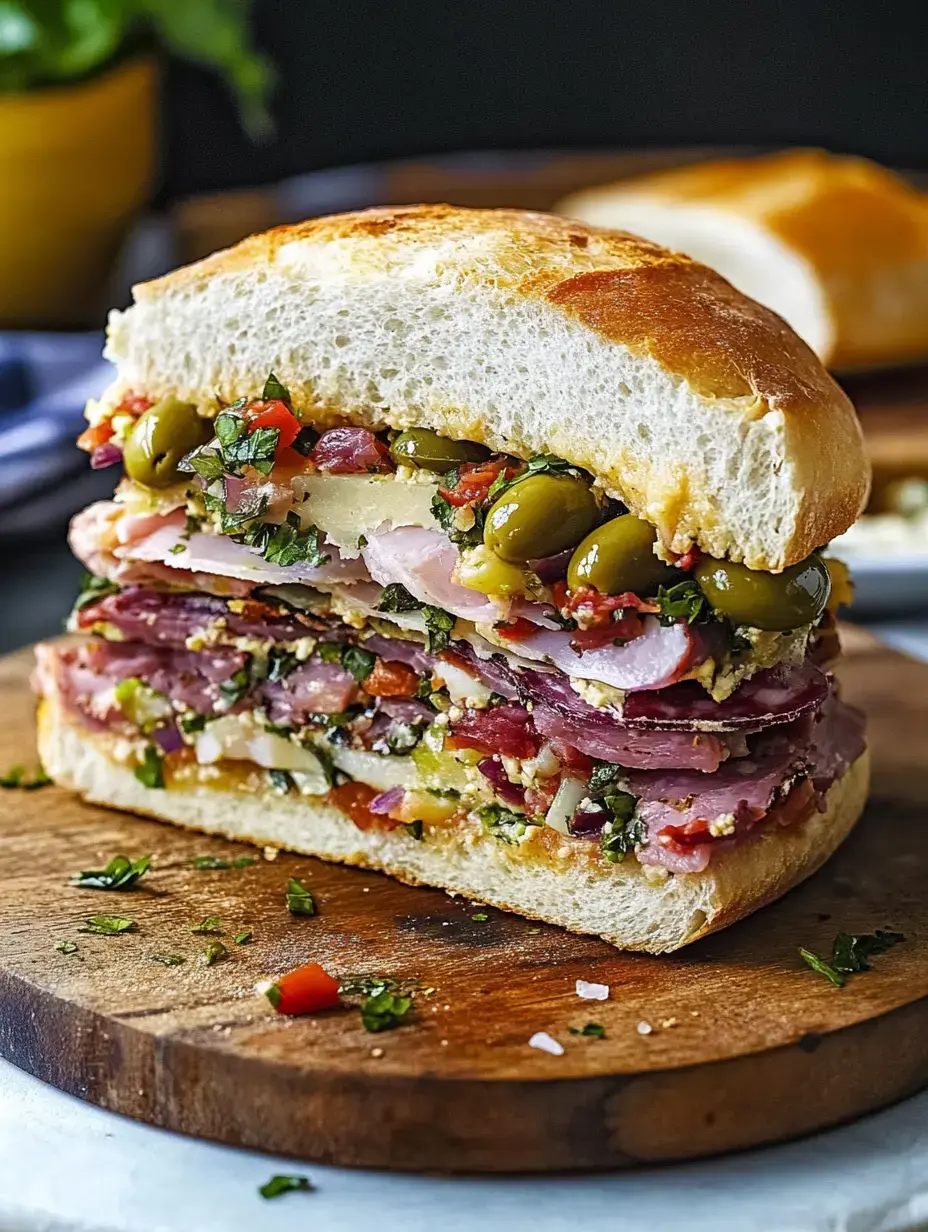
This stacked beauty stands out thanks to its loud, punchy mix of tastes. You get salty meats, creamy melty cheese, and a sharp olive salad that wakes up everything. It somehow gets tastier if you throw it together ahead of time—the flavors soak right in while it sits.
Ultimate Olive Salad Musts
- Seasonings: Salt plus pepper, just the way you like.
- Italian Herbs: Grab some fresh if you can—dried ones do fine, too.
- Red Wine Vinegar: Gives that final zing that brings everything together.
- Good Olive Oil: Splash the good stuff in—you’ll taste the difference.
- Fresh Garlic: Trust me, don’t hold back here.
- Tiny Capers: Little bursts of salty flavor that make the salad pop.
- Fresh Shallot: Milder than a regular onion, but loads of flavor.
- Roasted Peppers: I always do extra and munch while prepping.
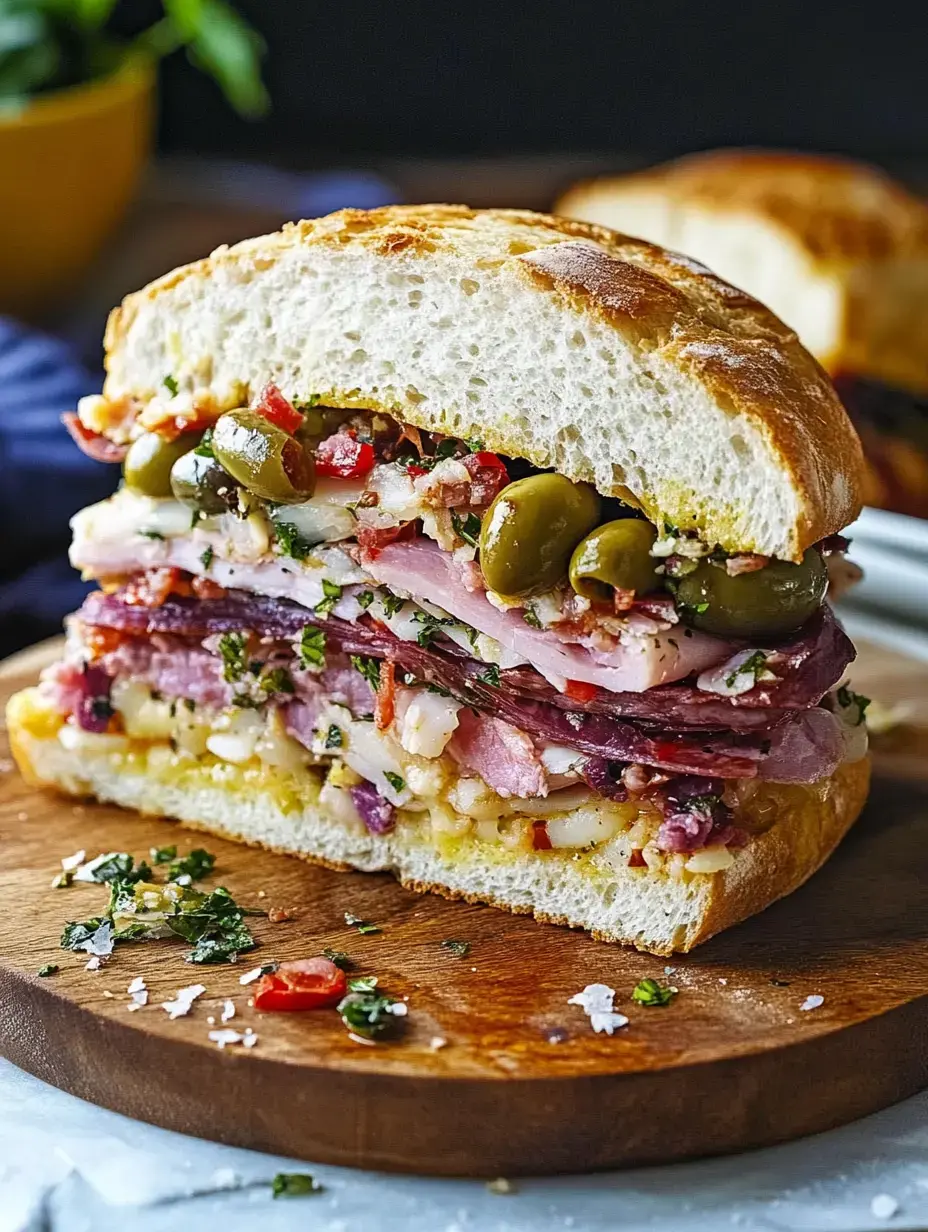
- Giardiniera: This tangy, crunchy pickled veg is a must.
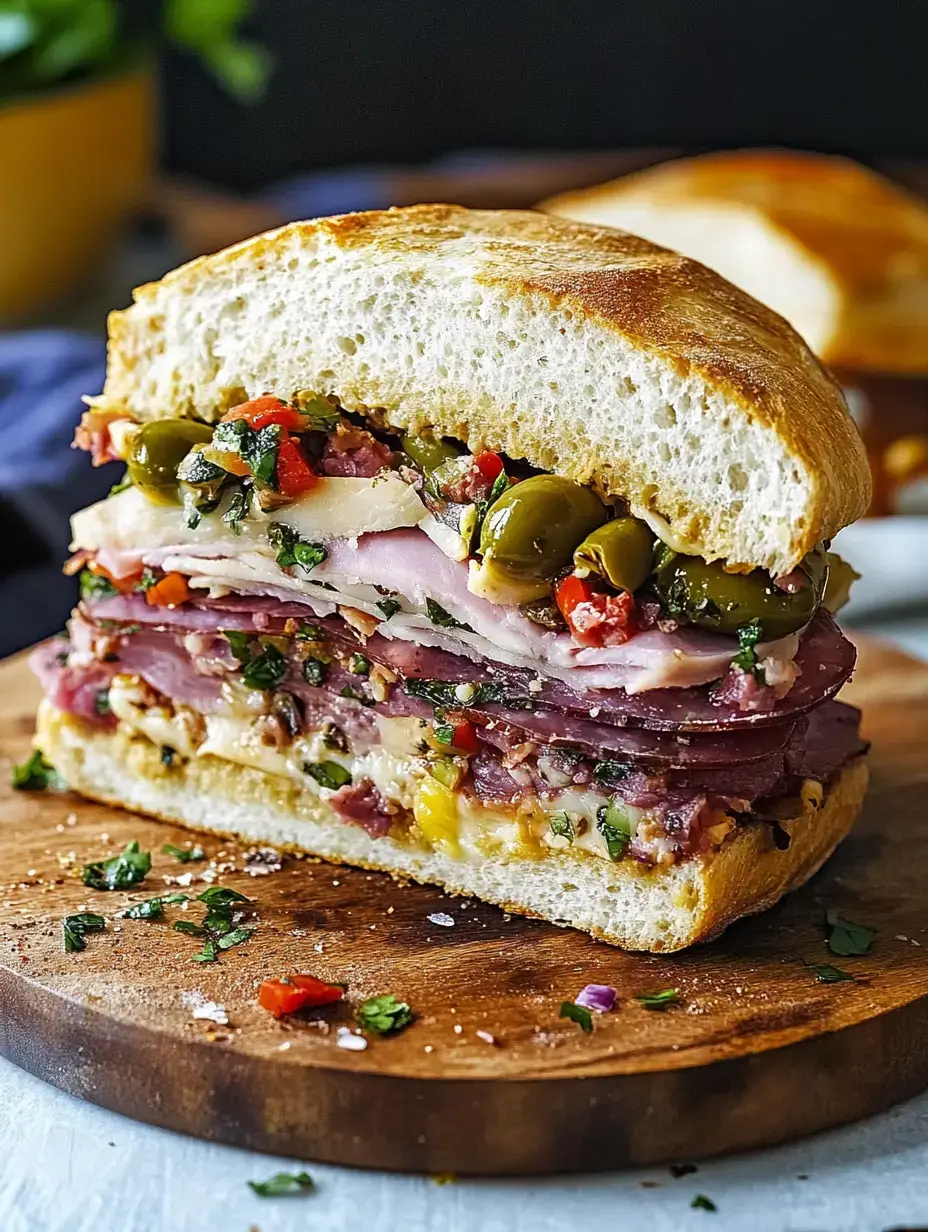
- Green Olives: I chop them by hand—texture’s perfect every time.
Getting Your Fillings Ready
- Good Cheese: A sharp provolone totally belongs here, but smoked mozzarella adds a fun twist.
- Our Meats: For me, nothing beats capicola, salami, and mortadella together.
- The Bread: Round, crusty Italian loaves about ten inches across hold everything nicely and don’t go soggy.
Kitchen Tools I Can’t Live Without
- Heavy Pan: My trusty cast iron helps press the whole thing down.
- Good Wrap: Plastic wrap lets all the flavors hang out together.
- Sharp Knife: Having a solid knife makes slicing way easier.
- Big Bowl: Perfect for mixing your olive goods all up.
 Save
Save
Simple Olive Salad Magic
All the flavor fun starts with the olive salad. I toss everything into a bowl and just love watching those colors swirl together. The real trick is letting it all chill out and mingle—sometimes I double the batch just so I can snack later.
Get Your Loaf Ready
Prepping the bread is a game changer. Slice early and scoop out a bit from the inside to make space for the good stuff. Don’t toss those bread bites—they make awesome croutons or snacks. This makes sure you can fit in plenty of layers.
Stacking Time
This is where the fun starts. I pile on that olive salad thick and even across both bread halves, then pile up meats and cheese so there’s something in every bite. I swear, it’s like making a sandwich masterpiece every single time.
Let It Sit
Patience is key, but so worth it. Wrap it up tight, put something heavy on top, and let everything meld for at least an hour. If you can leave it overnight in the fridge, the flavors get even better.
Moment of Awe
When I cut into it, it always stops the show. Slicing into wedges shows off those dreamy layers. Letting it come to room temp before serving makes all the colors and tastes pop.
 Save
Save
Top Tricks
- Make Ahead: It somehow gets better if you let it rest overnight.
- Press It: Don’t skip pressing if you want every bite to hold up.
- Good Bread: Grab a dense, hearty loaf so you don’t end up with a soggy sandwich.
Switch Things Up
- Extra Vegetables: Marinated artichokes bring a tasty twist to the mix.
- Cheese Choices: Go bold with provolone or try different favorites.
- Try Different Meats: I’ll toss in prosciutto when I’m feeling fancy.
Staying Tasty
If you have leftovers, pop them in the fridge—they keep just fine for a few days. Honestly, they don’t last long at my place. Just pull them out early so they aren’t cold—the flavor’s so much better.
Keep These in Mind
- Less is More: Don’t overload—let every ingredient shine.
- Bread Matters: Soft bread just makes a mess.
- Don't Rush: Give it time so everything comes together right.
Level Up
- Size Matters: Cut thin for snacks or chunkier for a big lunch.
- Spice It Up: Shake in some red pepper if you want more kick.
- Bread Dreams: Baking your own loaf is next-level fun.
 Save
Save
Best Pairings
I love serving these slices with a fresh green salad and something bubbly or a cold beer. For get-togethers, I cut pieces smaller and set them out with antipasto on the side—it’s always a hit.
Fast Facts
- Freezing Question: Don’t freeze it—the texture goes weird.
- Party Planning: Two hours on the table’s fine, then back to the fridge for safety.
Handy Fixes
- Holding Together: That resting and pressing step is totally worth it.
- Too Wet: Make sure to drain your olive salad so nothing turns soggy.
Extra Nuggets
Don’t skimp on great ingredients—it’s worth it in every bite. A serrated knife makes clean cuts a breeze. Keep that olive salad recipe handy because you’ll get requests every time!
Spread the Joy
This Muffaletta is pure celebration on a plate. Every time I make one I remember that first bite in New Orleans. Now it’s a tradition in my house. It’s awesome to see friends dig in and light up—go for it, and maybe you’ll start a Muffaletta tradition, too.
Wrap-Up
An iconic sandwich with layers of provolone, Italian meats, and olive salad on rustic bread. Resting allows the flavors to meld perfectly together.
Recipe FAQs
- → What makes this Muffaletta unique?
The olive blend and Italian cold cuts are the stars. Letting it rest helps the bread soak up all those great flavors!
- → Can I prep the olive mix early?
Definitely! Throw it together a few days ahead. The more time it sits, the better it gets.
- → How long should I let it rest?
Give it at least an hour with something heavy on top. This helps blend flavors and keep the structure tight for slicing.
- → What's the best bread option?
Go for Muffaletta bread if you can find it, but thick, crusty Italian loaves work just as well.
- → How many servings does this make?
It feeds 4-8 people. Slice into smaller portions for appetizers or as filling meals for fewer people.